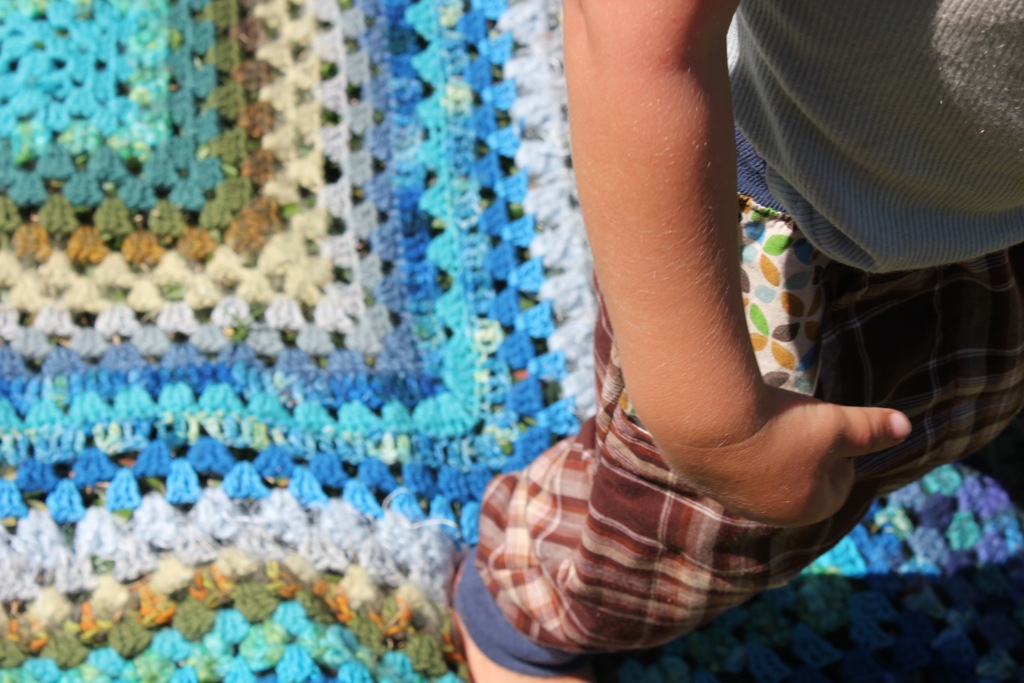
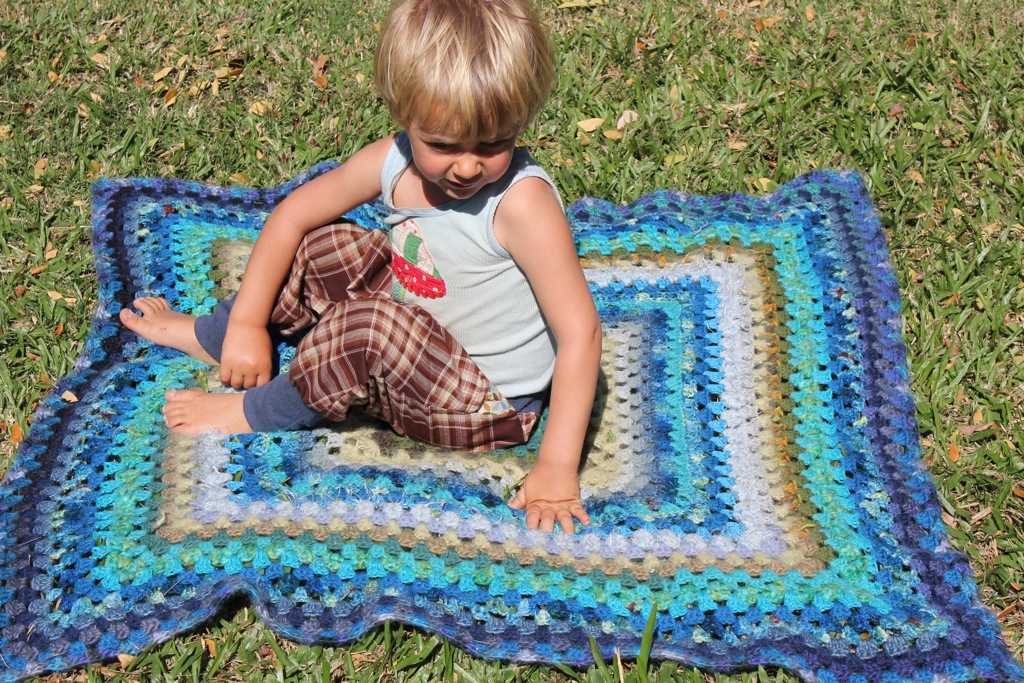
when Lily was on her way to two years old, we pulled up in the fringes of Fremantle WA to make our home for a while. We initially house sat for friends of ours and then stayed on for a few weeks after their return. Their wee boy Fern was only four weeks older than Lily and soon these two where playing, cooking, working, eating, walking, peeing and making mischief companionably alongside each other
We nicknamed them straighty and curly (their hair) and told funny stories about their adventures.. during the years we lived nearby, they surely where besties and devoted fans of the Amazing Drumming Monkeys! {do you like all my made-up words?}

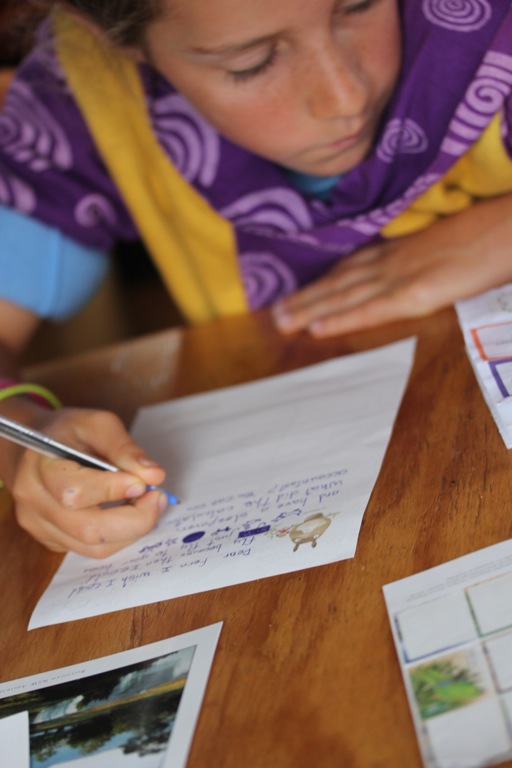
we’ve all had a lot of adventures since then, but the connection is alive in our hearts and when I sat letter writing during the week, Lily joined me to write to Fern who now lives in NZ.
We haven’t seen him since late 2008 but the occasional letter or gift or joke passes over the sea between them.

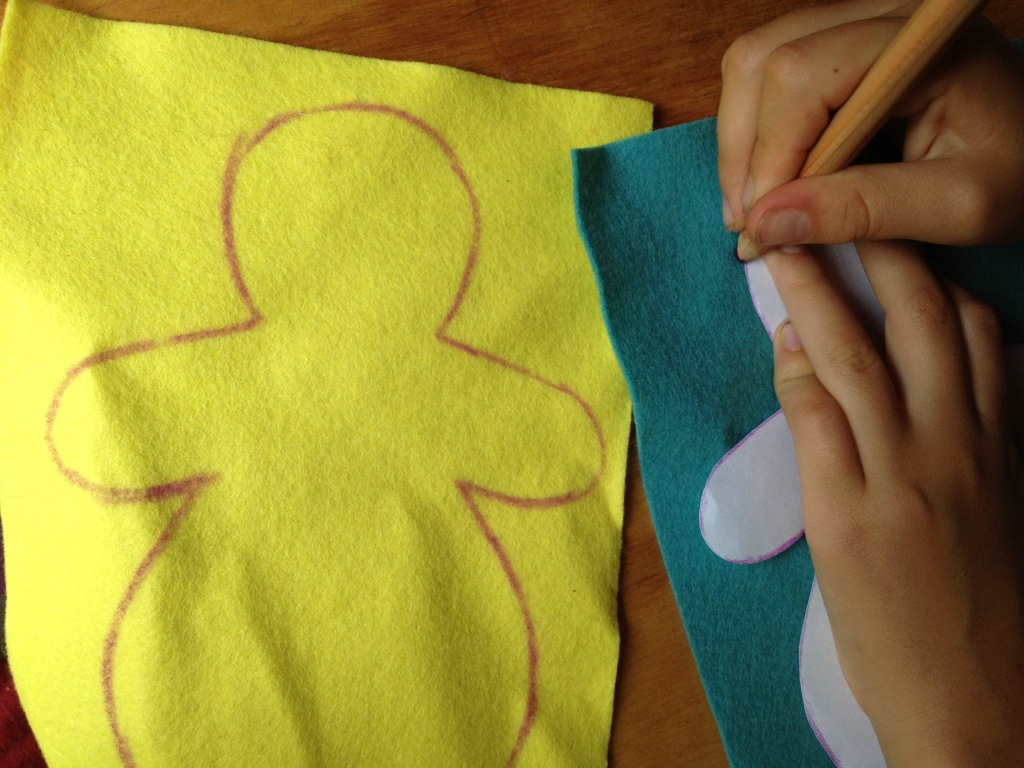
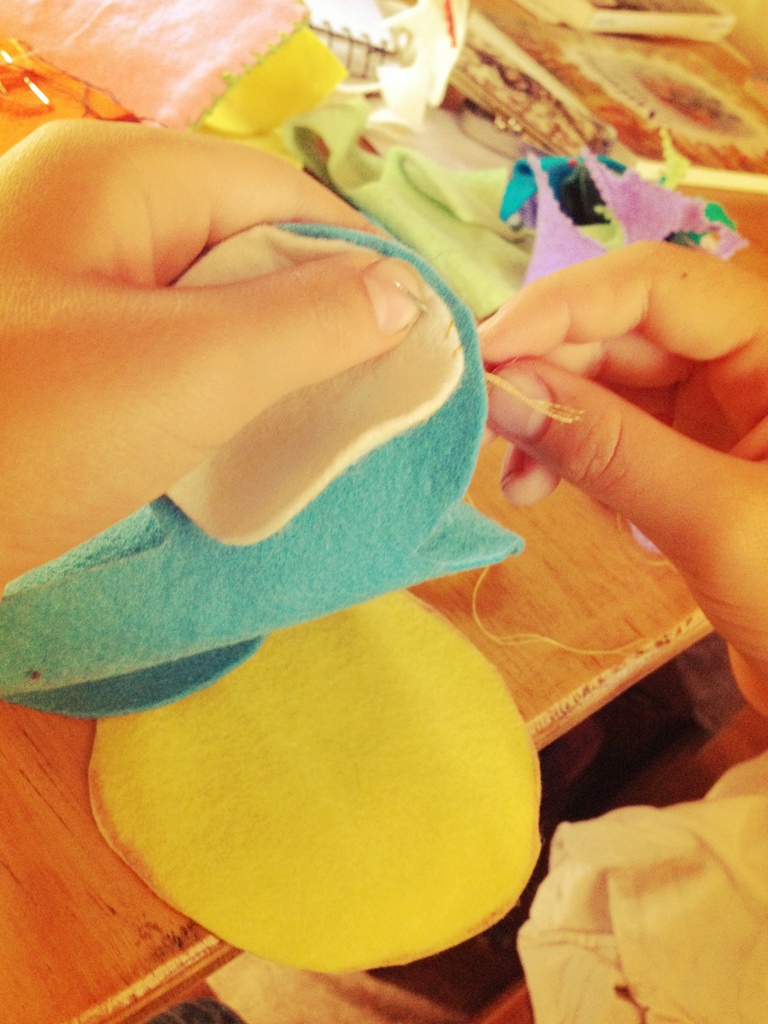
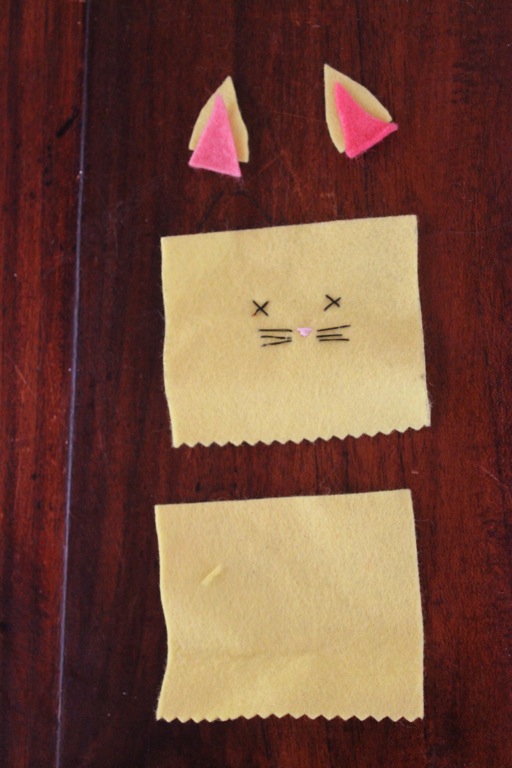
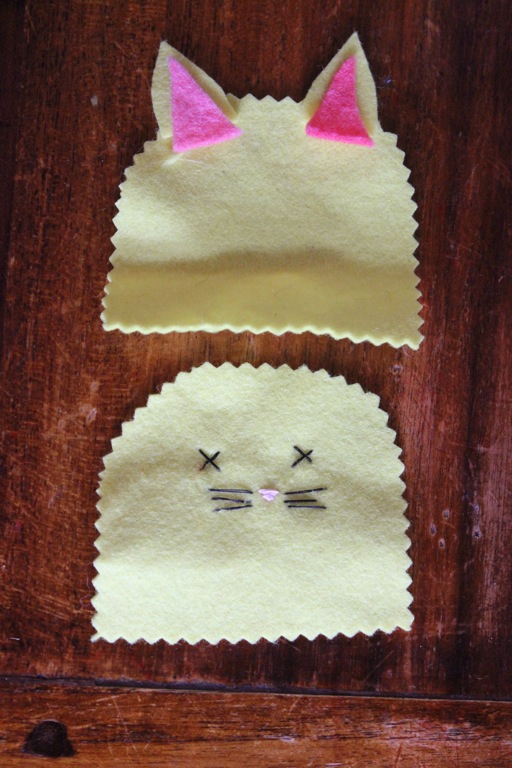
Lily drew in pencil on the pillow case and I carefully embroidered the artwork. Age 4

shortly after our arrival in NZ, they haven’t seen each other for a year
I was quietly hopefull this letter writing would go without frustration (hers) and outwardly, gently encouraging as Lily focused in on this task. She has only recently begun writing more than a few words spontaneously and she seemed abit daunted by the long blank page. Enthused, but asking me to help her decide what to write, she eventually decided to write about her life because he doesn’t know what she’s been doing. {dear Fern I live in a bus it is powered on blueberry gas… thats 8 year old humor for you}After the first paragraph she copies jokes down for him to giggle over, and then drew a cartoon story on the back about life in the bus and so it became a good laughing session and I was so pleased to see her persistence and interest and enjoyment of the ink flowing onto the page, even if some of it was blobs.
Sometimes I am anxious about her ‘official educating’ when she has spent so much time absent from school, yet we have not officially taken up the homeschool banner. I question whether she is stimulated enough or if her skills are developing as they need to. I doubt myself and my ability to guide her along the paths of interest and learning and sometimes wonder if she is simply bored bored bored! I fall into the trap of comparison with other families and how they get on with their lives and education, I worry and celebrate and come up with great ideas and sometimes am at a complete loss.
So you see, when these moments happen and I am shown how naturally her writing and punctuation and word structure and creative writing have developed without formal classes I am so, so excited! From last week to this her skill has remarkably improved in this area, and since this day of letter writing she has written a few more short stories and in depth captions to her illustrations. {she had a fever over the weekend and I do have to wonder about the picture from Anthroposophy in which children often come out of a fever having grown or developed or moved into a new place, or something fantastic like that}

cheeky happy monkeys!

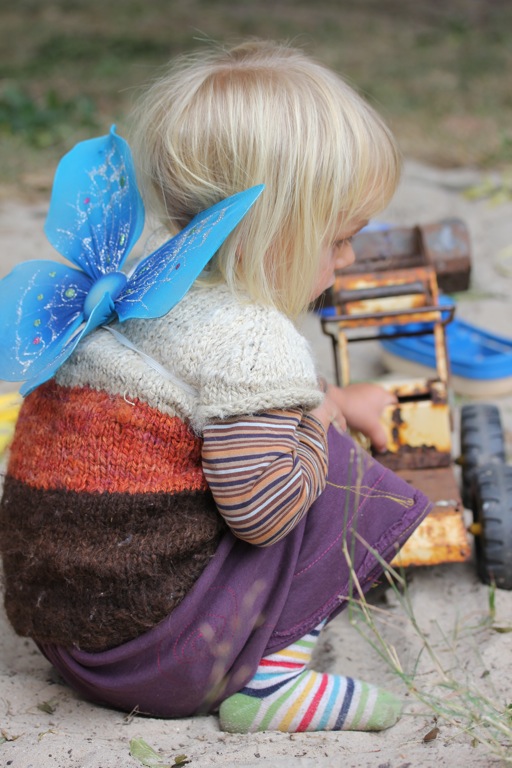
the stump in the garden became the centre of long imaginative plays involving fairies and diggers

in Mike Lillian’s {wind willow basketry} abundant woven garden


I have subscribed to this wonderful blog Simple Homeschool {never let your schooling interrupt your education}
Here I find writings which are so encouraging with regards to some of these struggles I have. One point which is repeated is along these lines
“the connection and relationship and enjoyment of each other take priority over
getting the comma in the right place every time”
And so, I am enthused and inspired about this child’s learning which evolves in front of me, mirrored by my own personal learning amidst it all. Particularly the gift of humour!

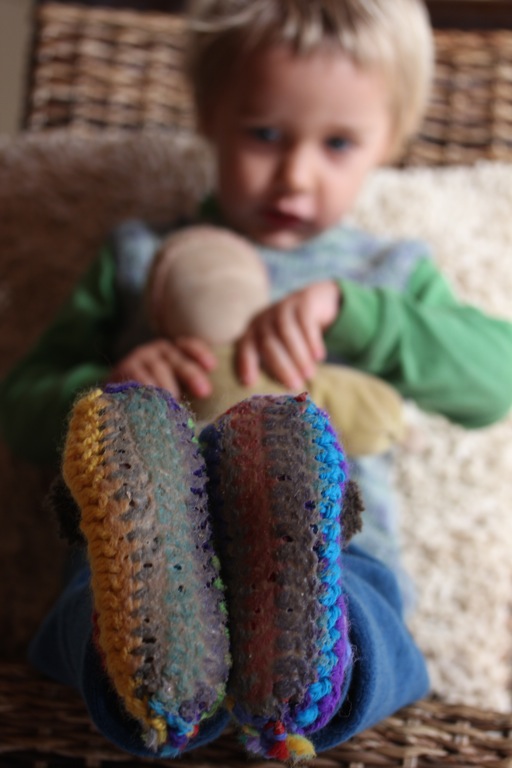
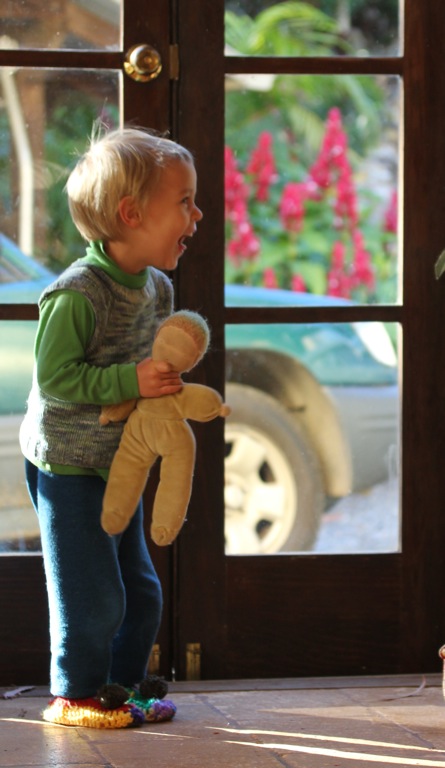
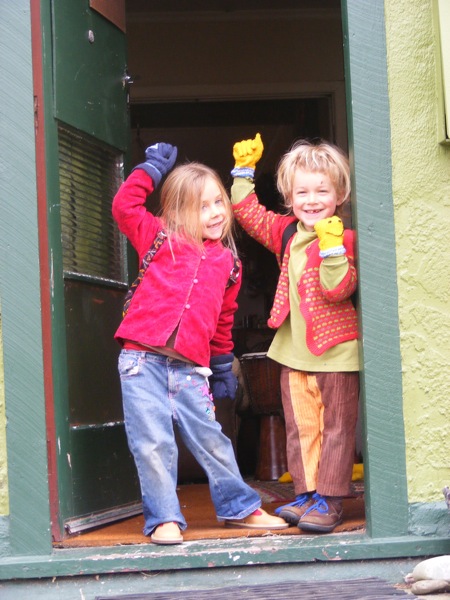
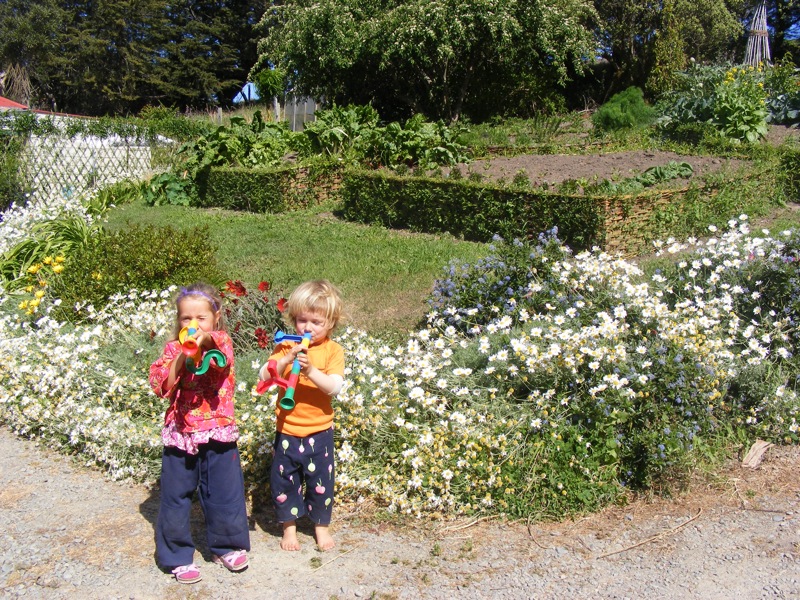
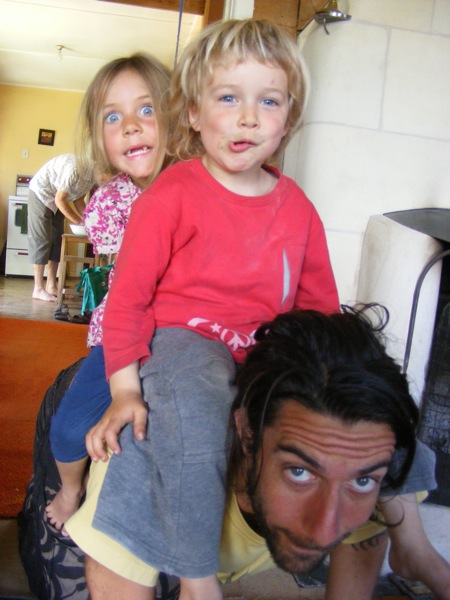
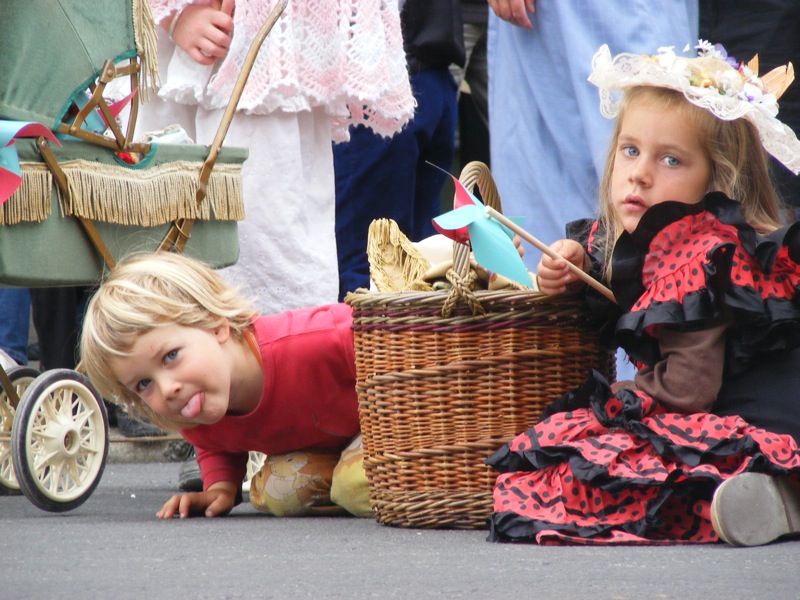
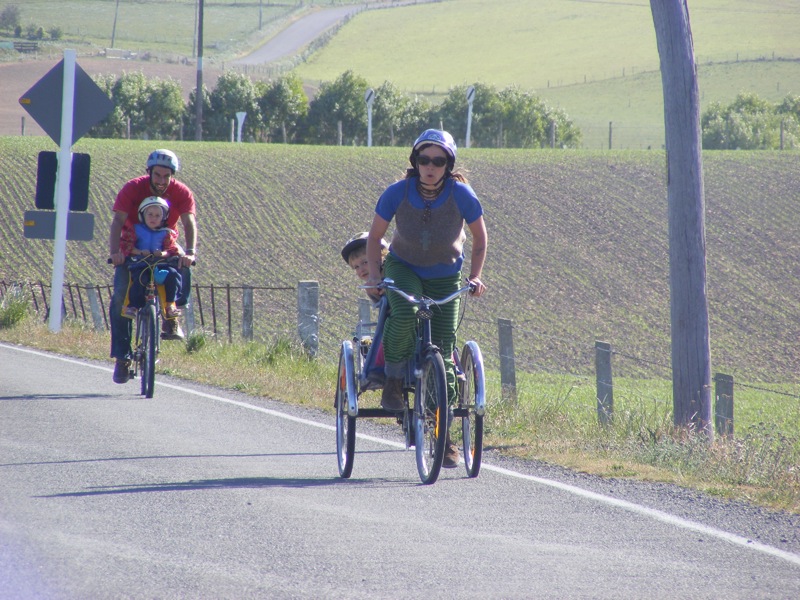
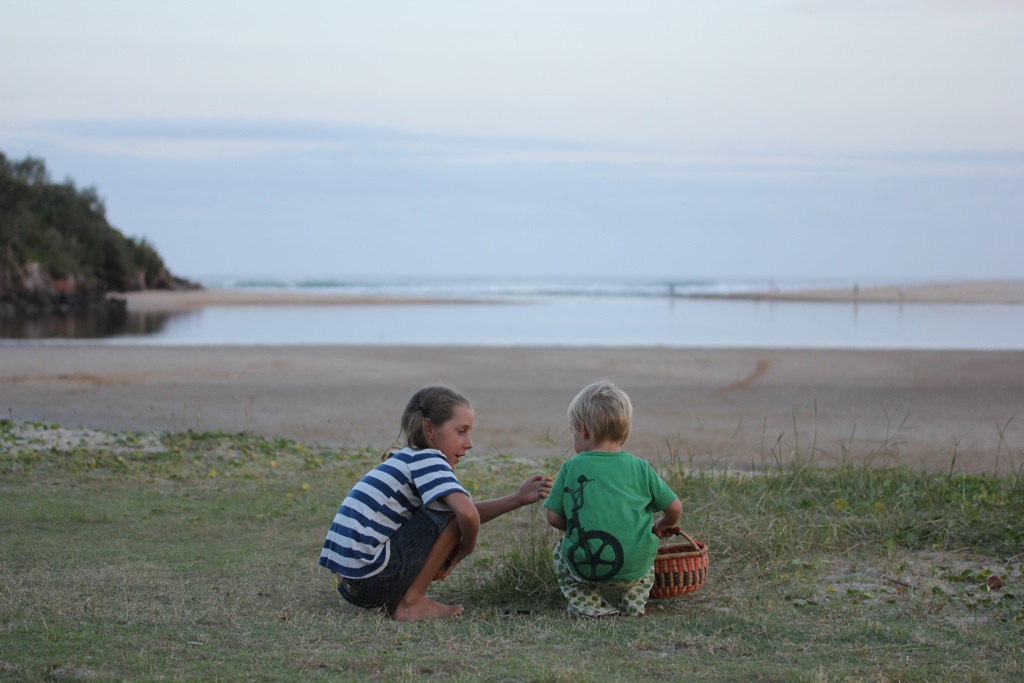
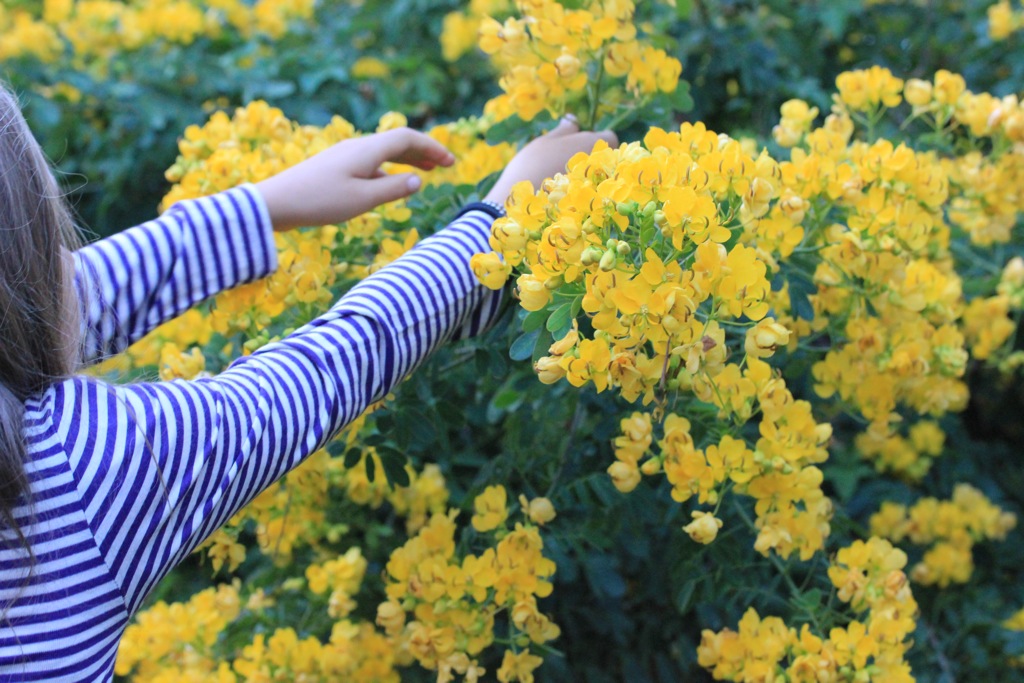
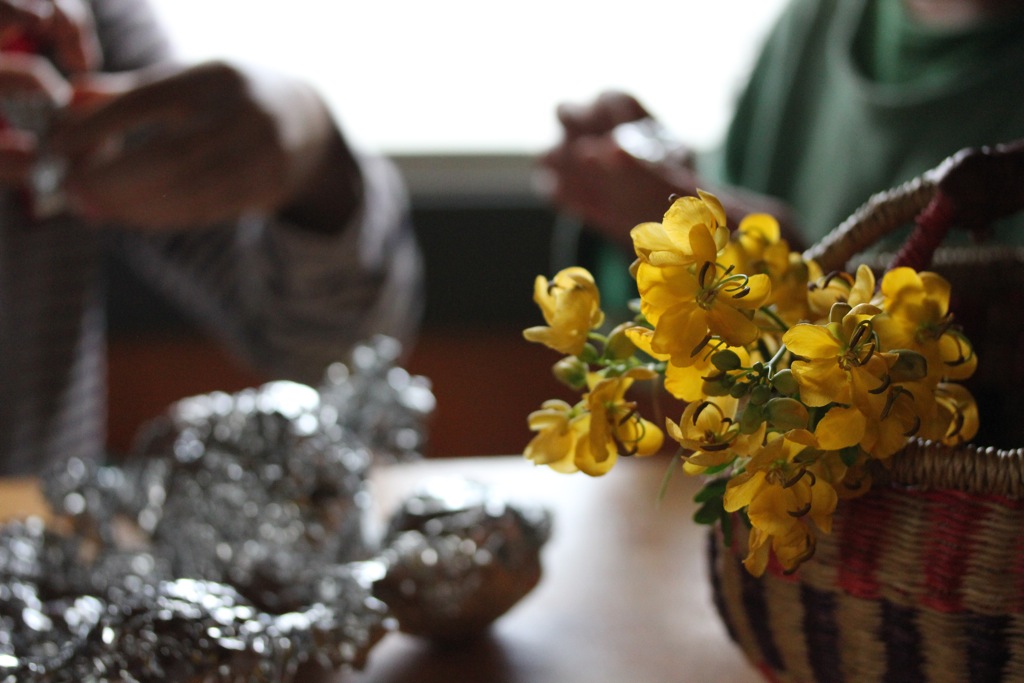
did you enjoy the amusing photo’s of the little ones amongst my musings?
{i just couldn’t resist sharing them once I got back into to my old library of photographs}
do you home school, school school or some other?
how have you and your child/ren approached literature skills?
or how do you imagine approaching this with them?
any thing you want to share on this topic?
have you a love of the written word?
peace and ponderings
Roselinde
xx


 l
l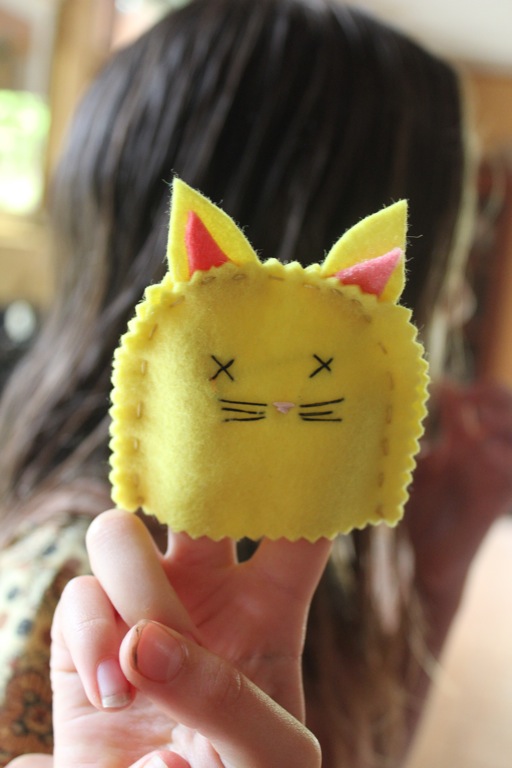 a
a


 t
t t
t L
L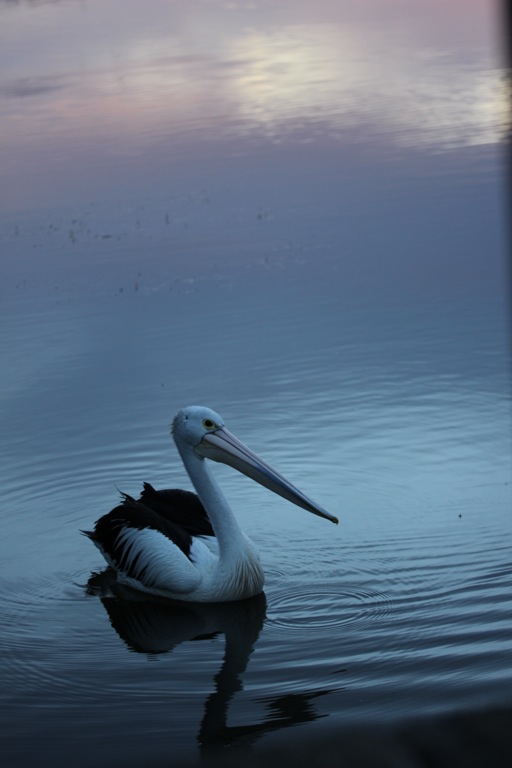 P
P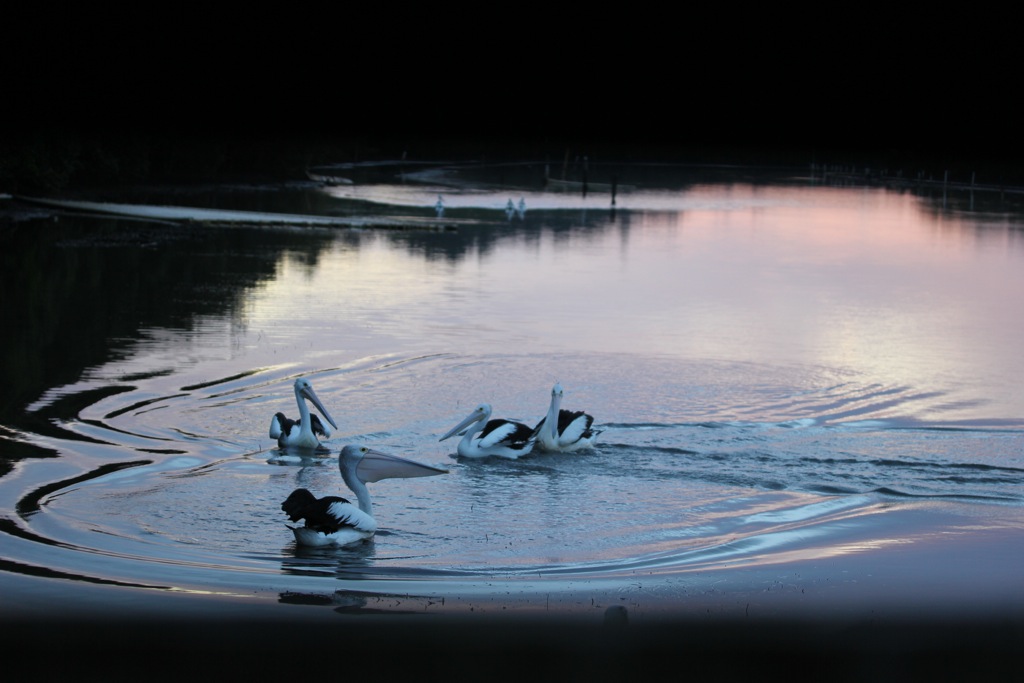
 L
L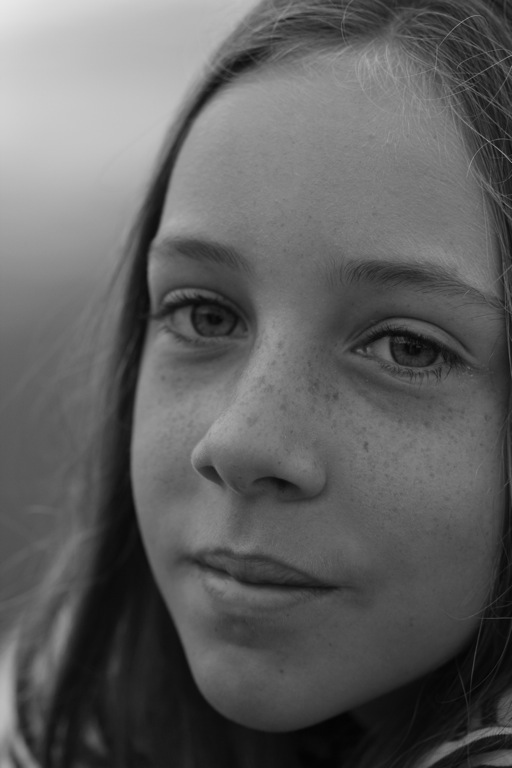


 l
l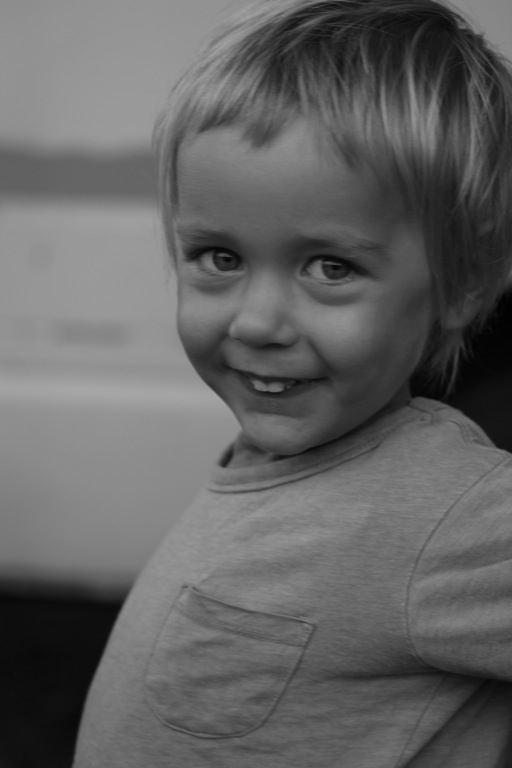

 t
t
 a
a i
i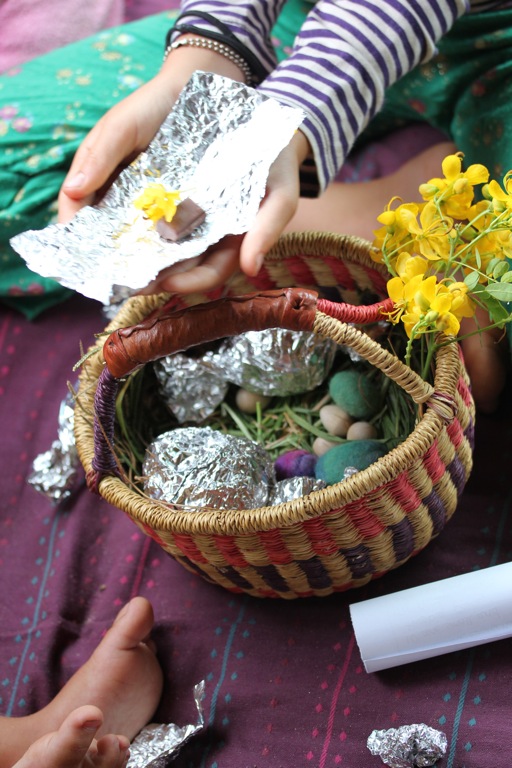 t
t