


Category Archives: learning through play
Geometry playground
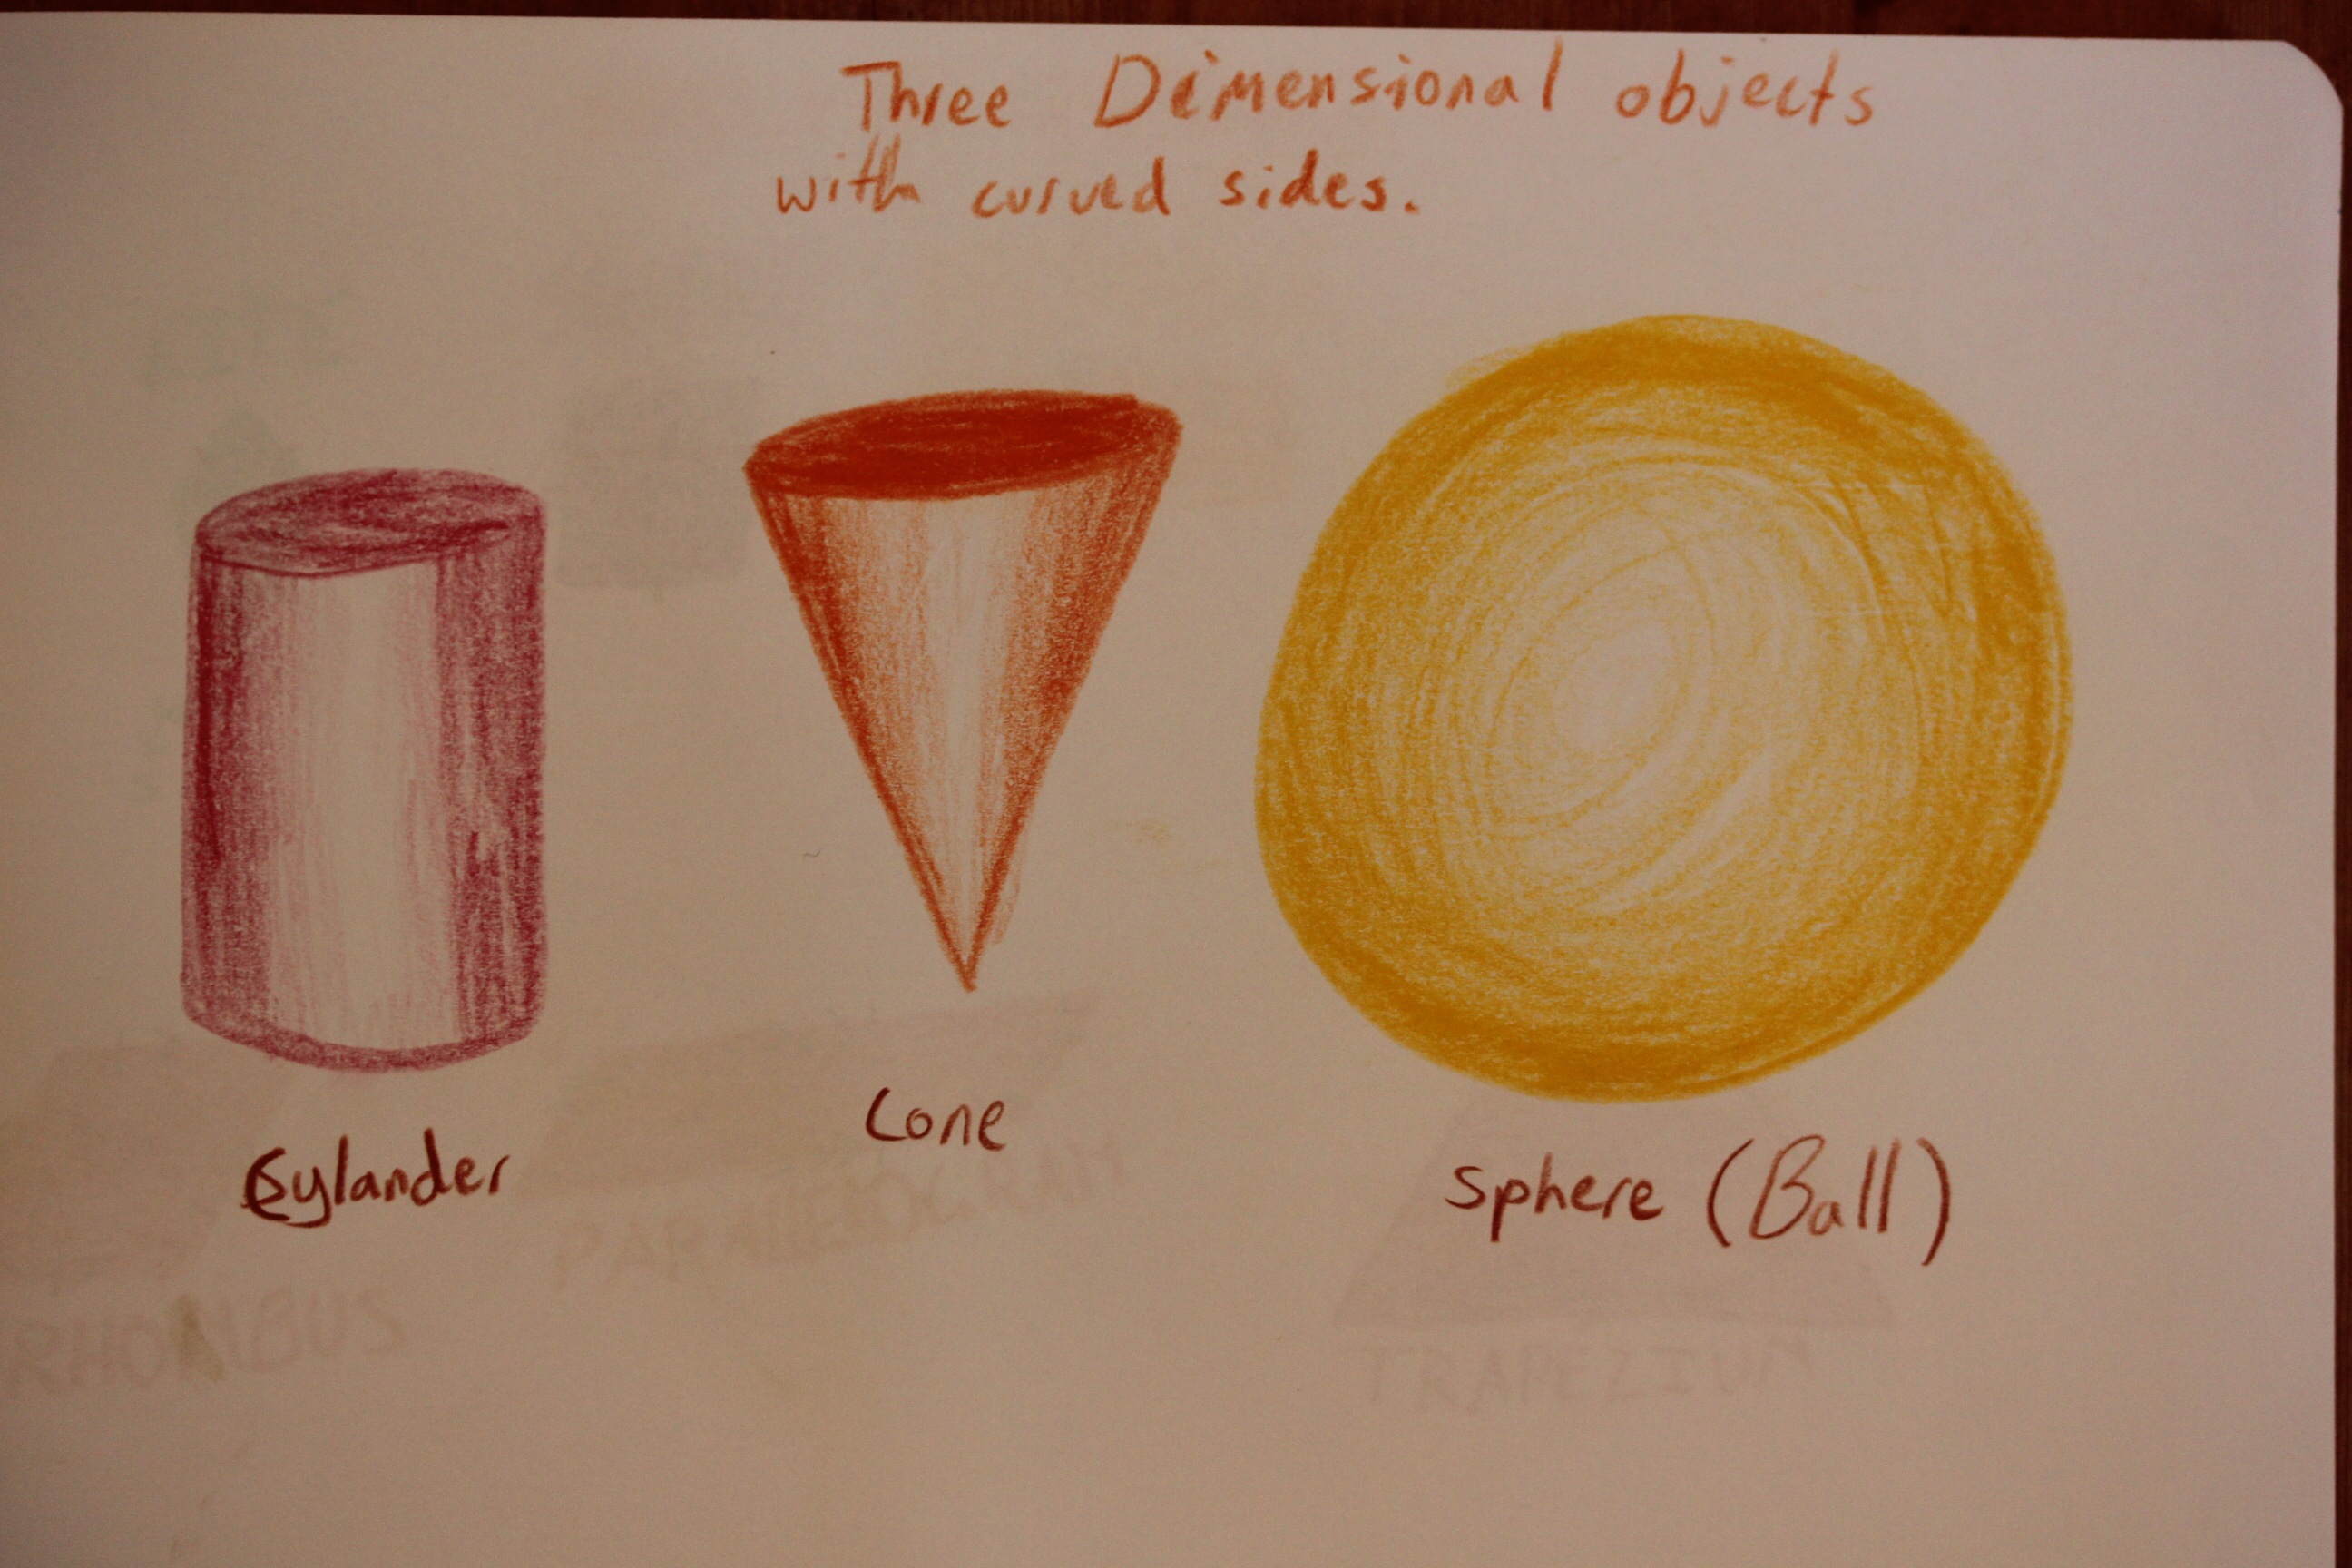
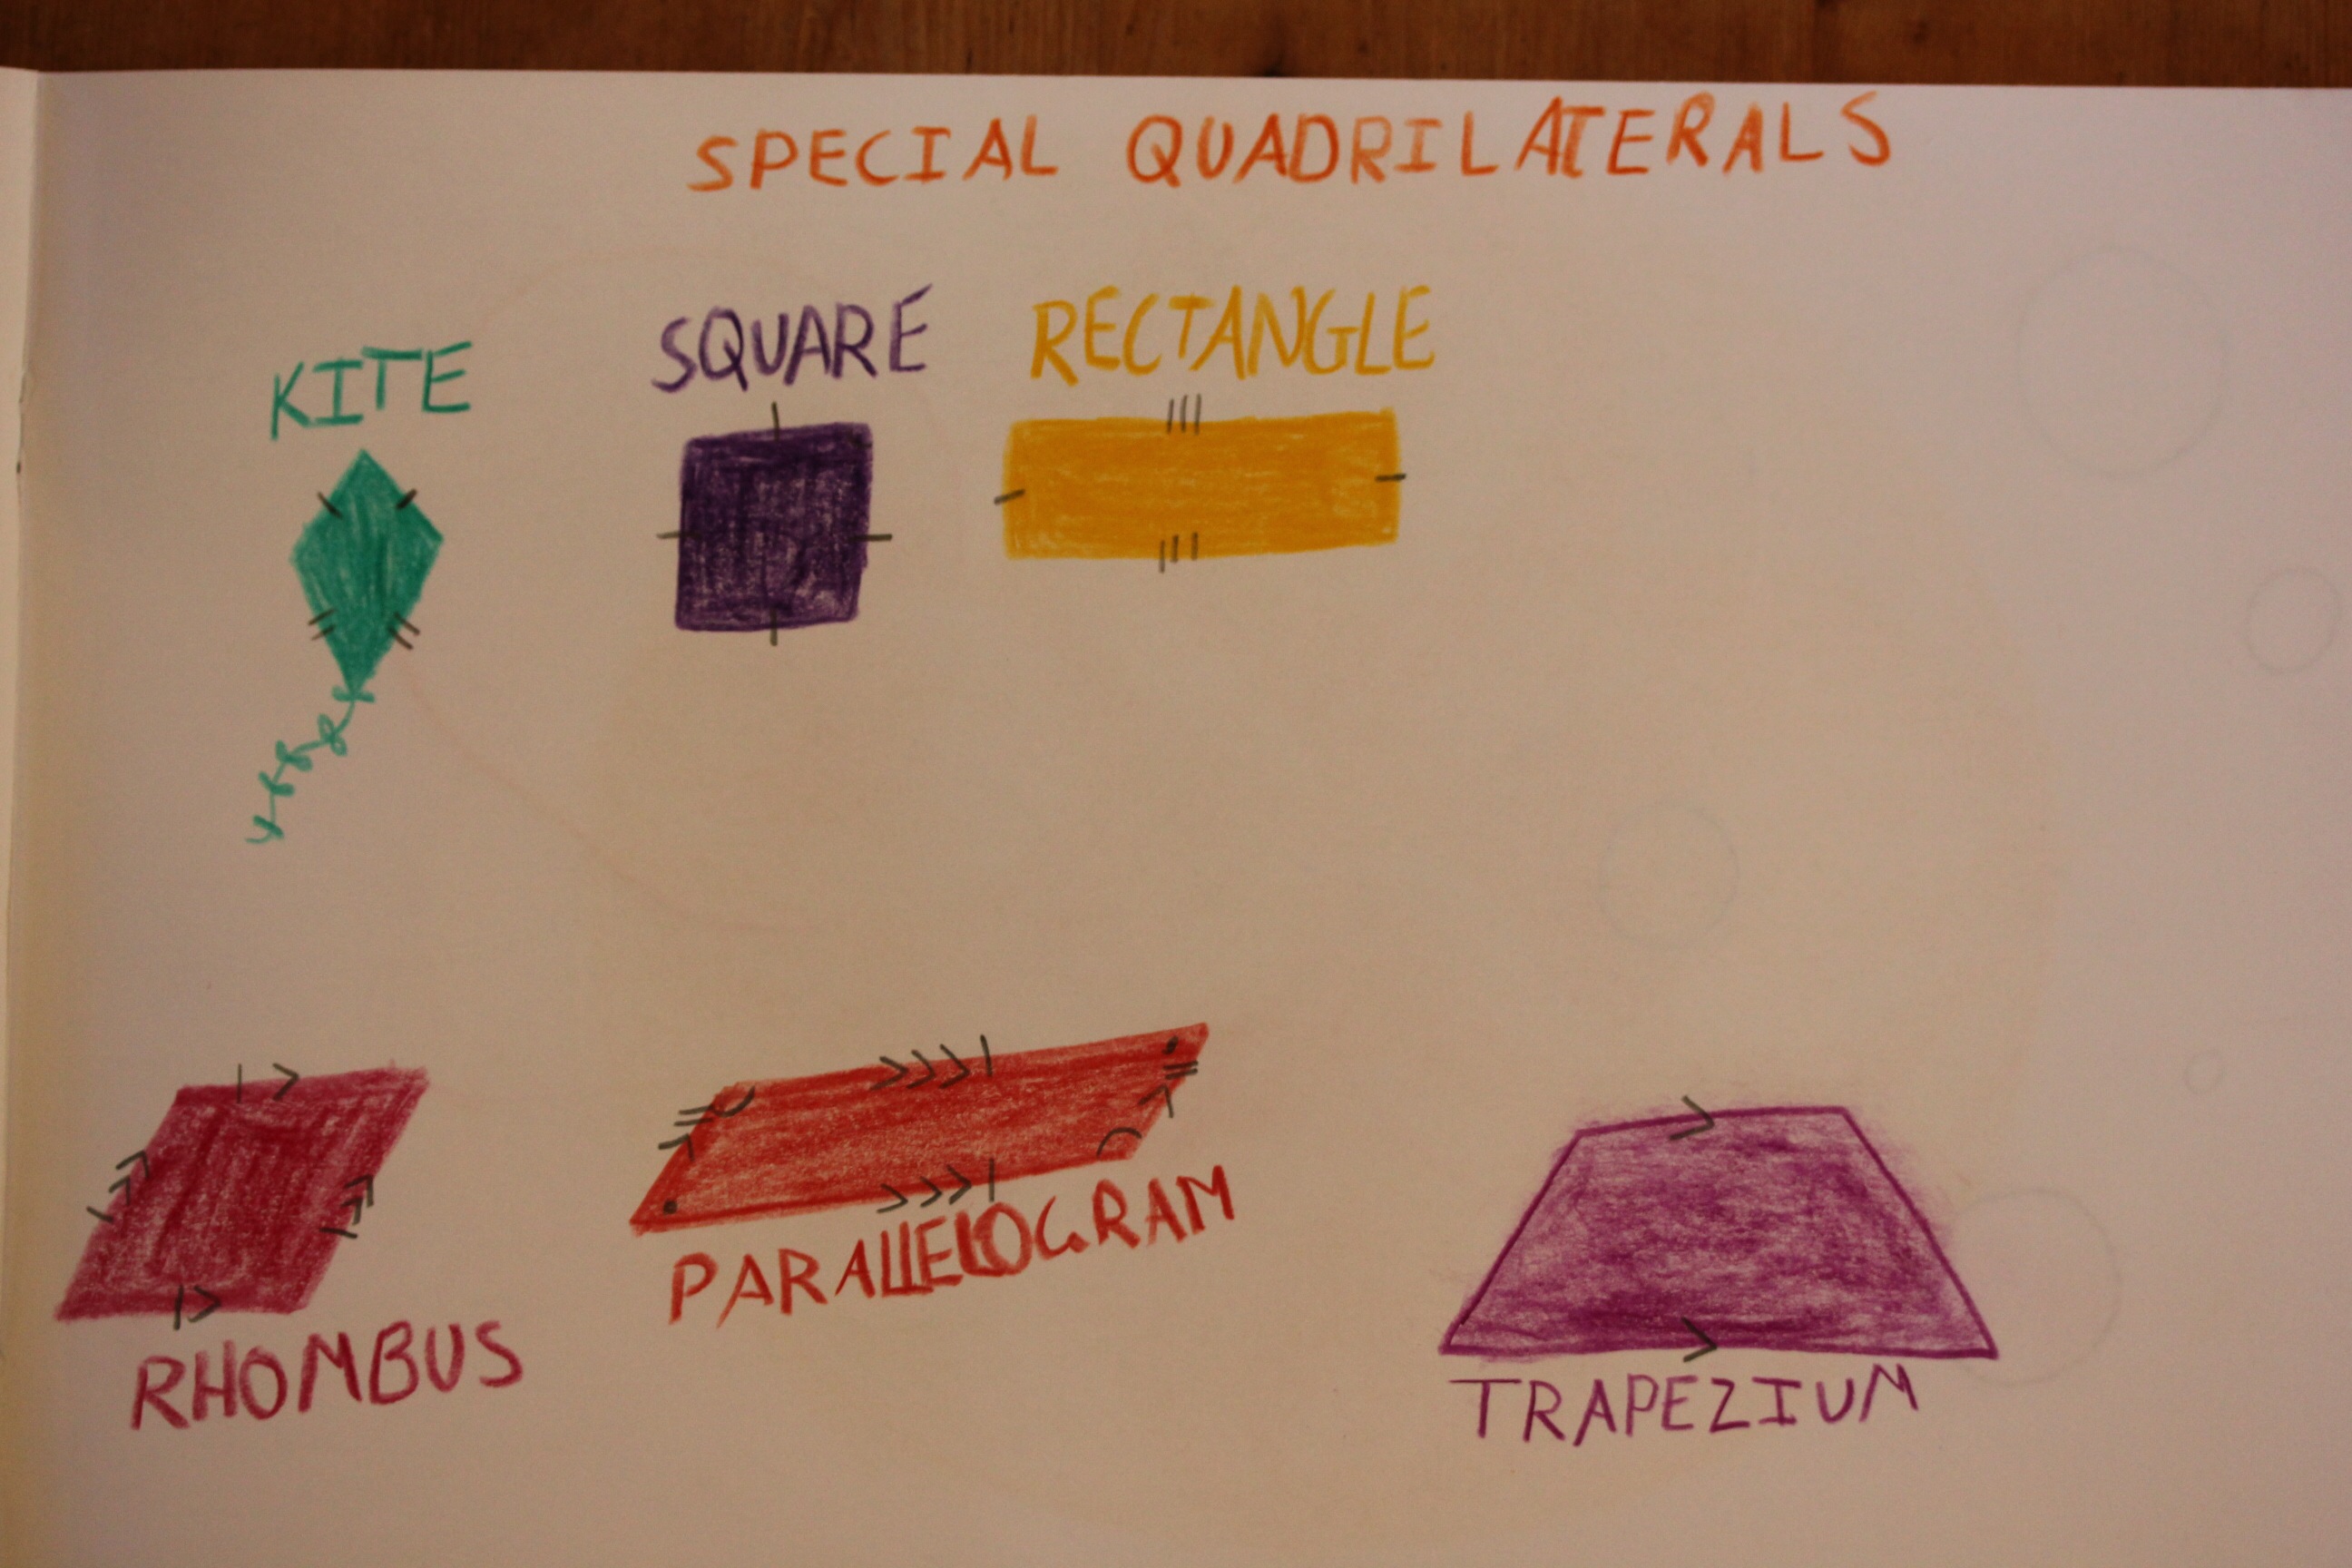
Class 5 geometry lessons are underway! It’s exciting for me to revisit the beauty and symmetry of compass art, Learning about polygons, prisms, pyramids, solids, quadrilaterals, angles, lines and circle language. I enjoy the artistic focus in presenting this work with Lily through the Waldorf curriculum.
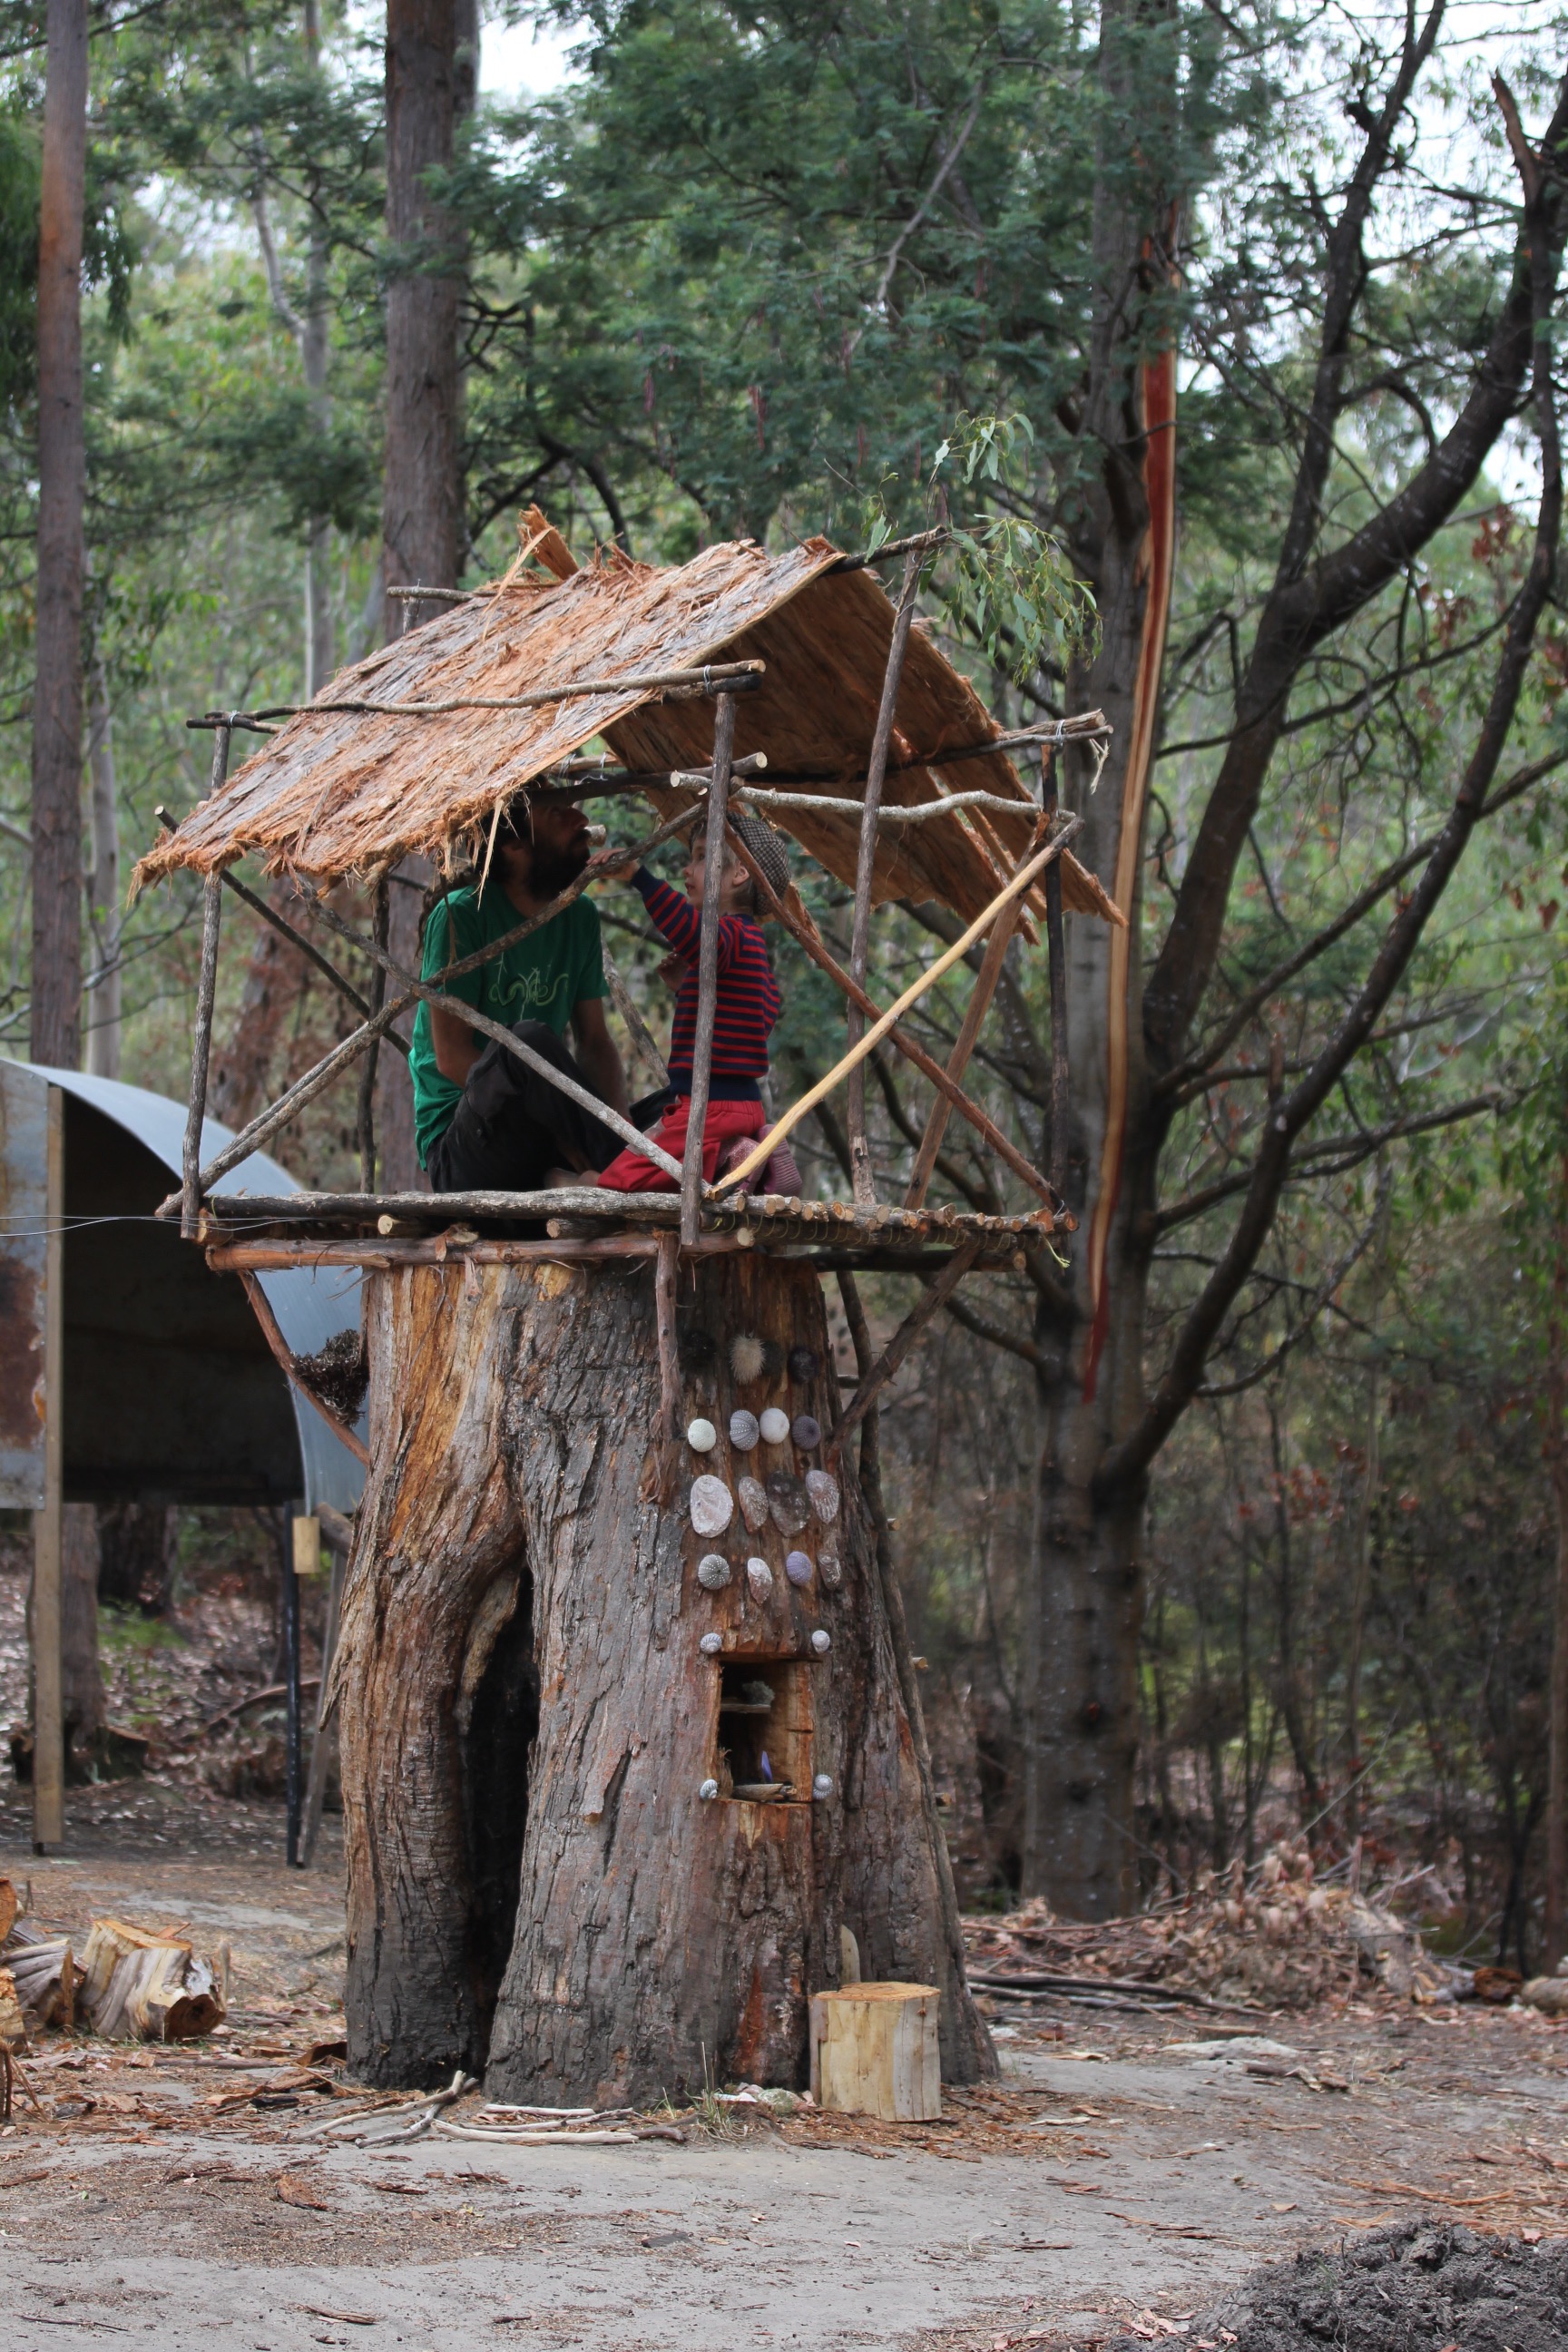
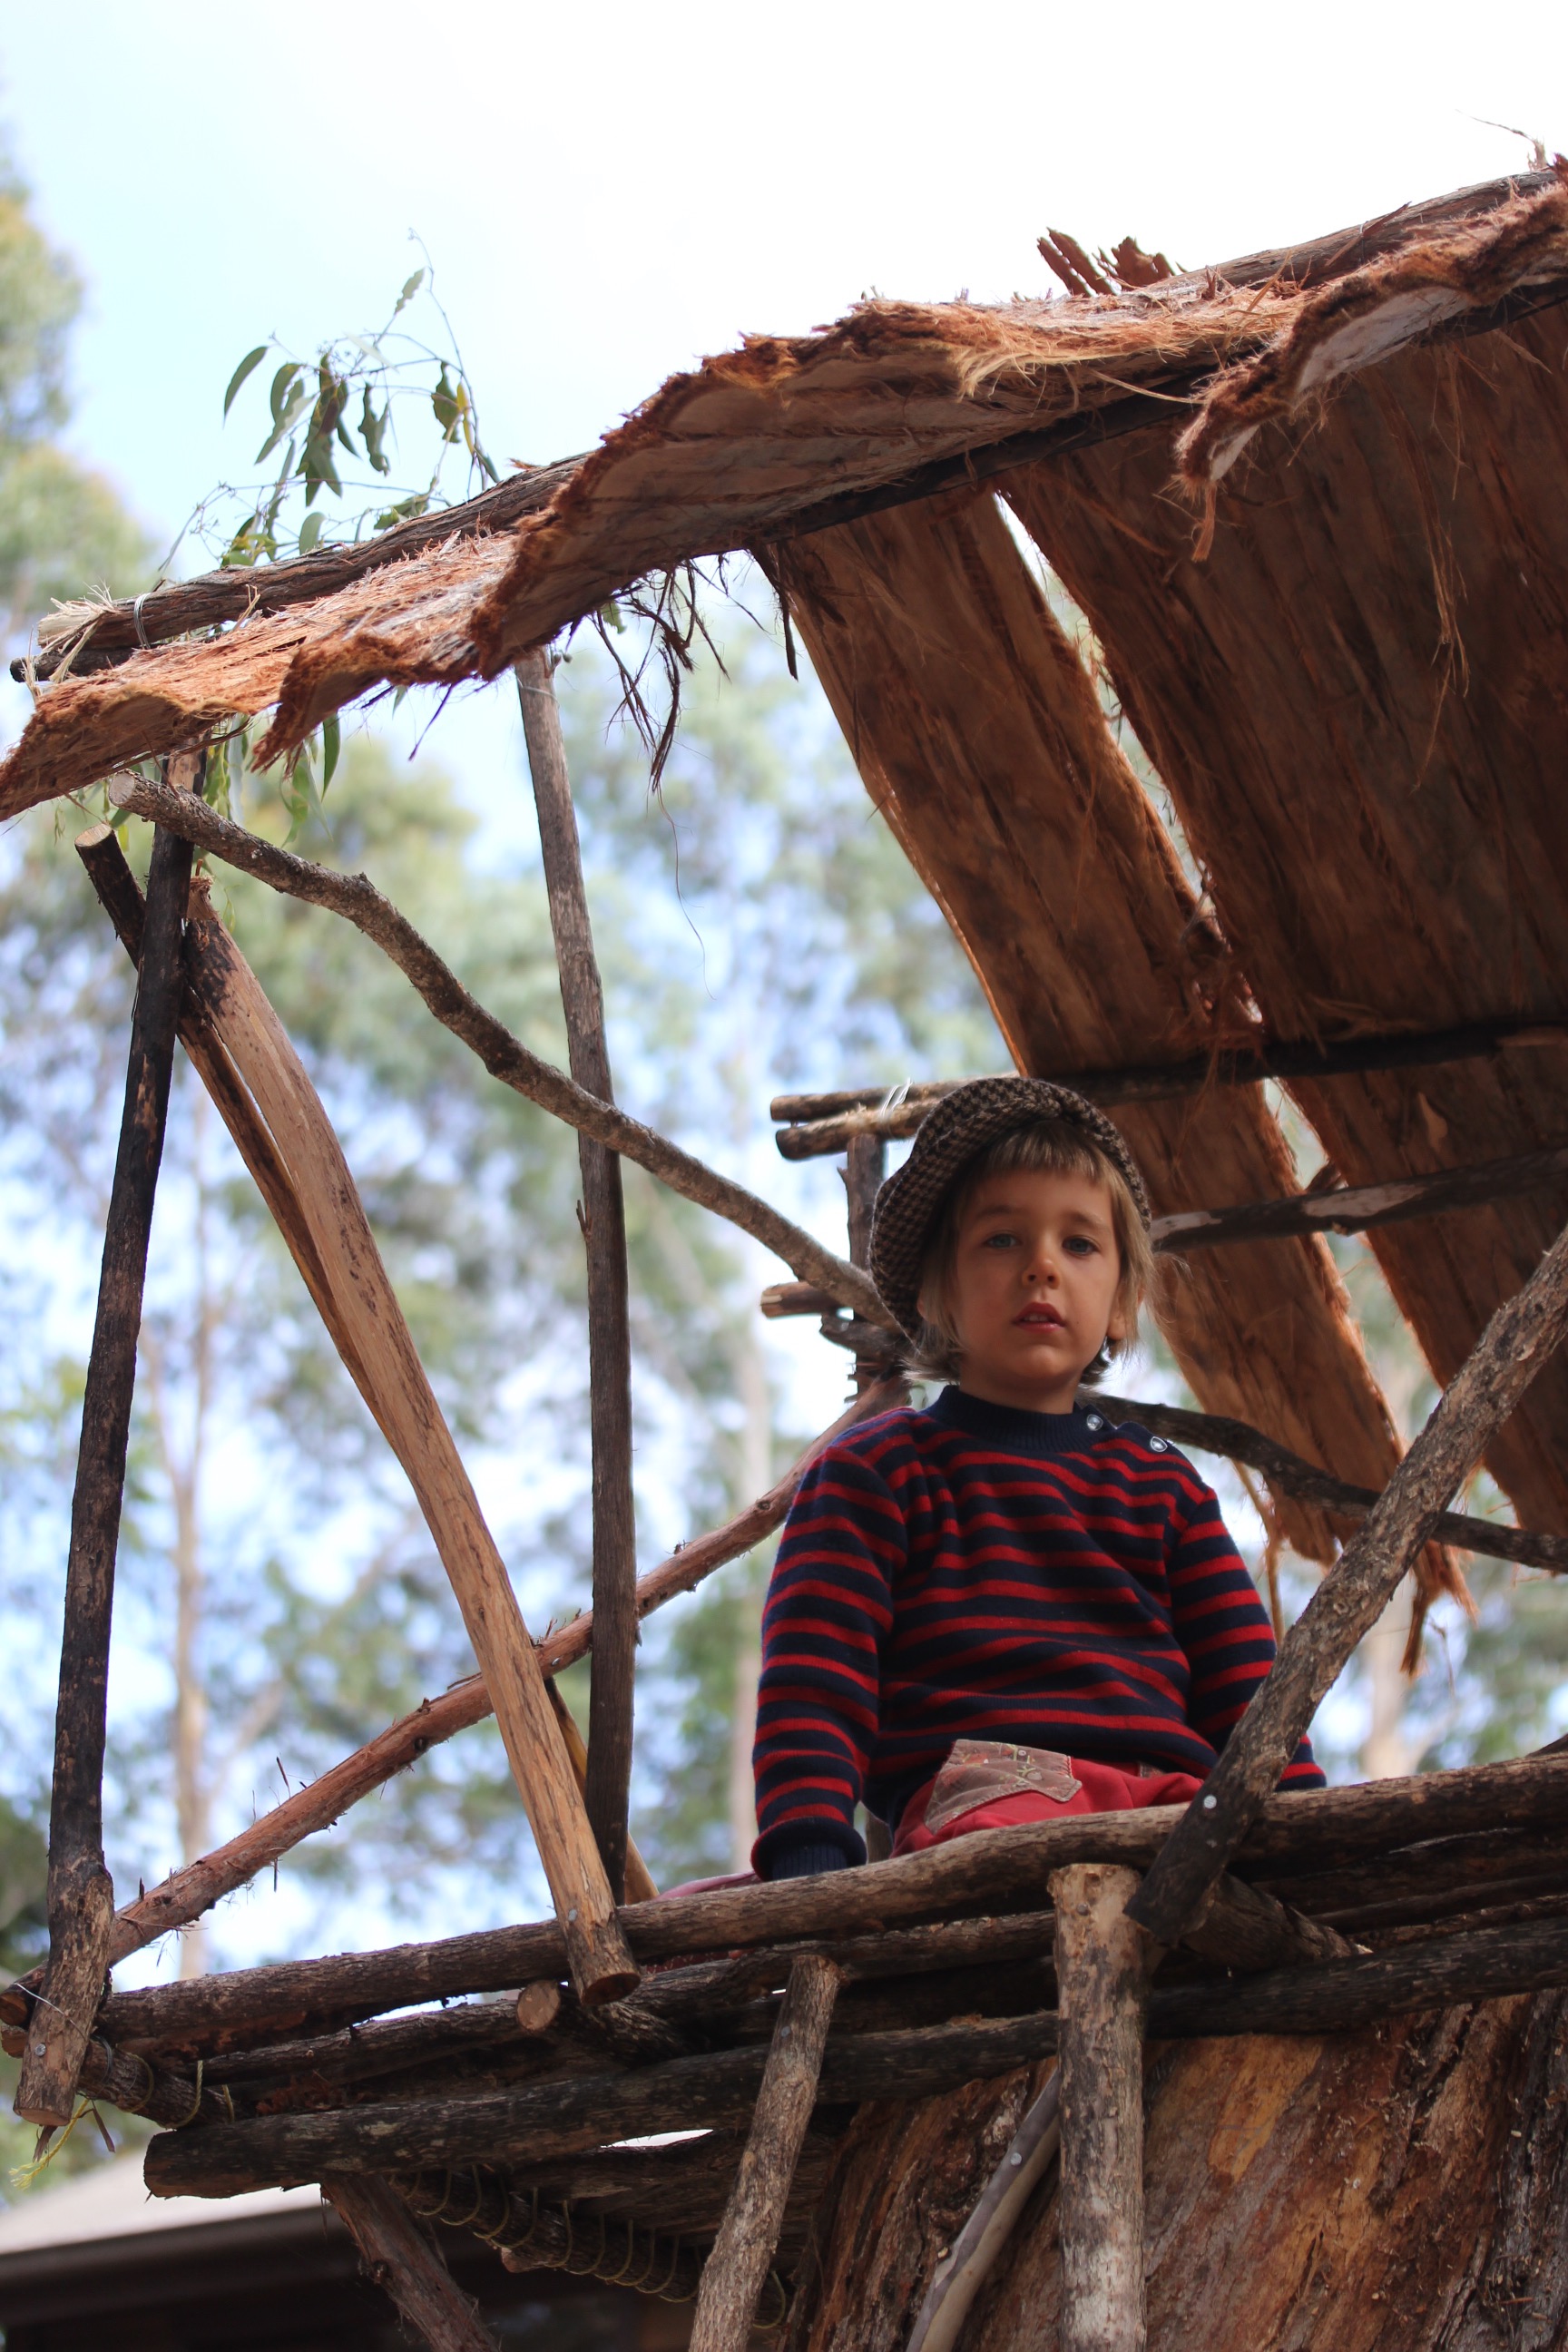
On an adventurous day out recently we were happy to find this playground in a small village. (Neustadt near Metzingen) Soon there where exclamations about how this whole place was framed on polygons, prisms and even a quadrilateral pyramid supporting the tree! We are all looking at the world through geometry glasses now! 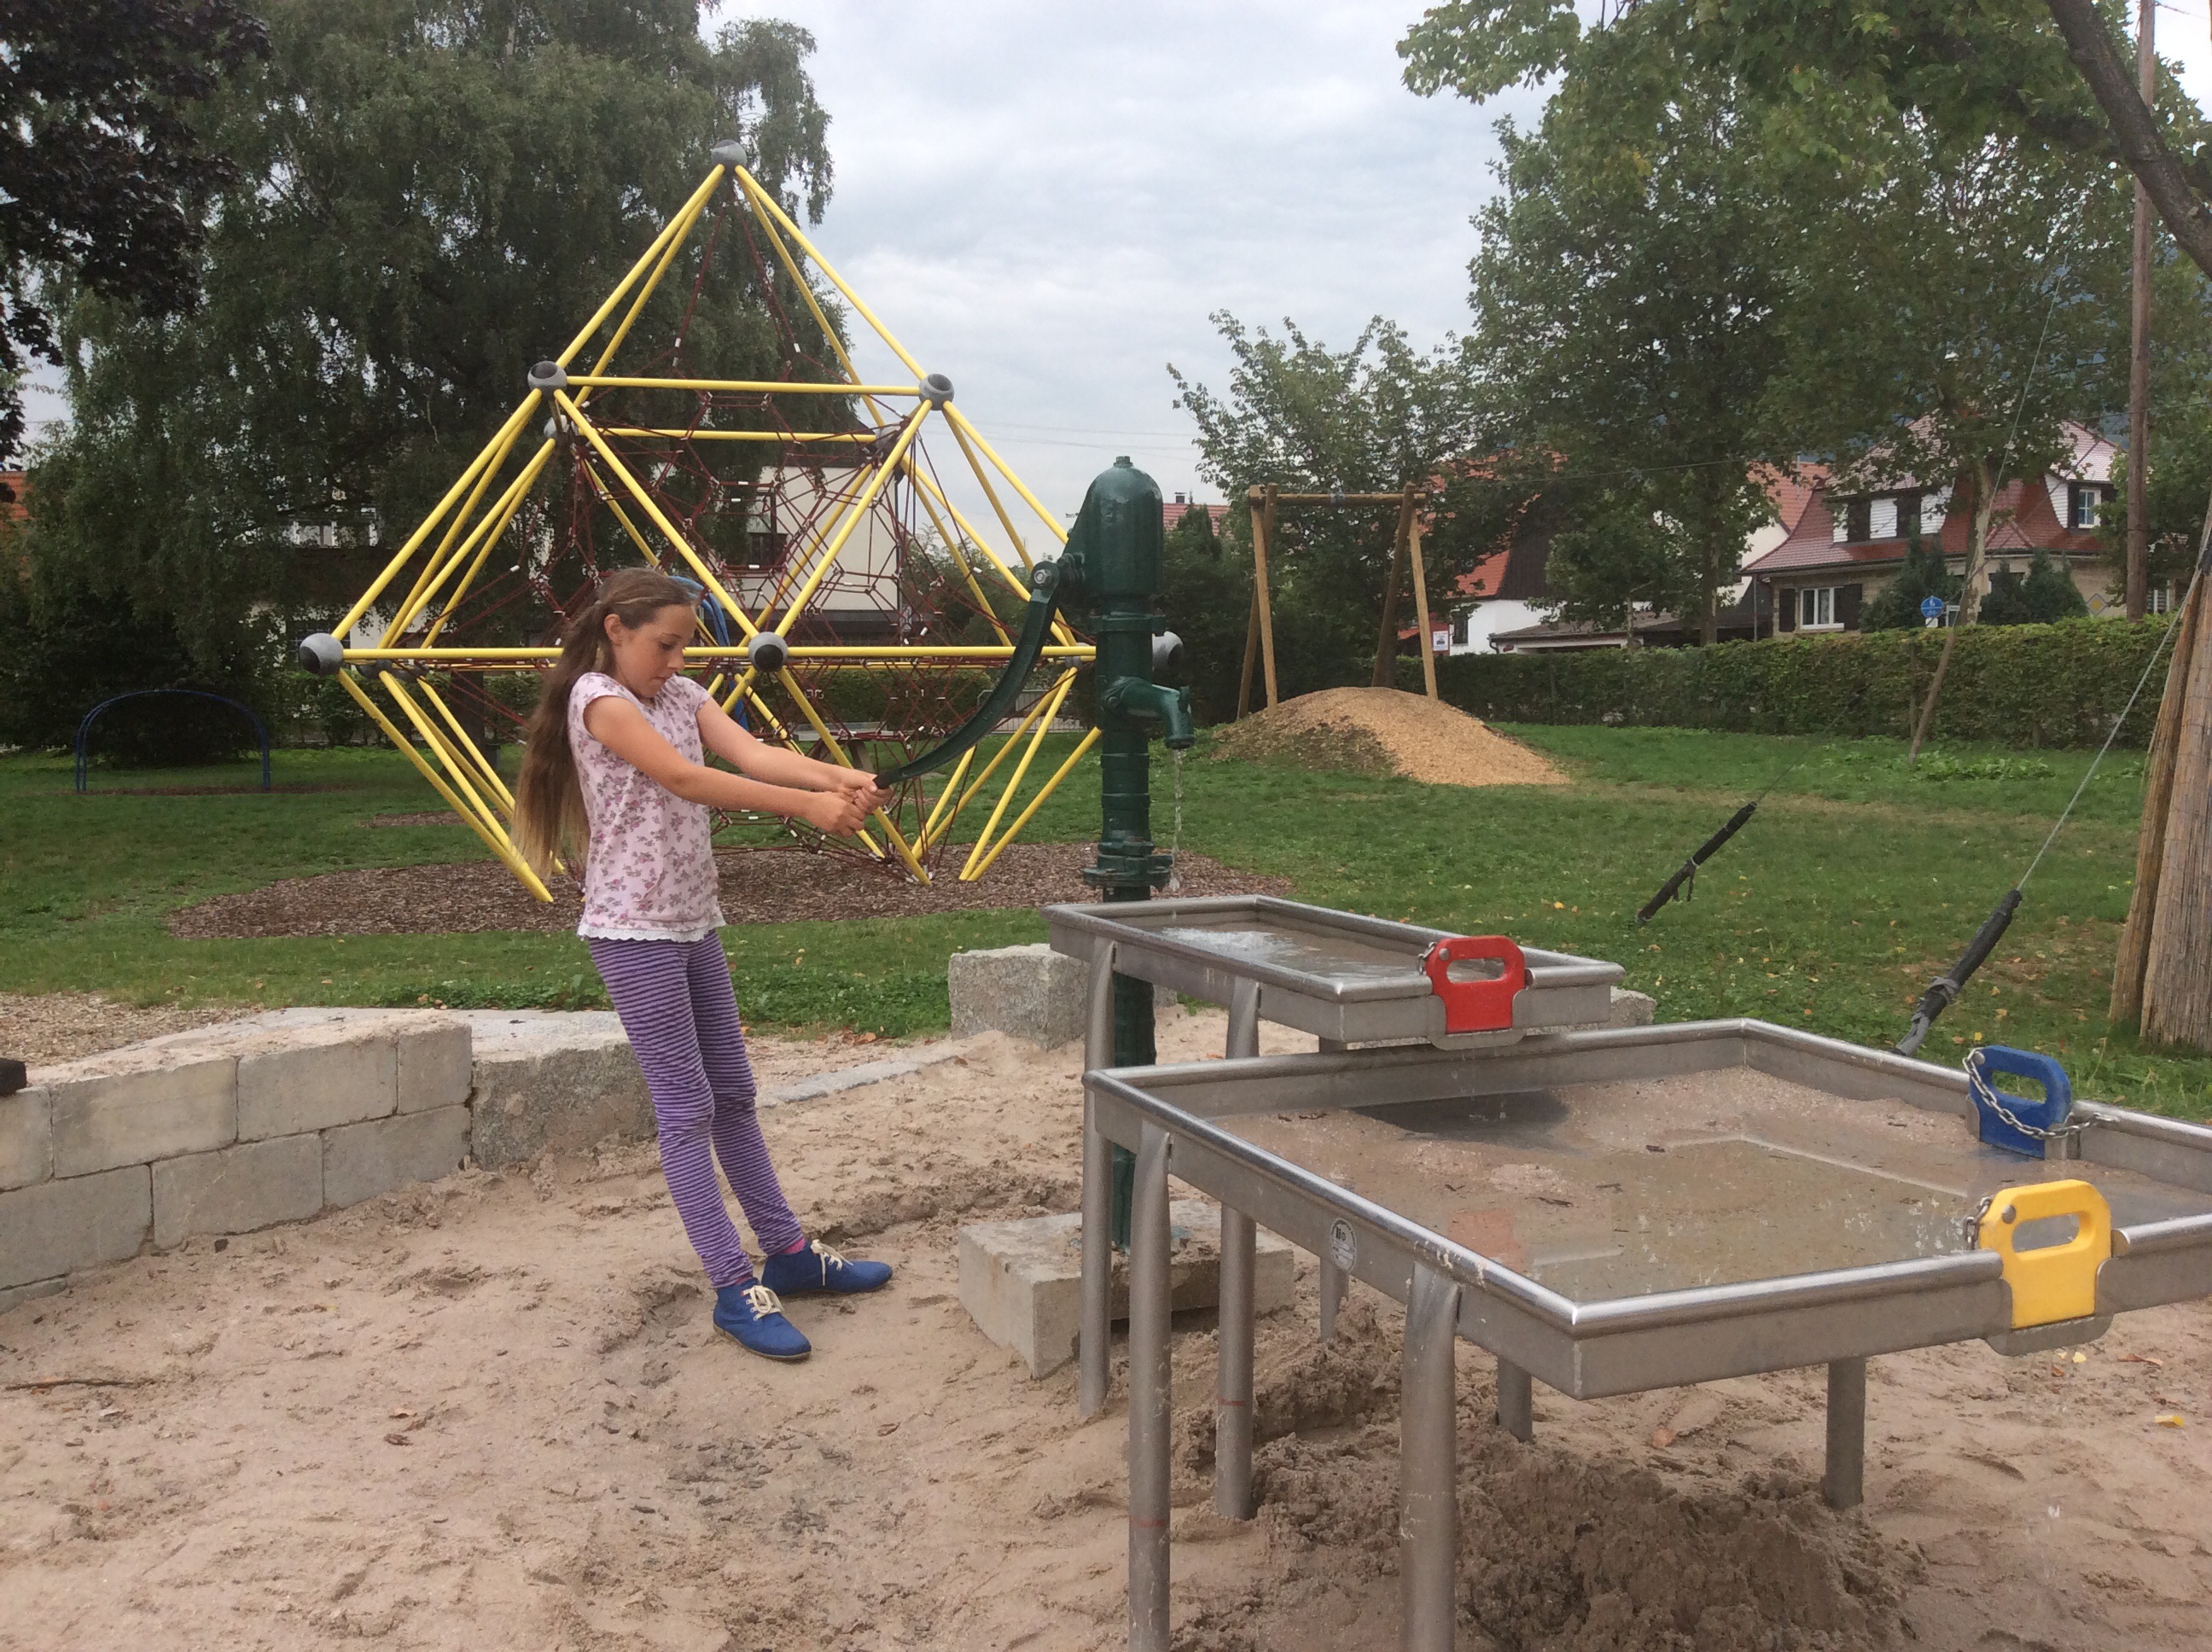


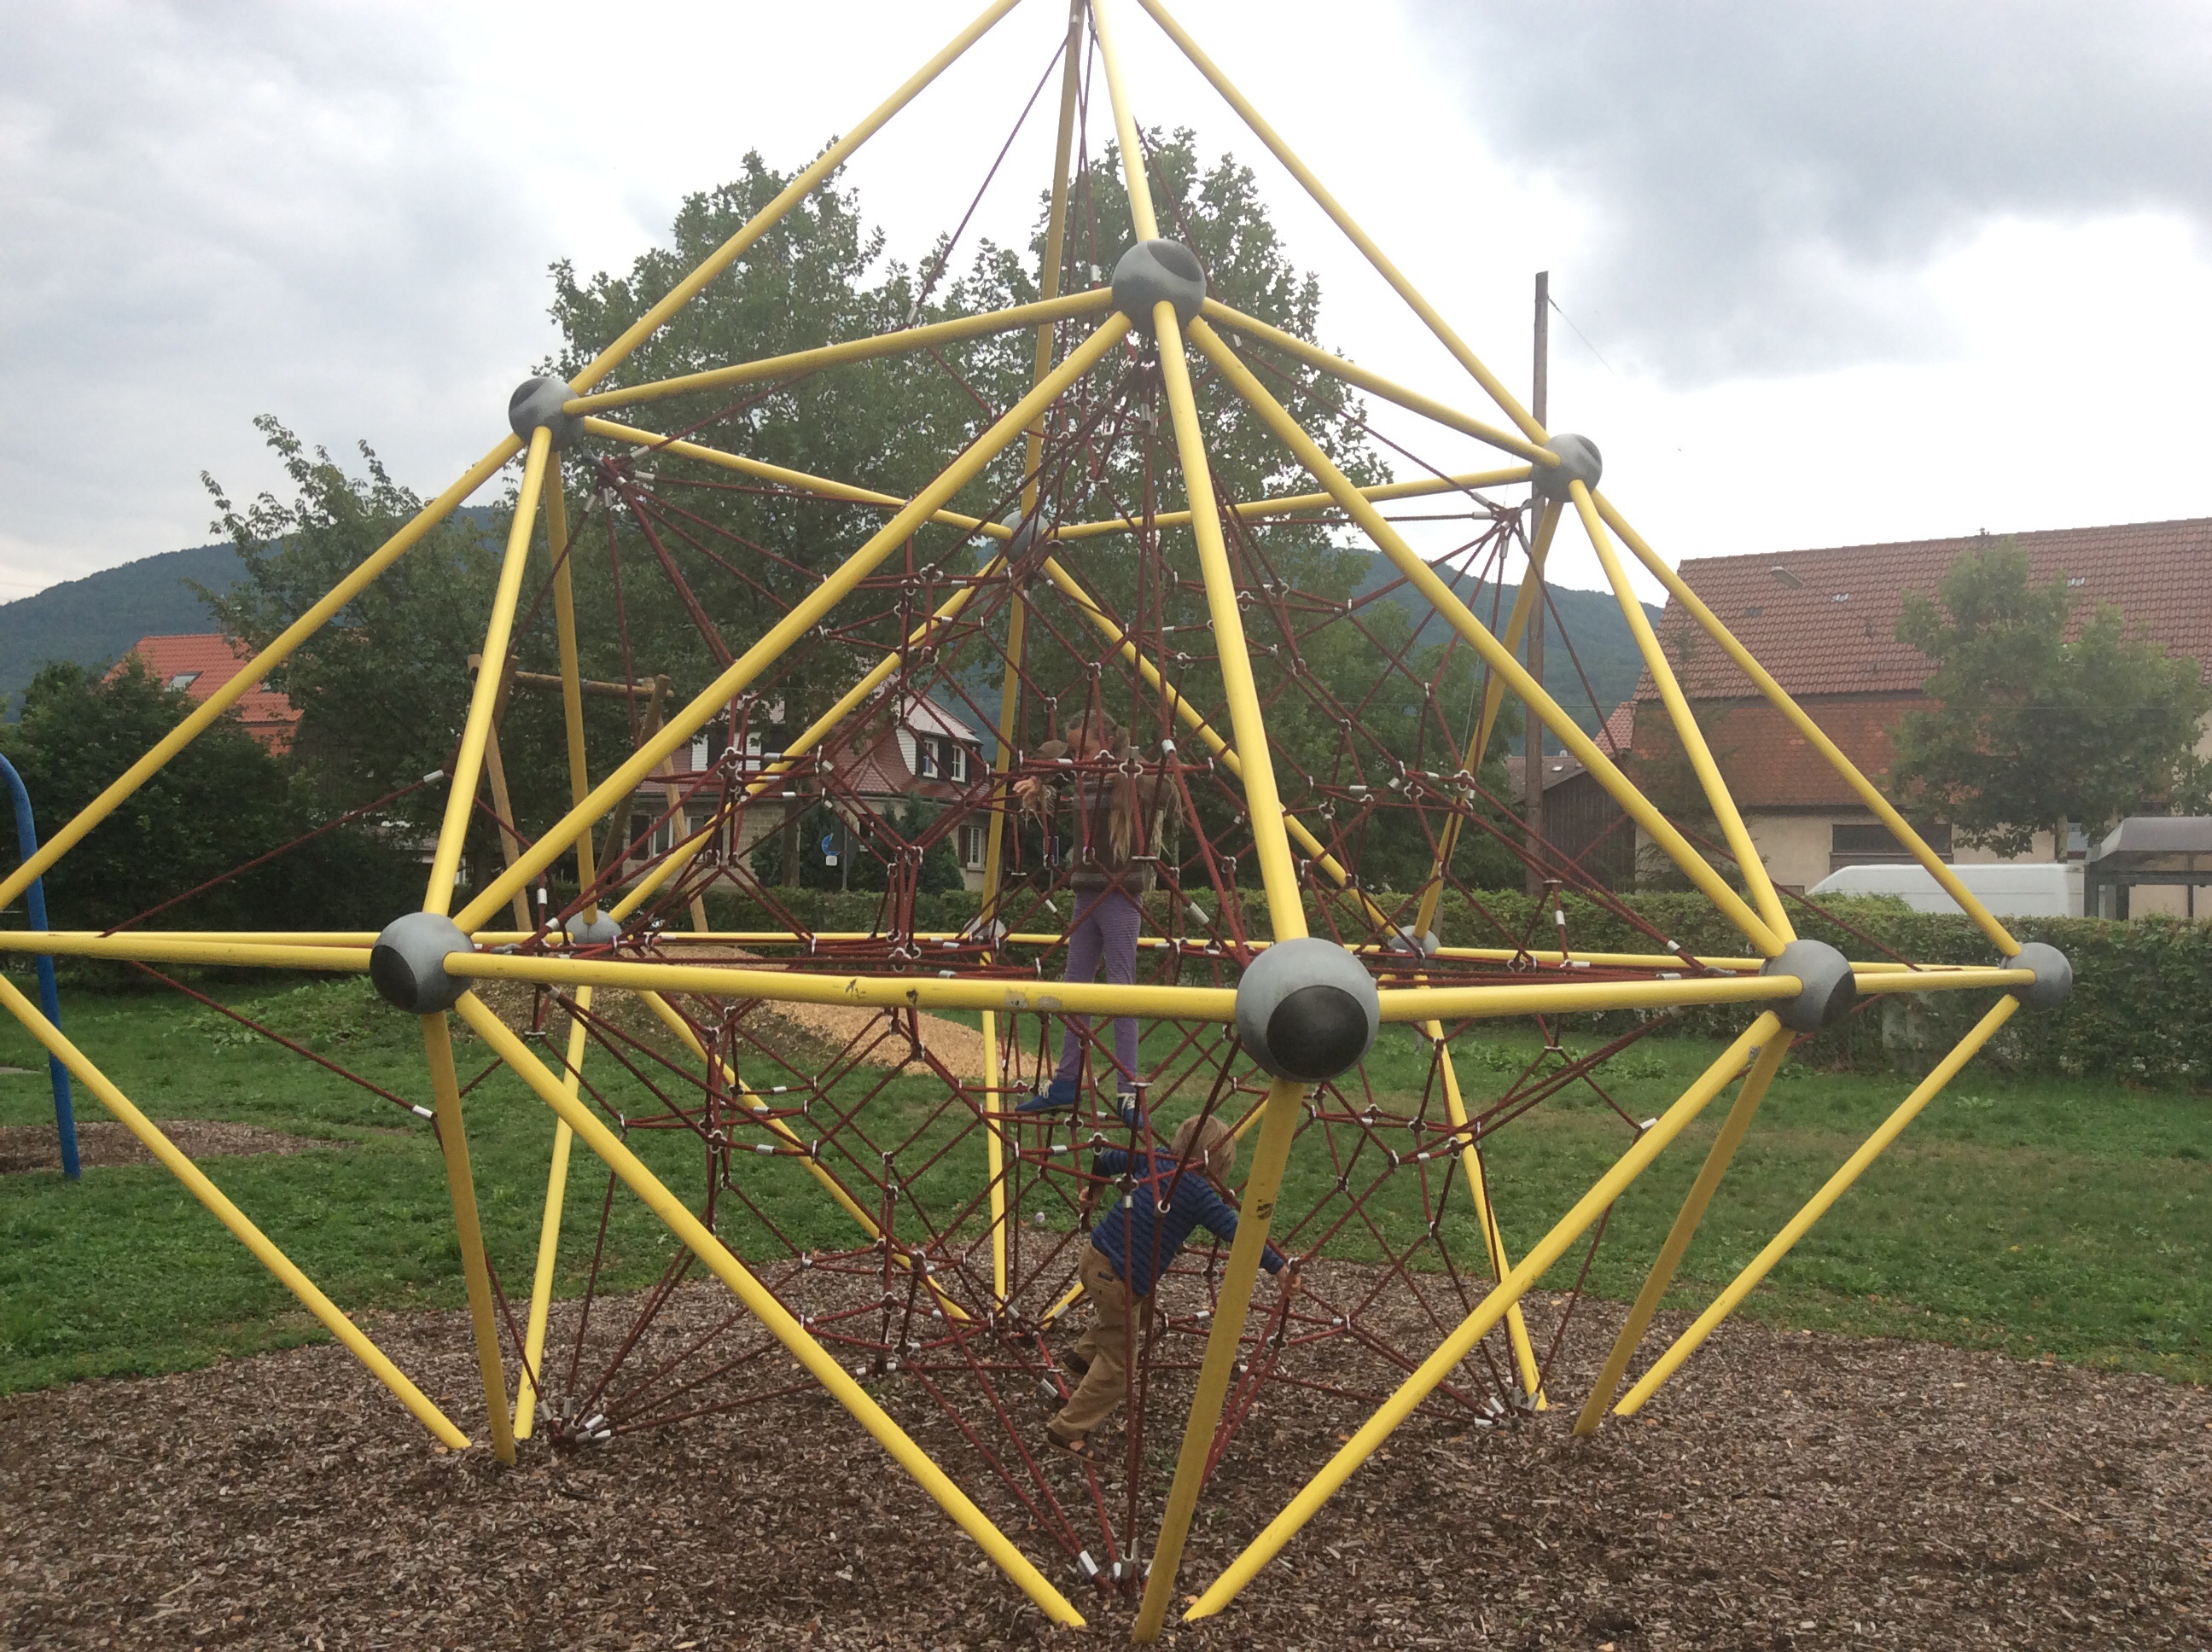


I hunted for four leaf clovers (unsuccessfully) and enjoying watching while the two spent half an hour cleaning the sand out of the water play basins and creating waterfalls. I know Lily gets lonely for friends her own size when we travel and I cherish the richness of her relationship with Cedar and their ability to play together despite 6 years age difference.
They where really engaged with the water pump and this initiated more conversations about living in historical times, continuing on from visiting Lichtenstein Castle earlier in the day. Shall we detour there right now, it’s a lovely late summer day in Southern Germany….


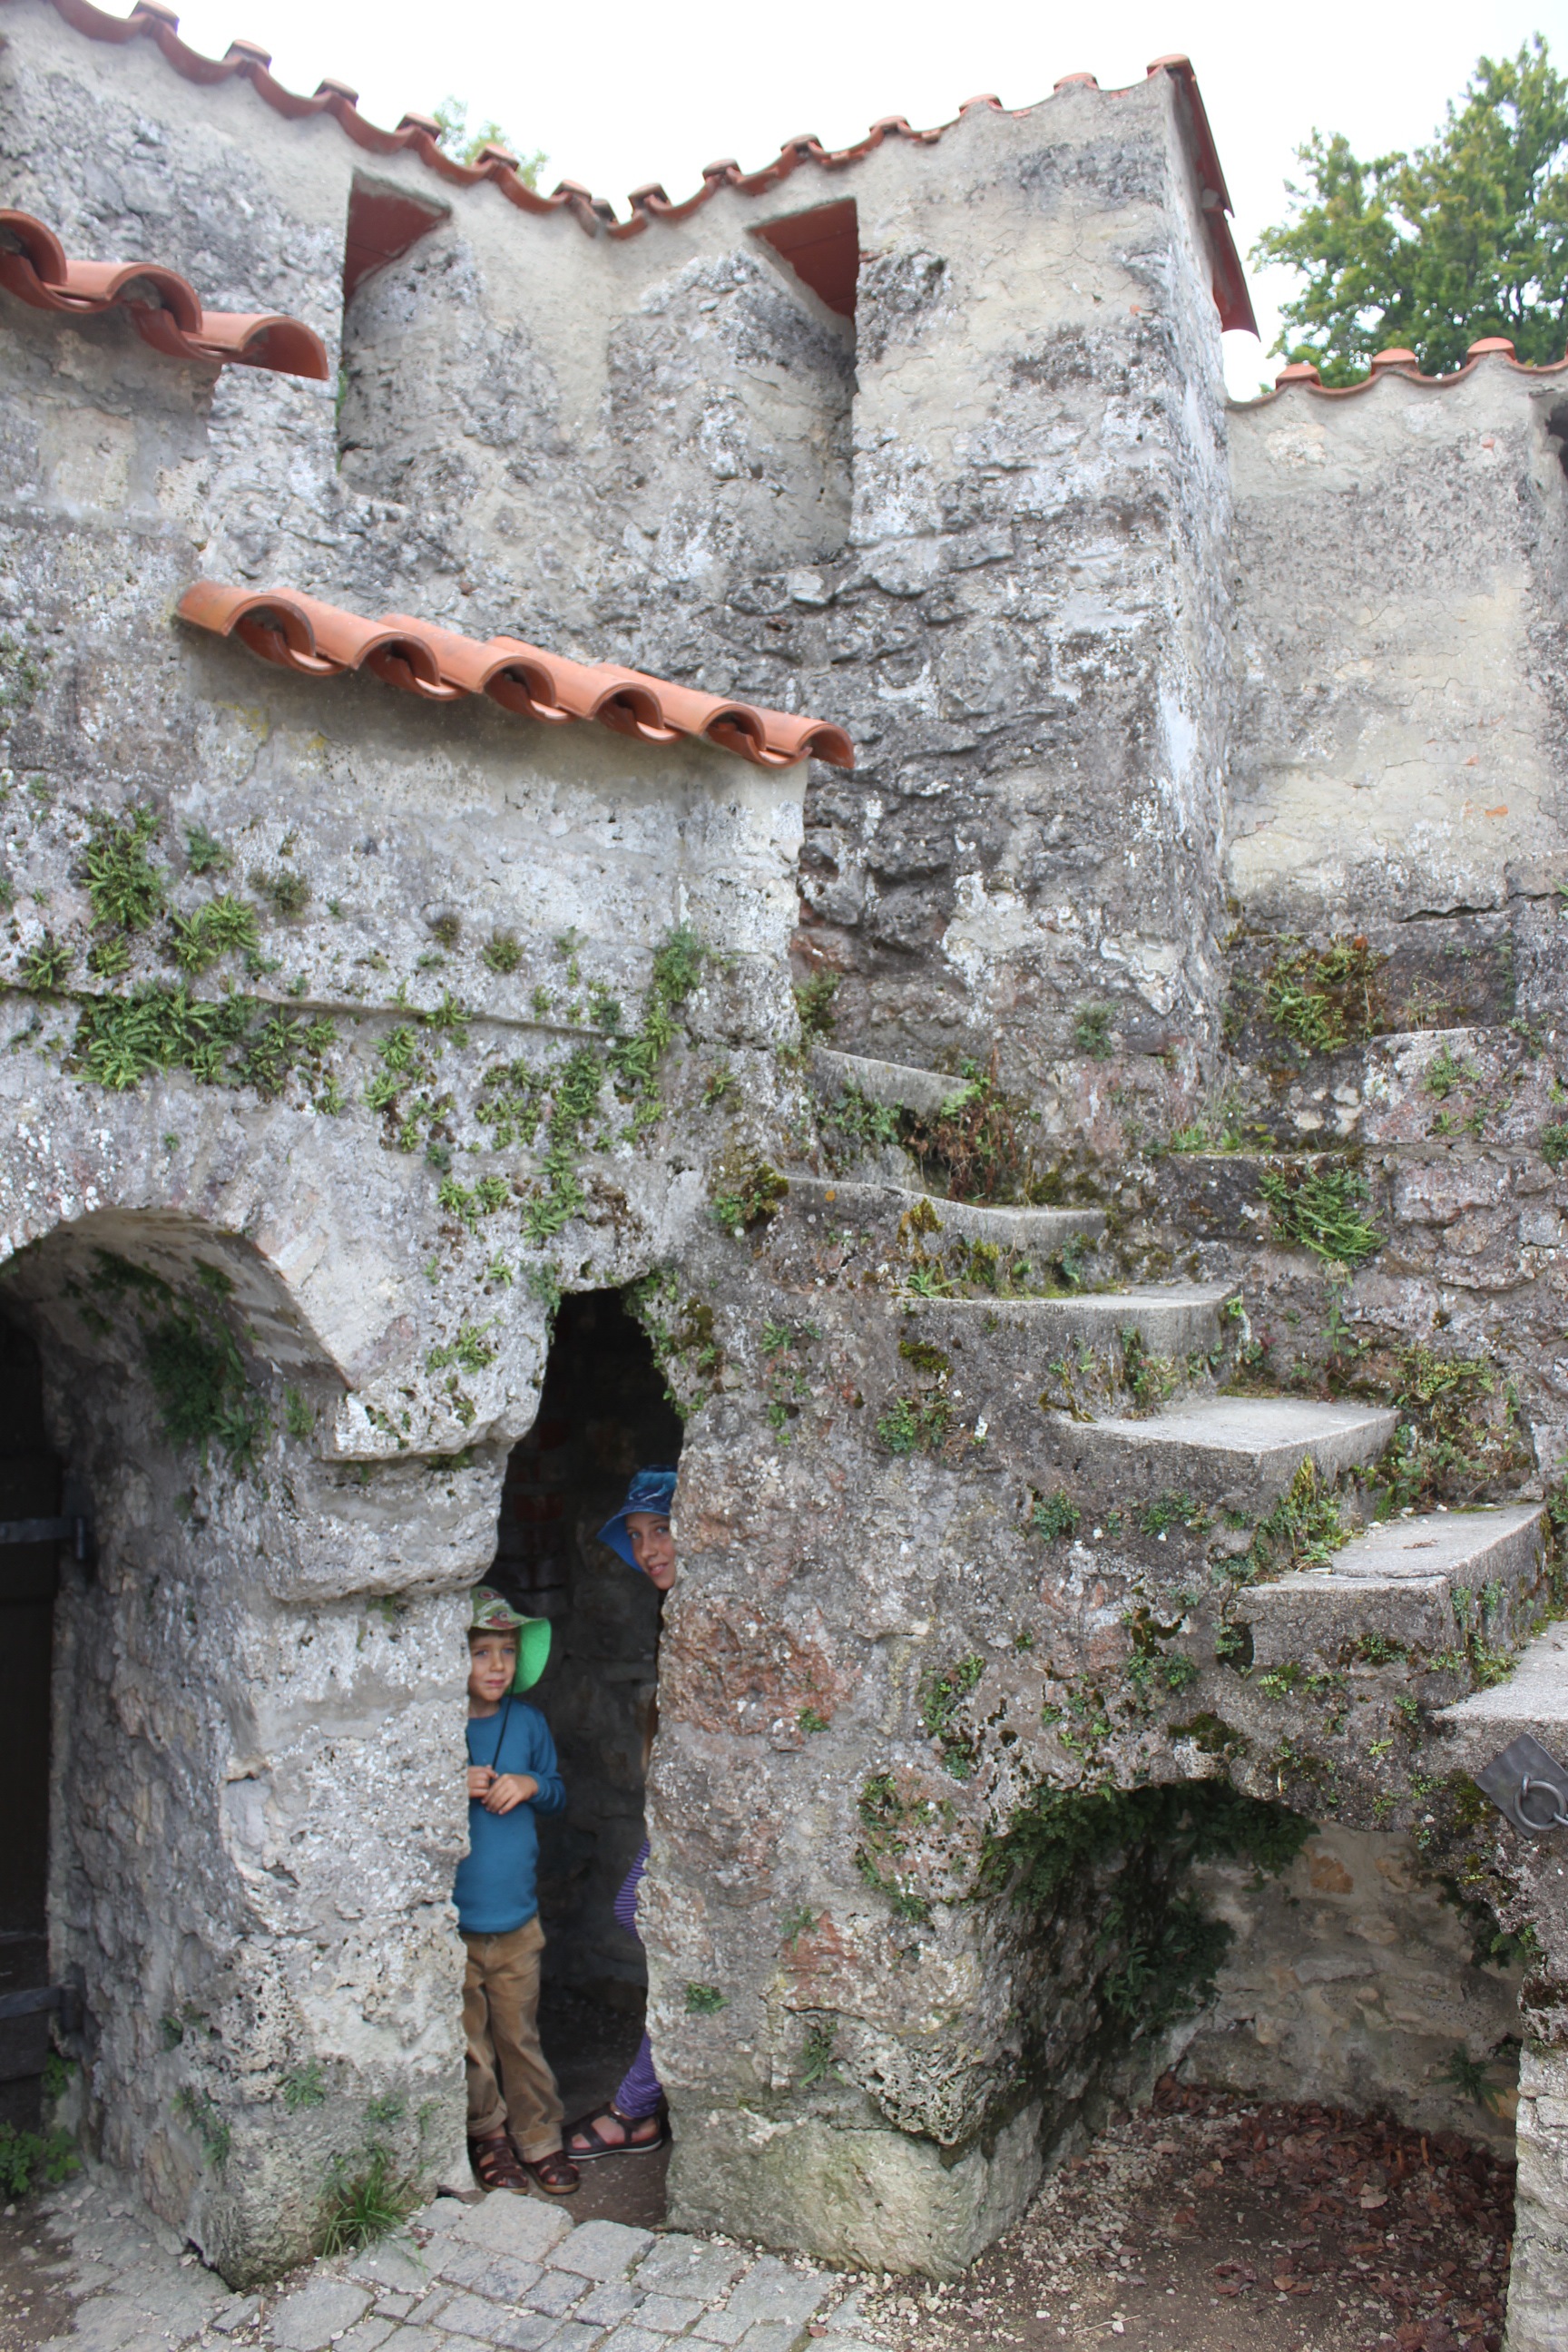
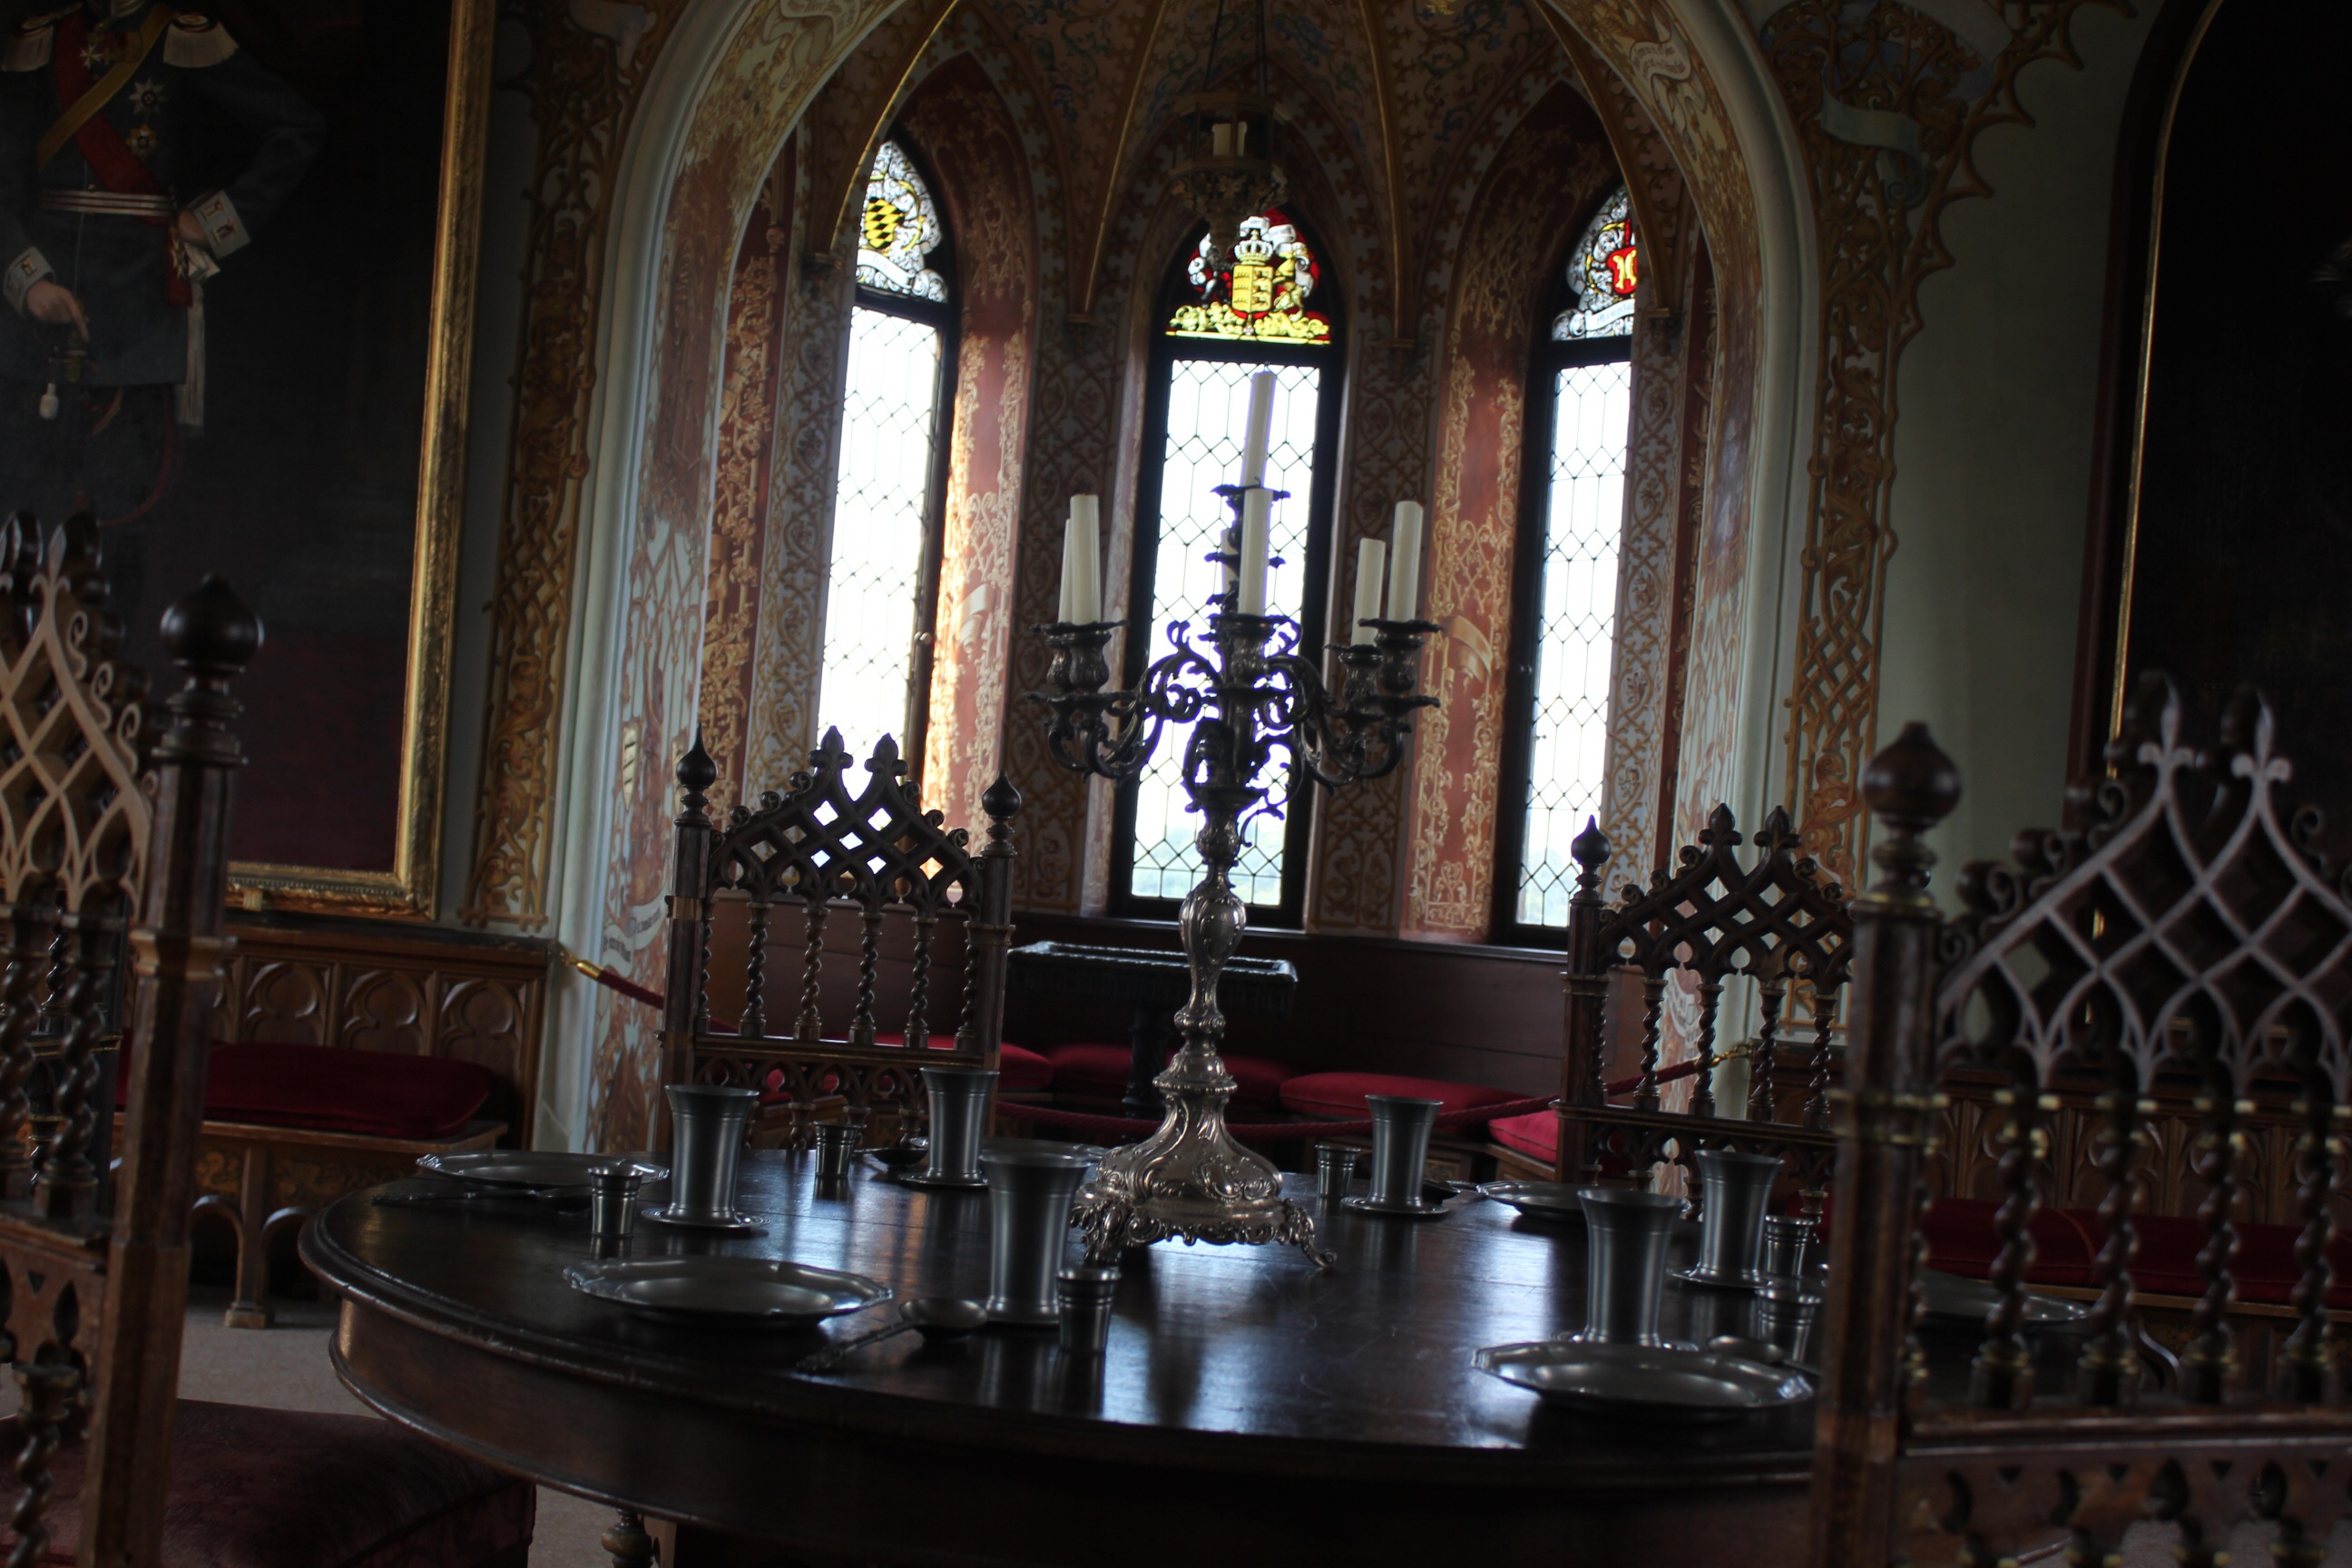

 We took the tour so we could snoop around inside the castle. I was especially enthralled with the detailed paintings on walls and ceilings. Photographing strictly Verboten! So you will have to go there yourself.
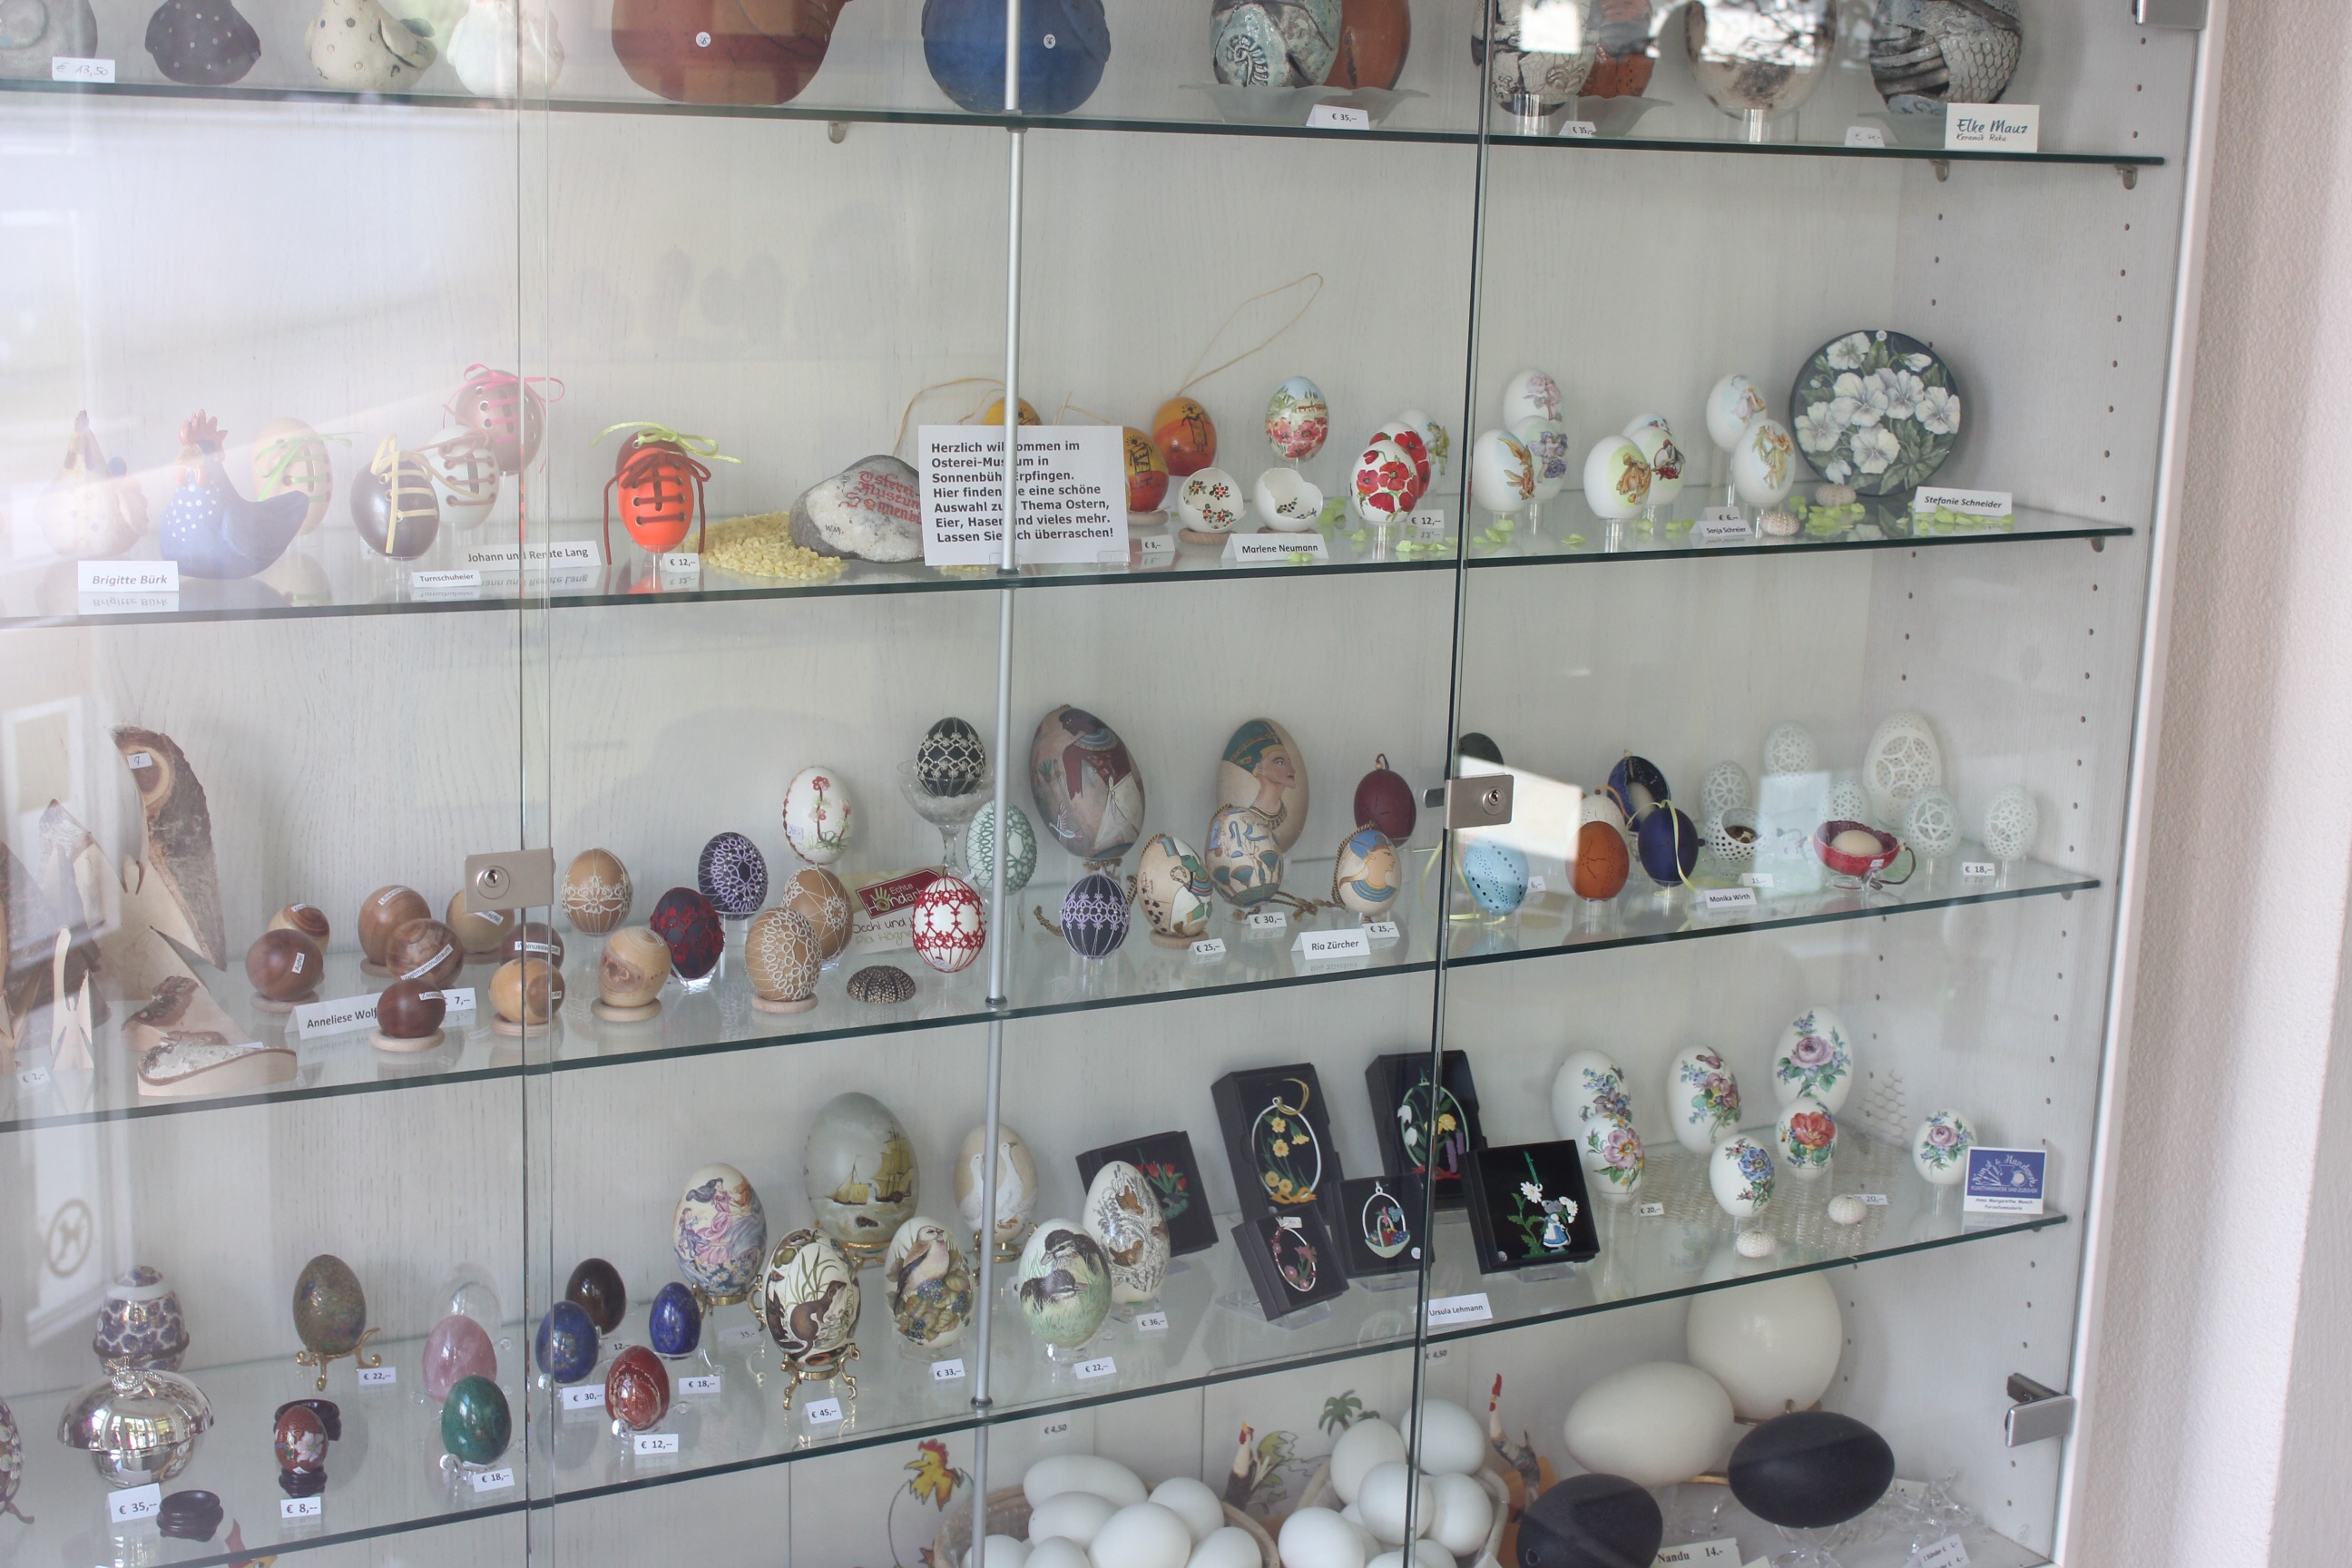
Afterwards we sought out the Easter Egg museum, decorated not chocolate !unfortunatley closed but the glimpse in the door was inspiring for our own Easter festival. After studying ancient Egypt lily was taken with the egyptian artwork eggs in the centre.
Anyway back to geometry!
We have been playing with toothpicks and modelling clay to create a sample board. It began with lines, which naturally flowed into the exploration of what can you make with lines.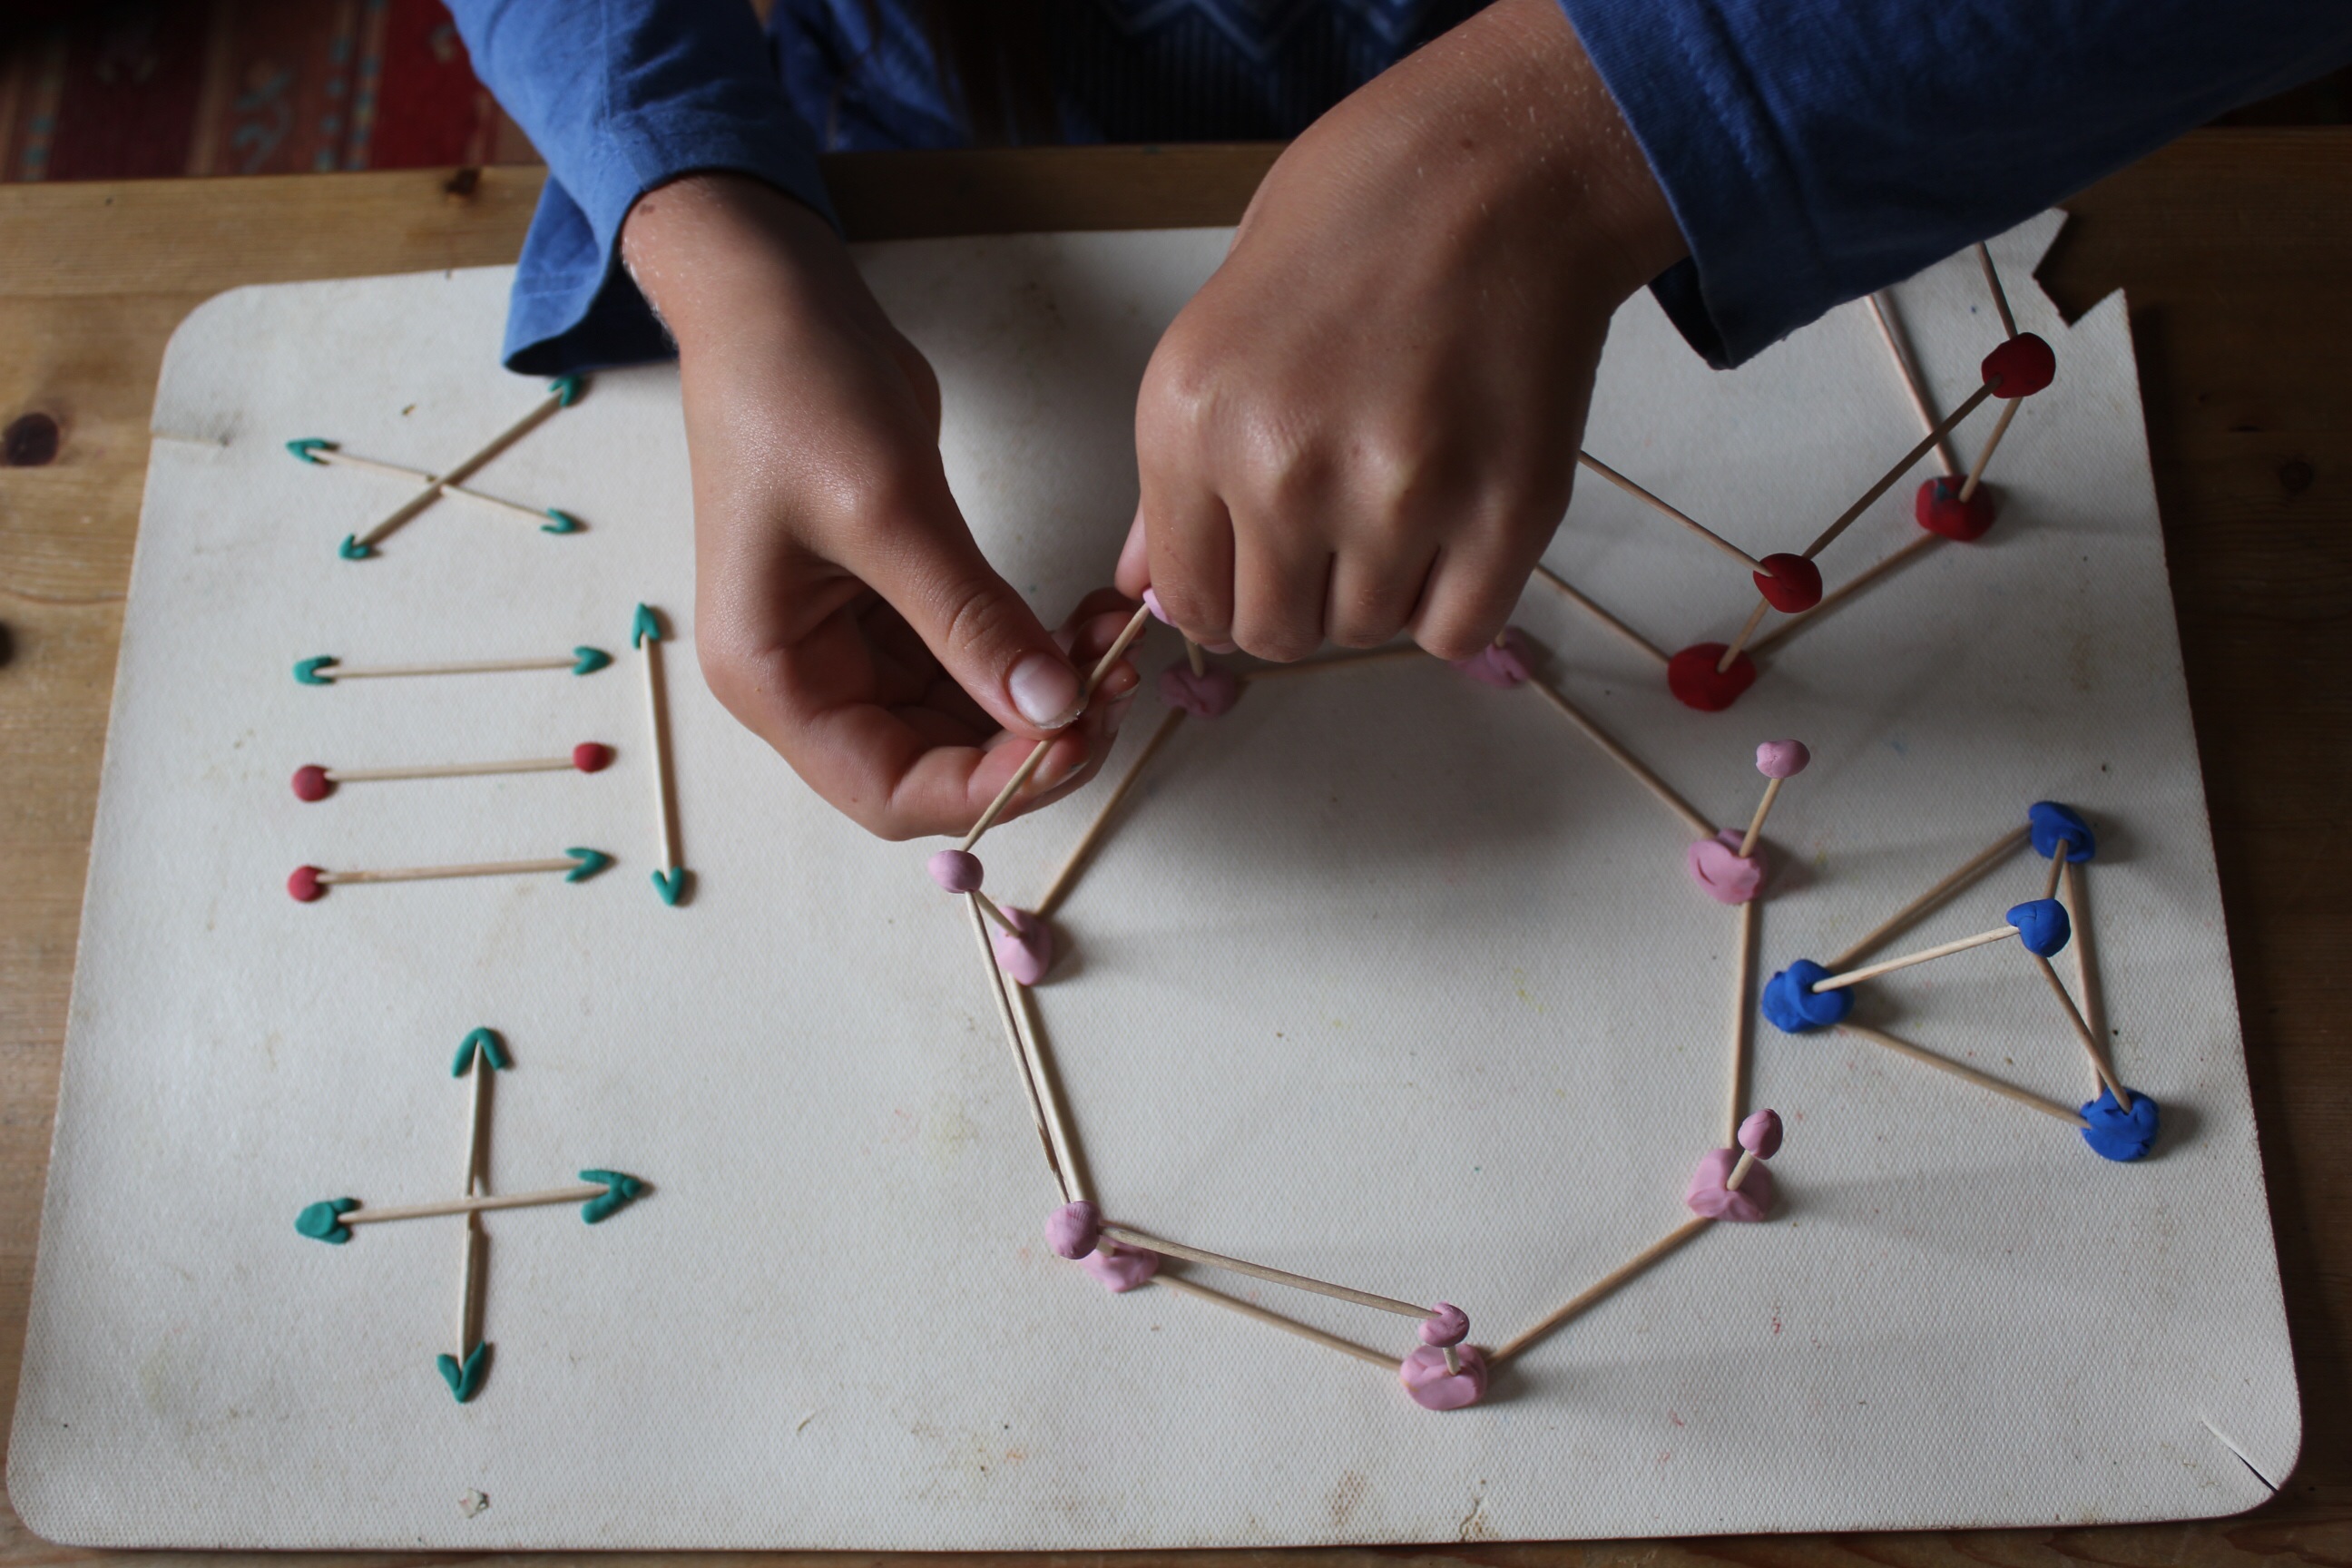
 glimpses from Lily’s main lesson book.
It is fascinating the different polygons and patterns which are made when you follow the times table…

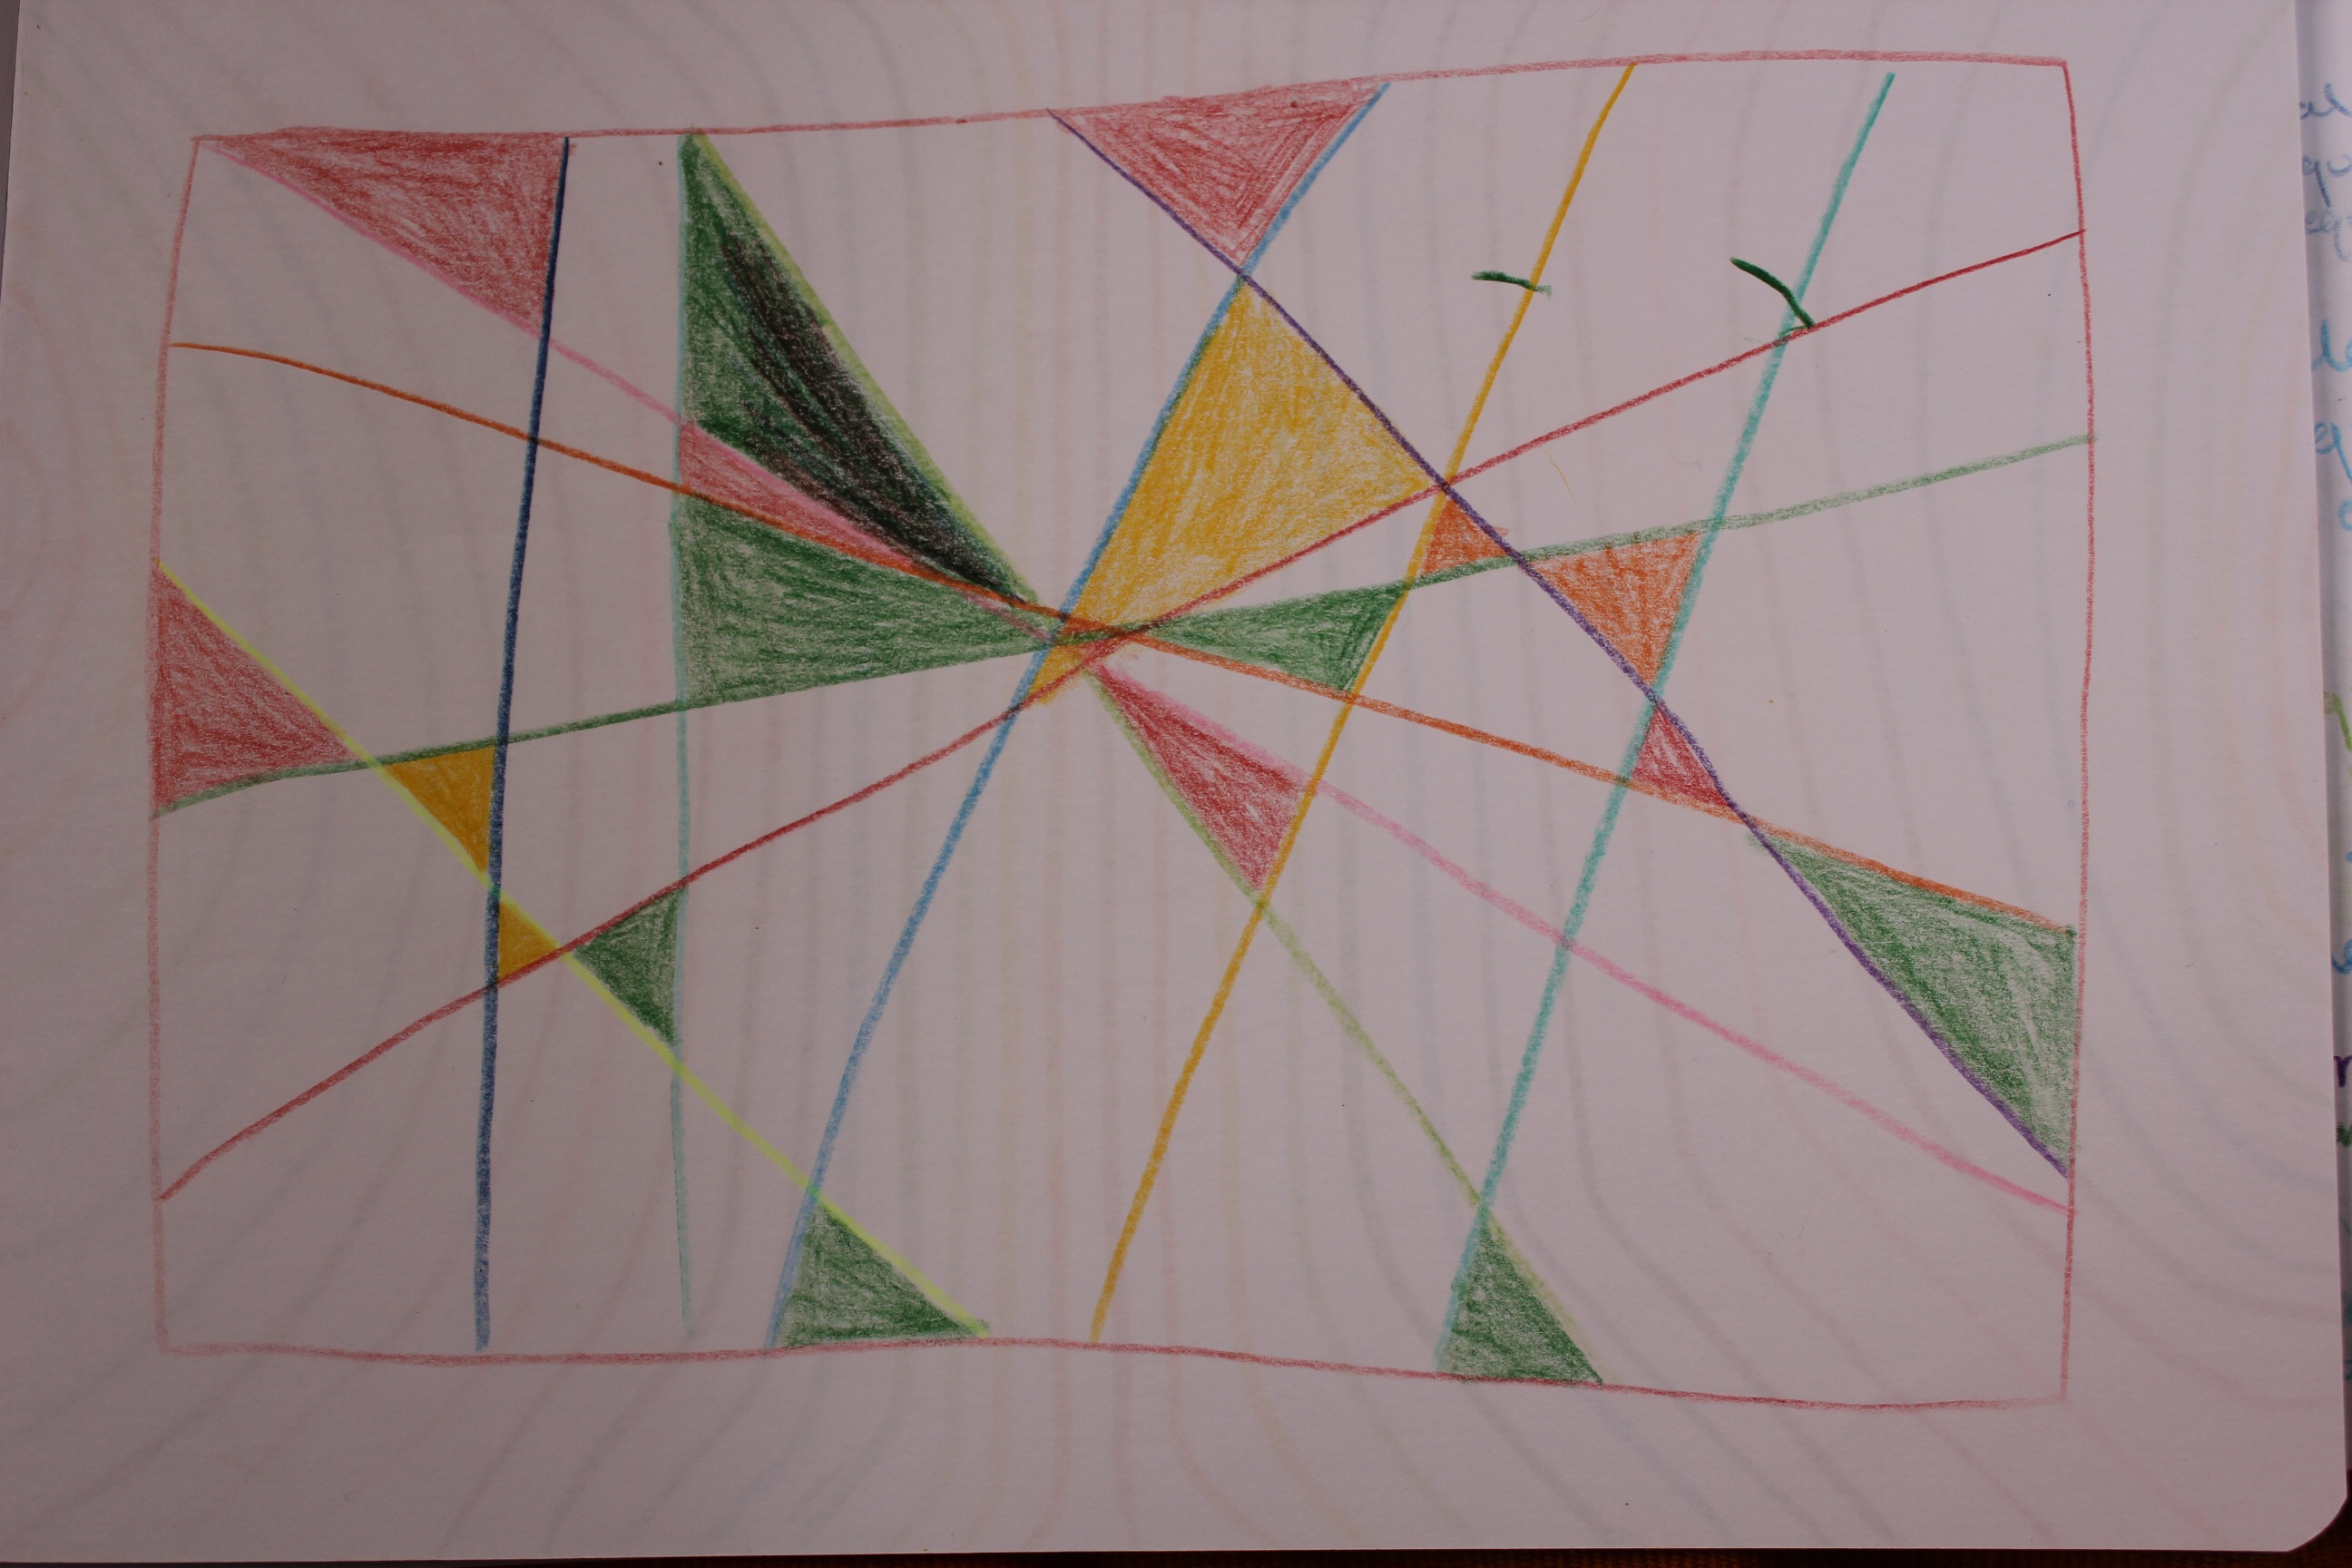
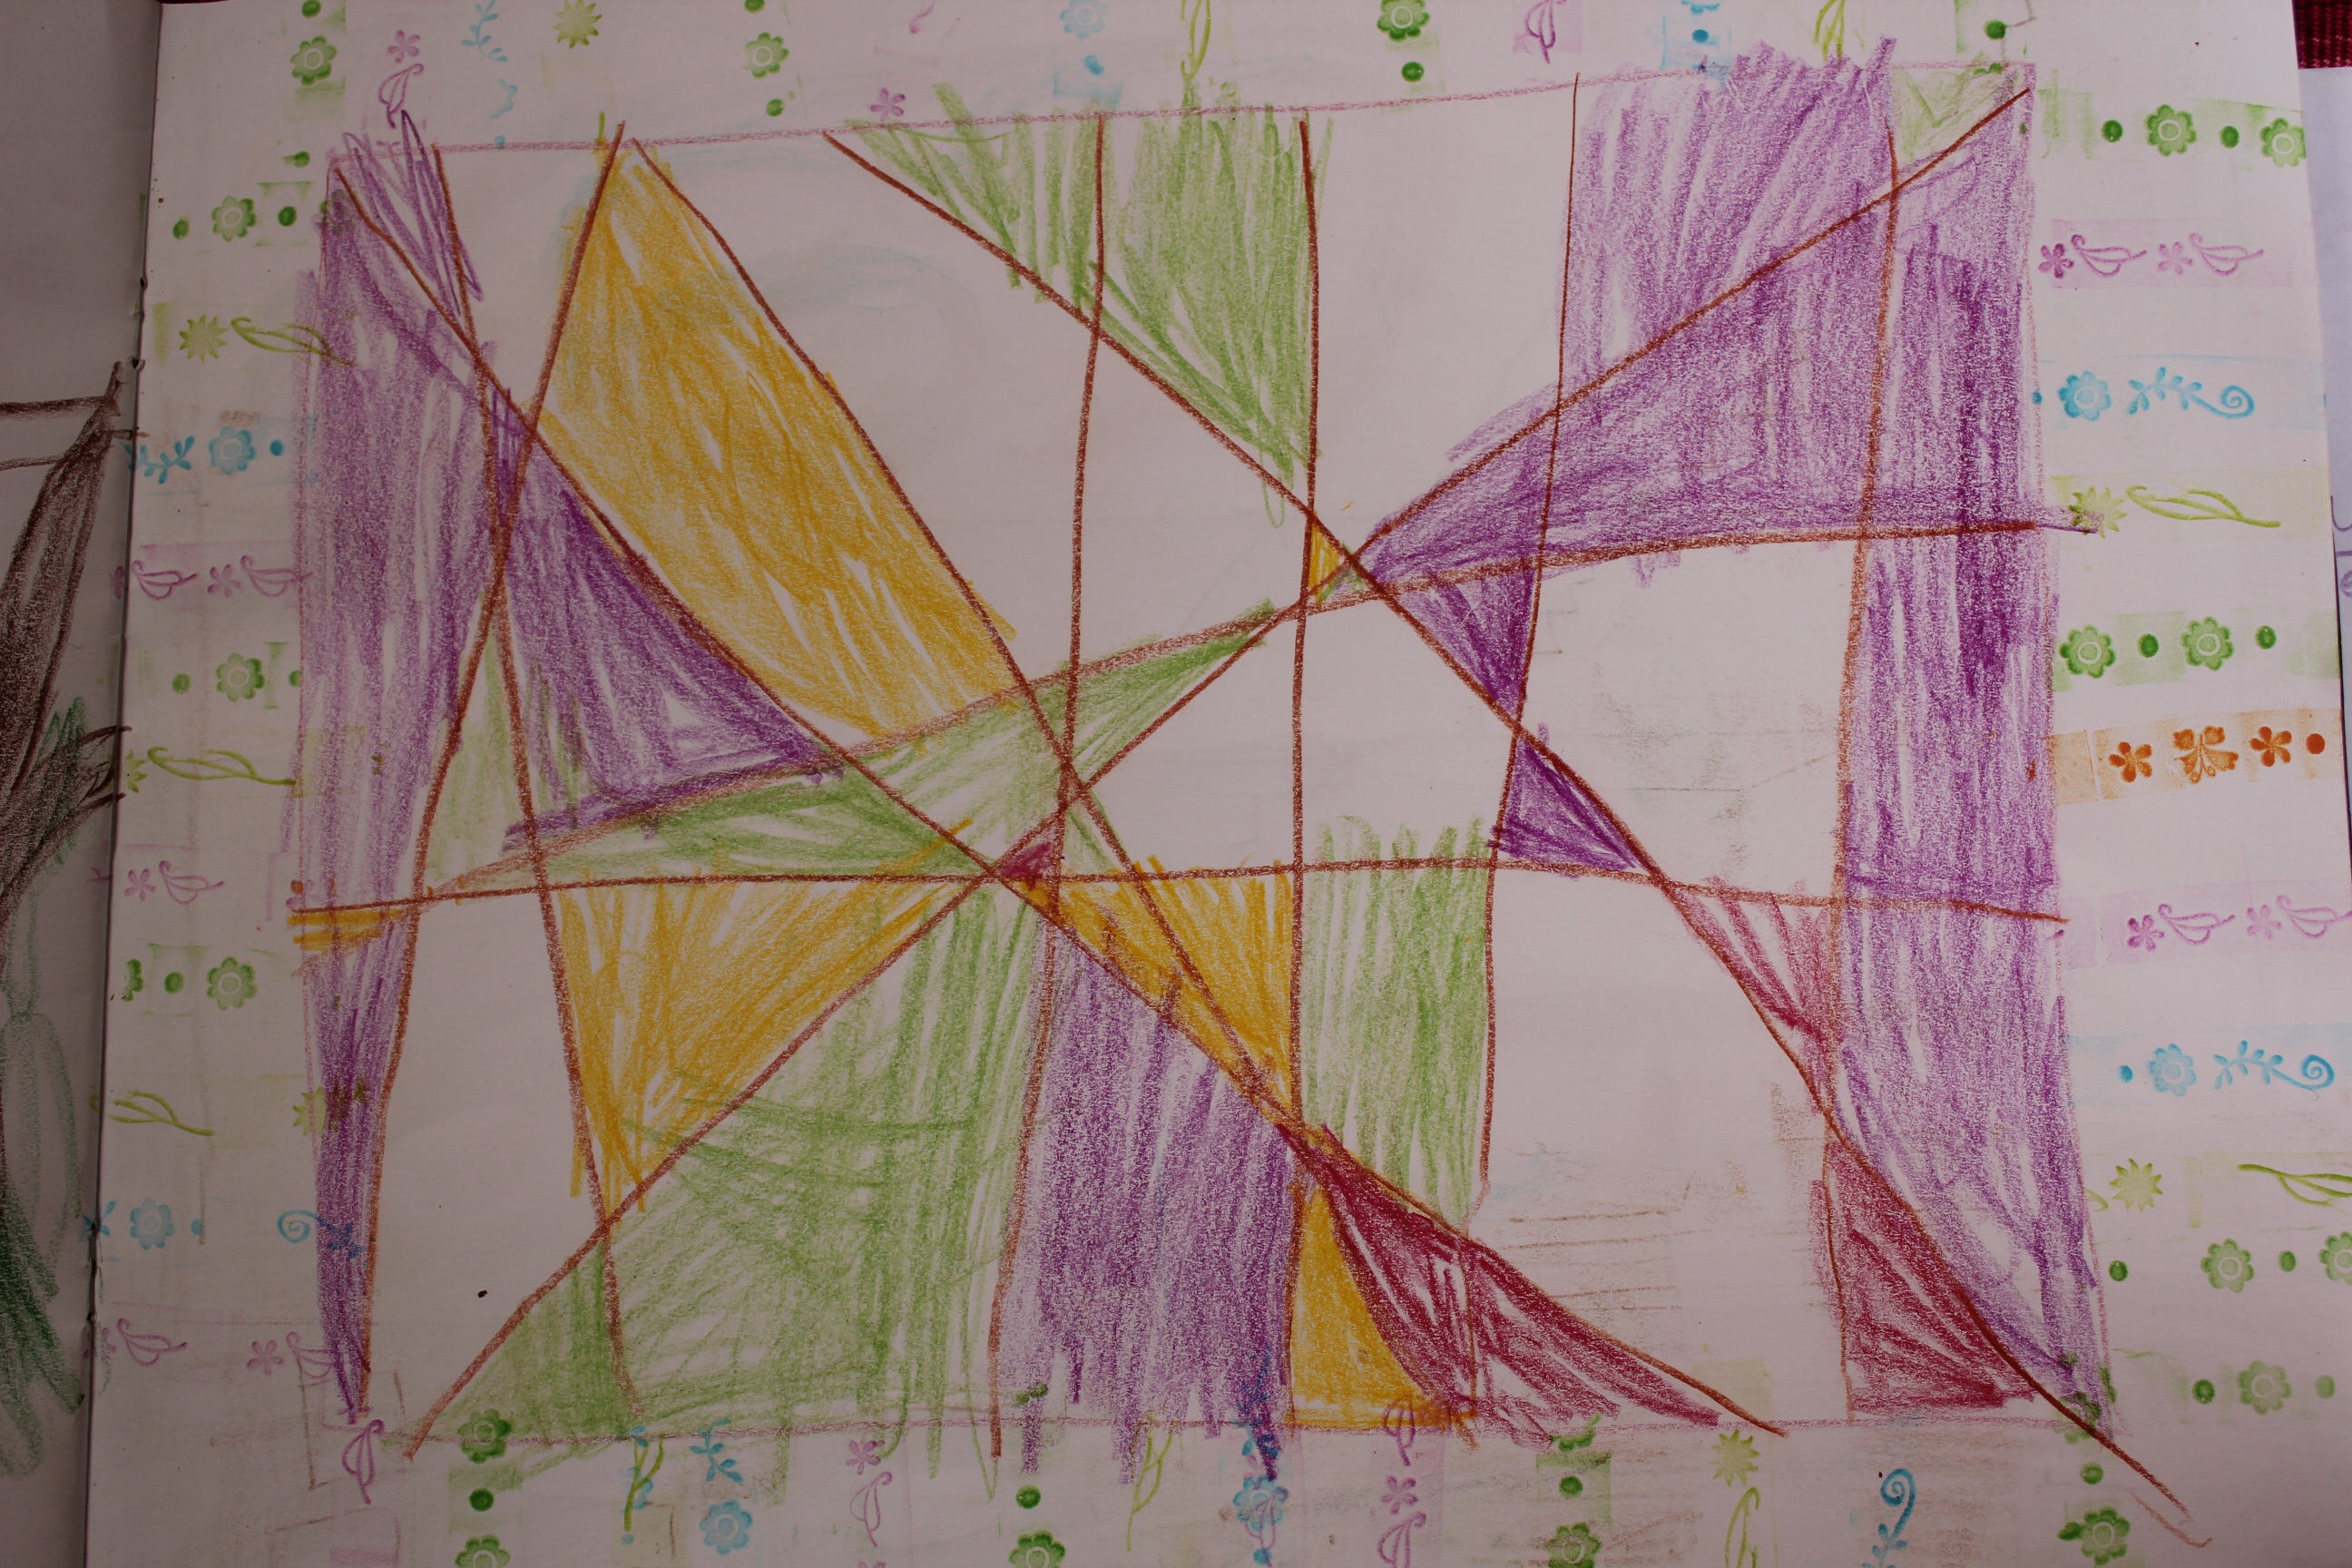
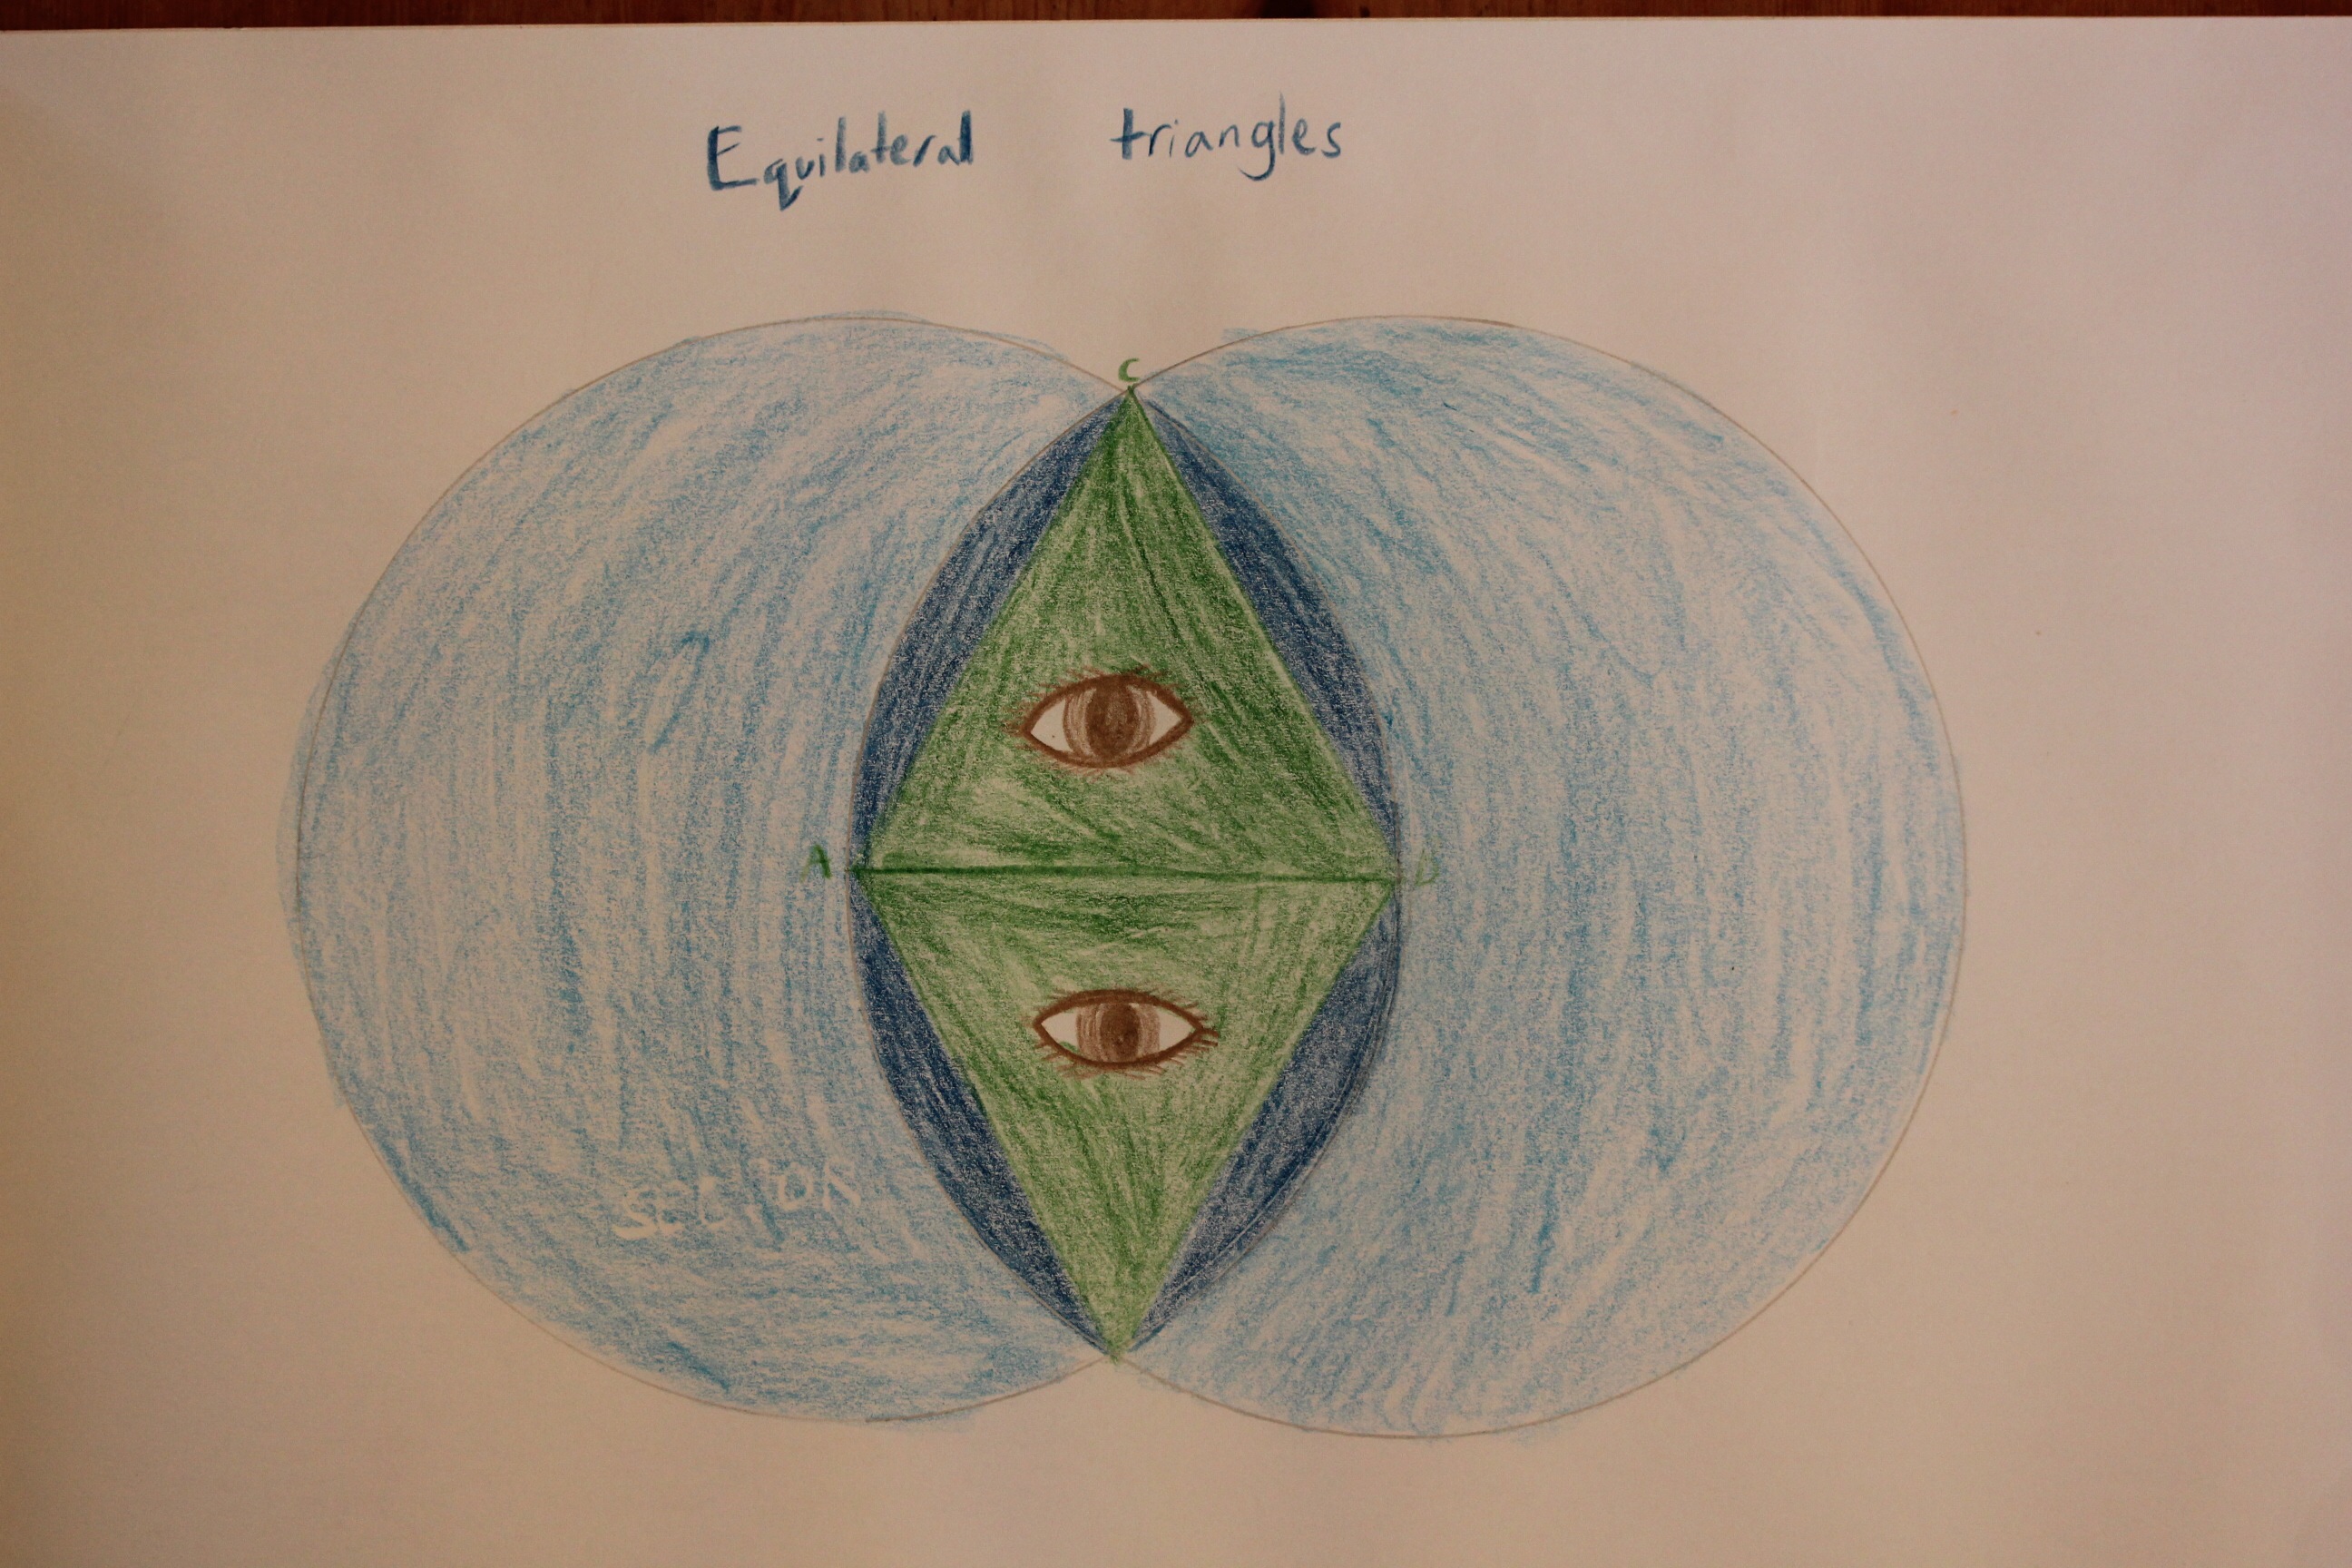
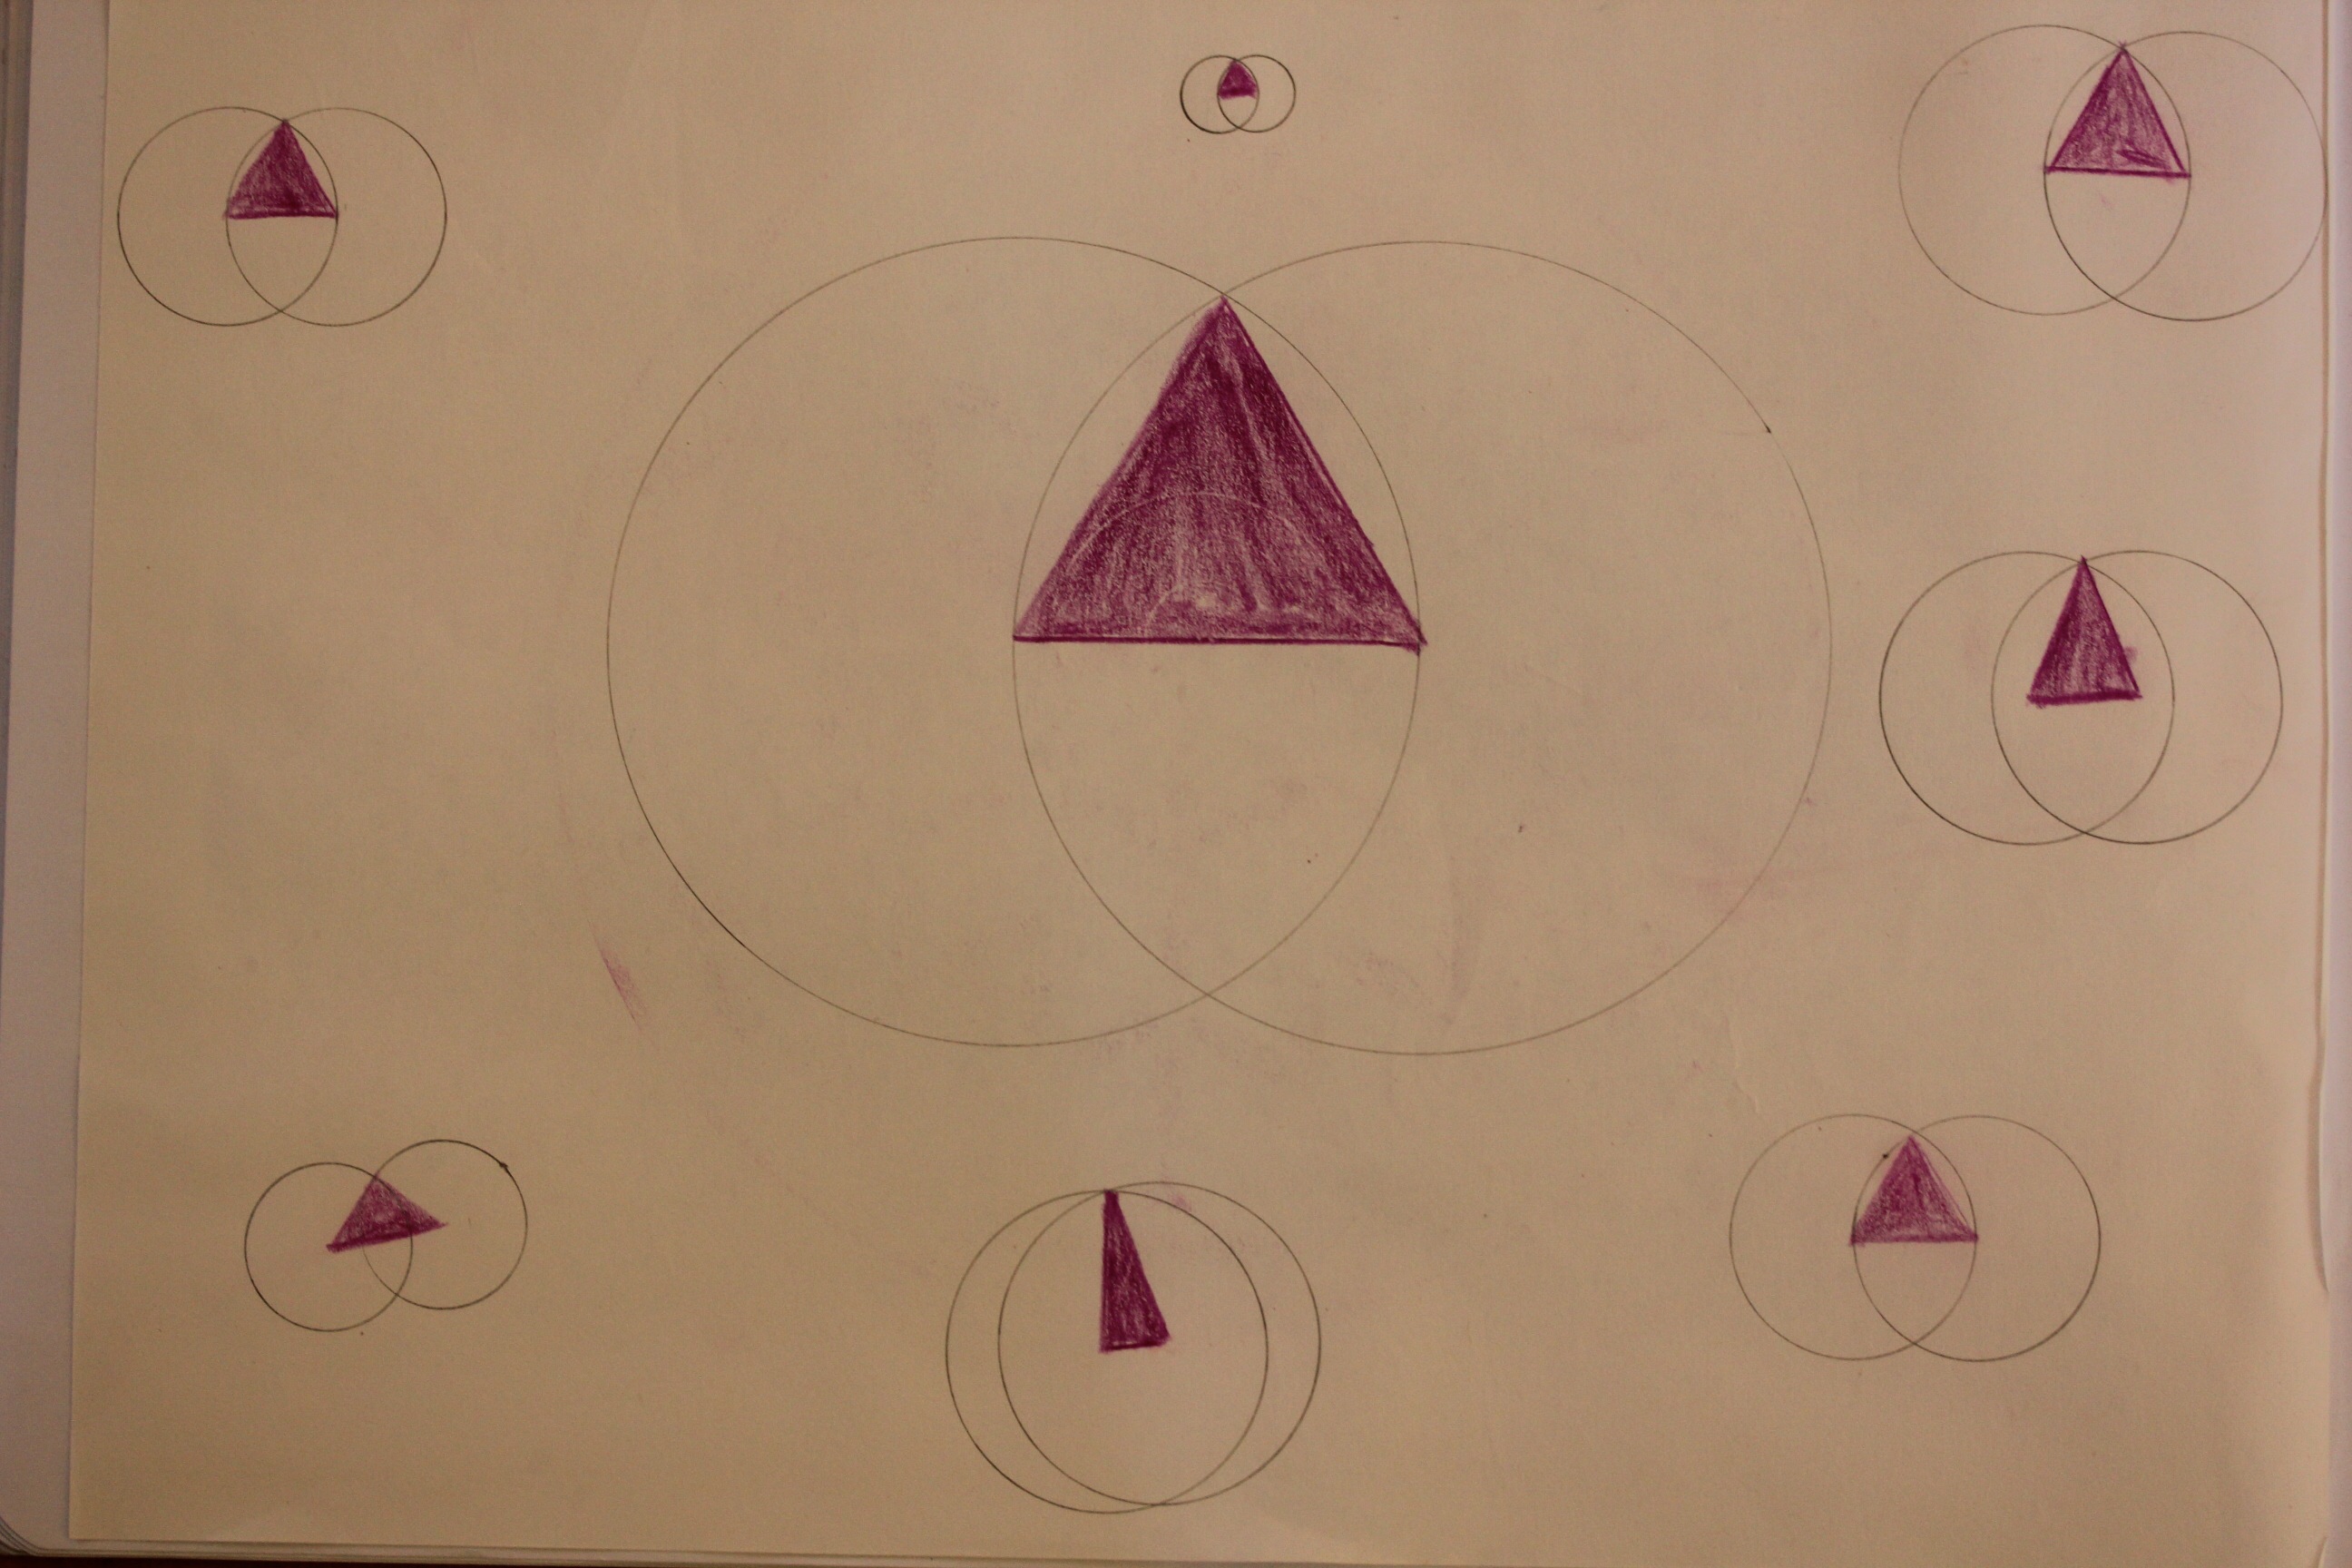
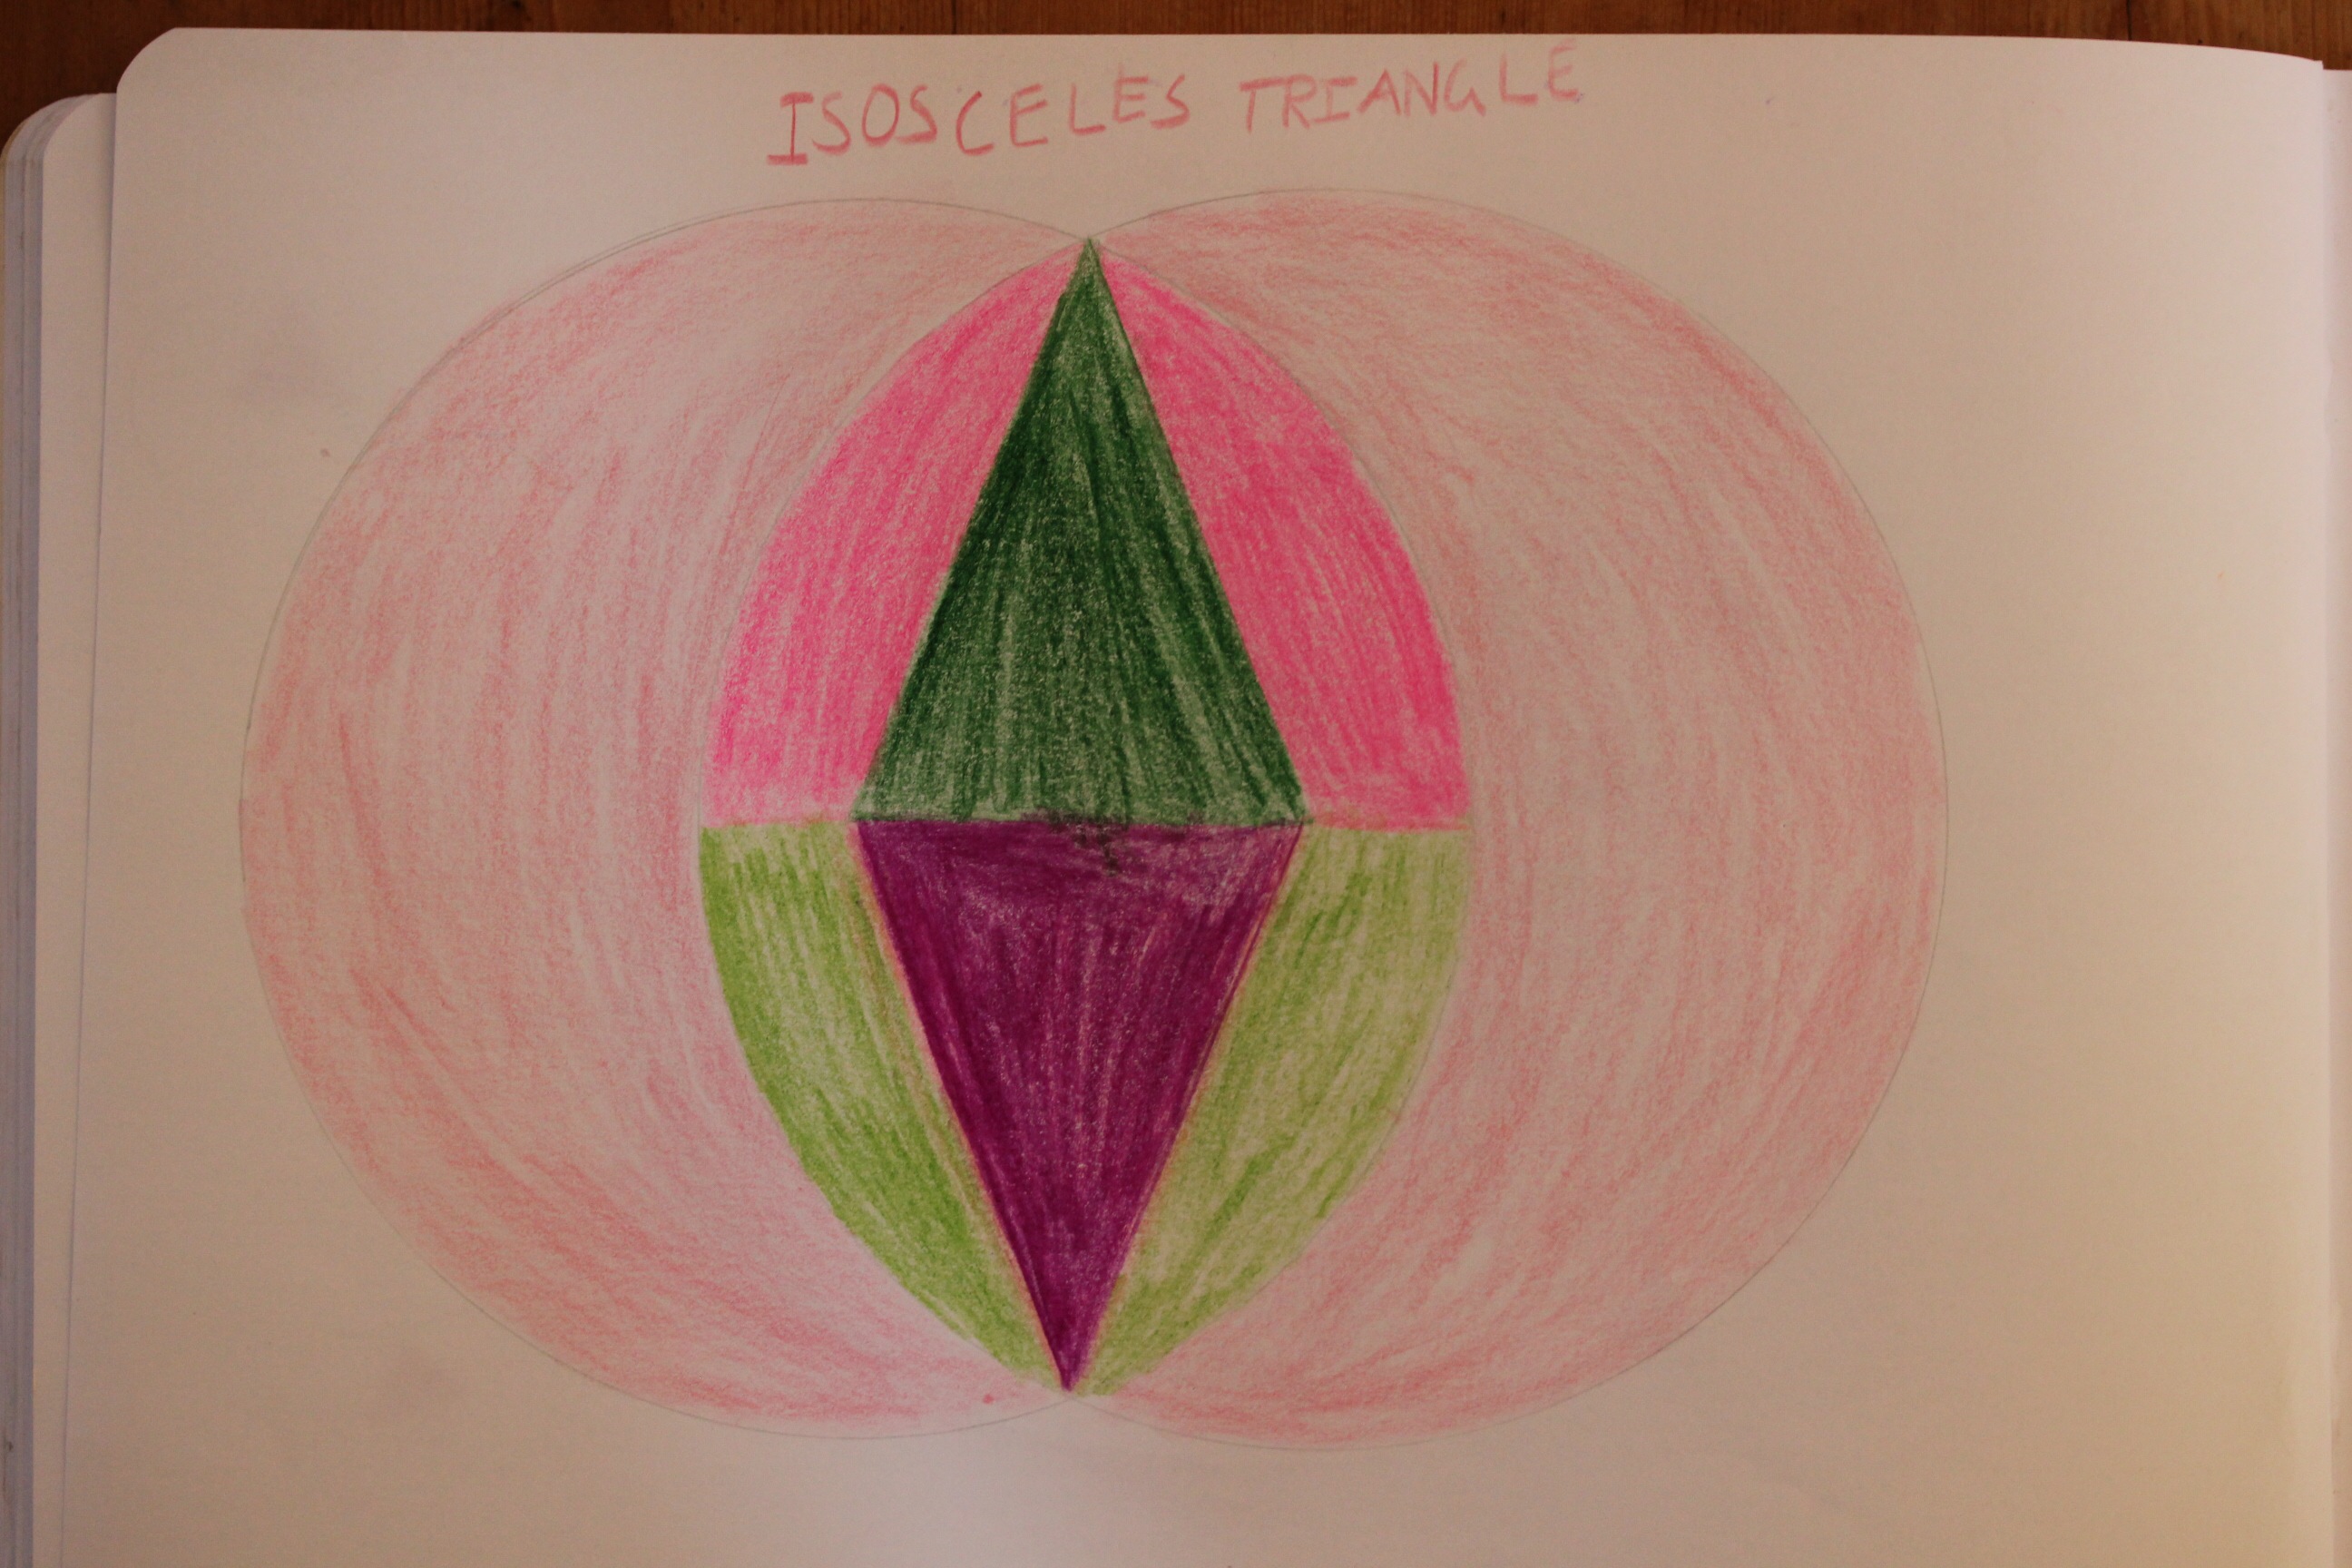
Draw a dozen intersecting straight lines, then identify and color the various types of triangles.
Mamas exploration.  Lily’s
 Cedar’s
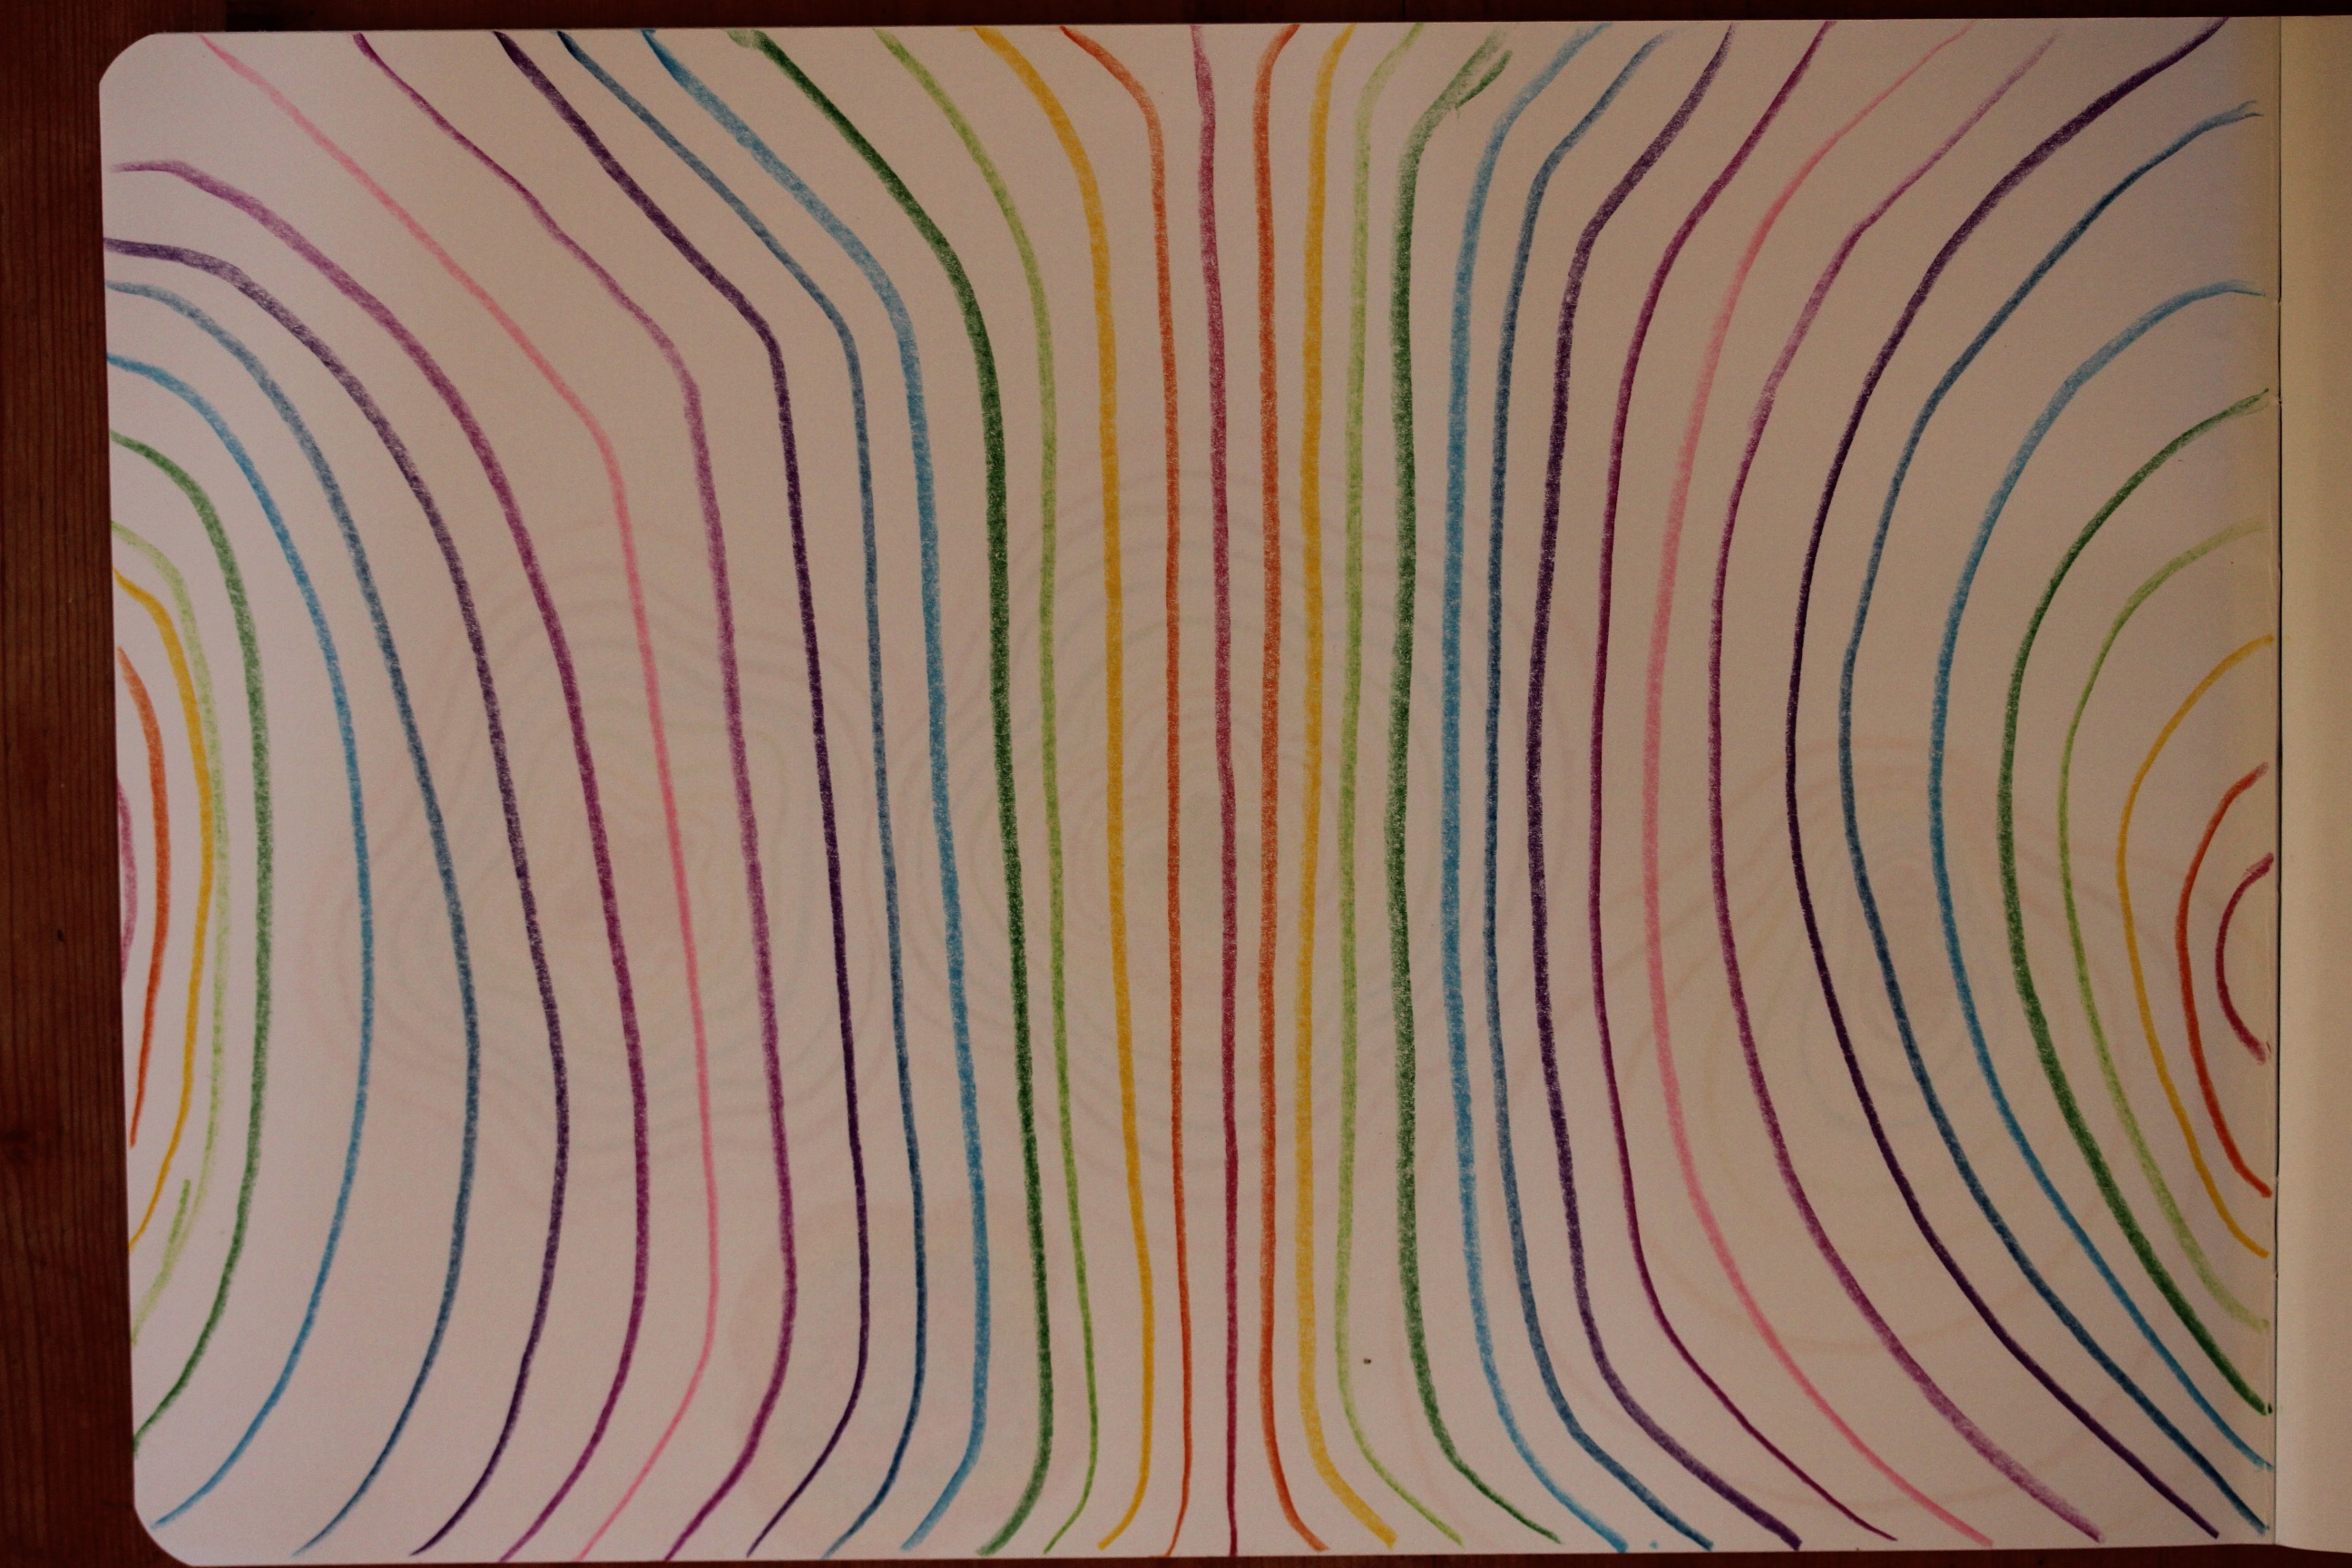
 Practicing rays by imagining starlight that shines on forever.
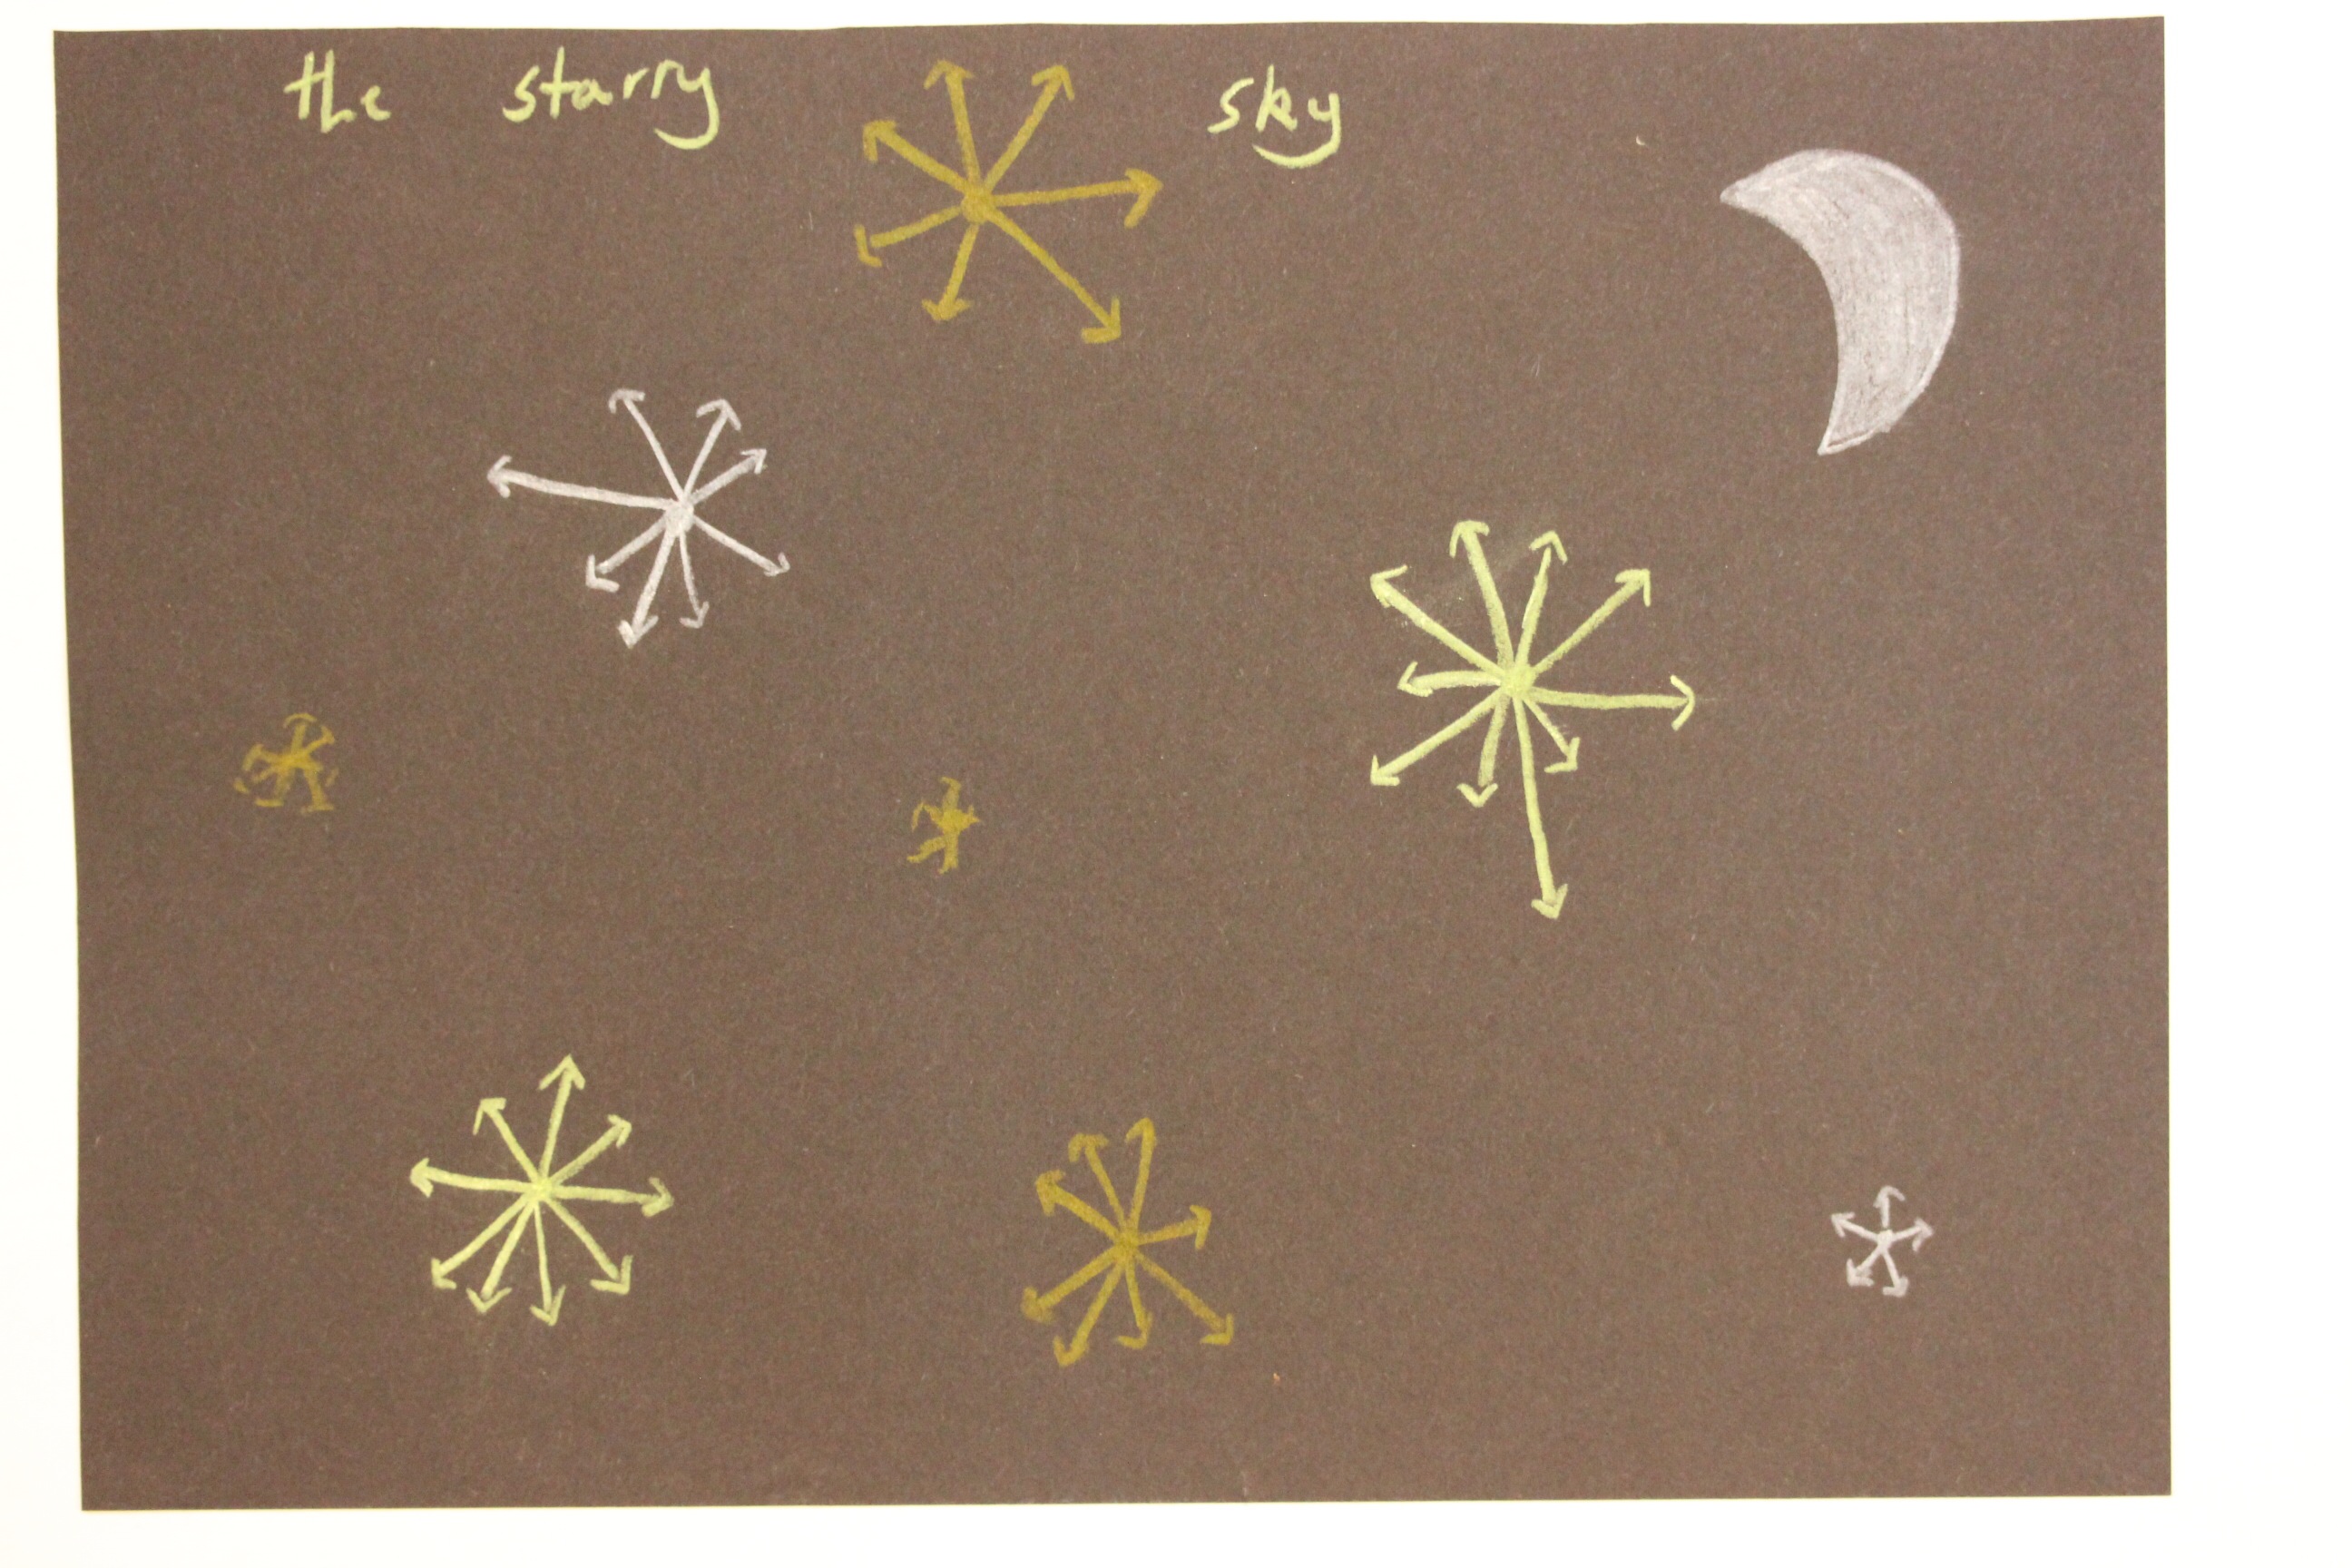 The city map practicing all different types of lines. See if you can spot them!


 First freehand circle explorations before introducing the compass.
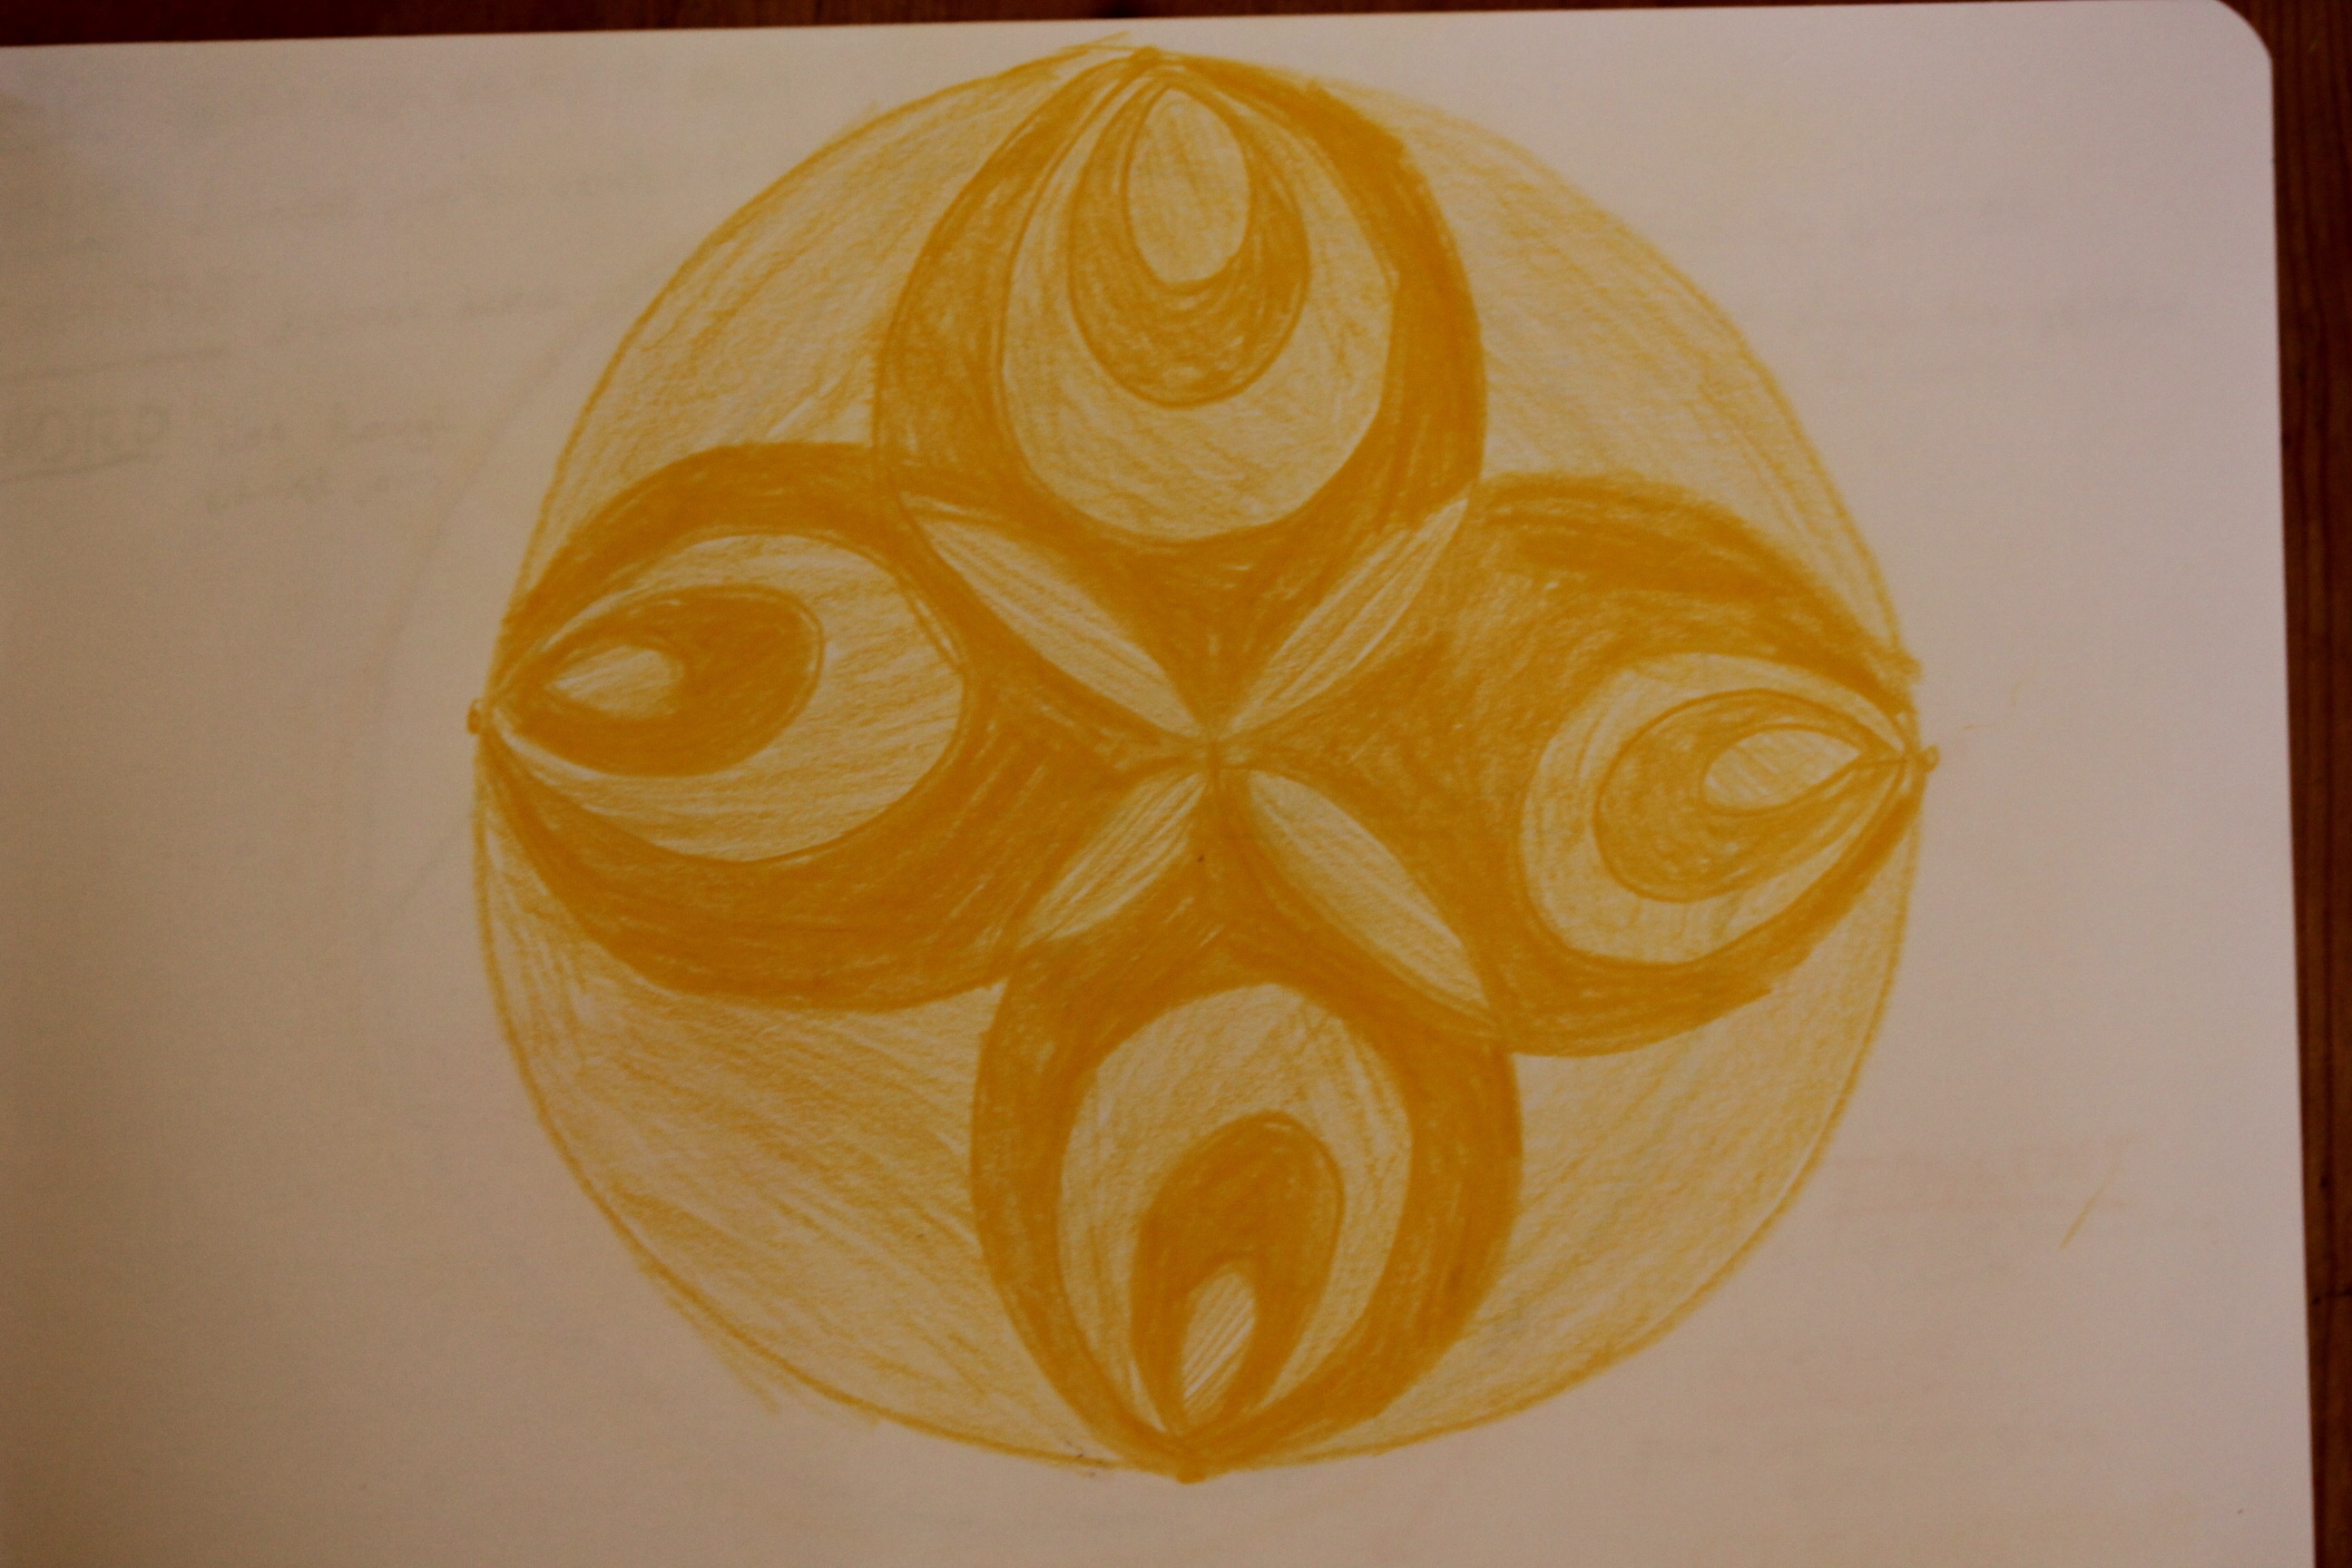

 Cedar watched the above flower of life developing, later he sat quietly and recreated his own very beautiful version. I loved making and colouring this mandala as a child also.
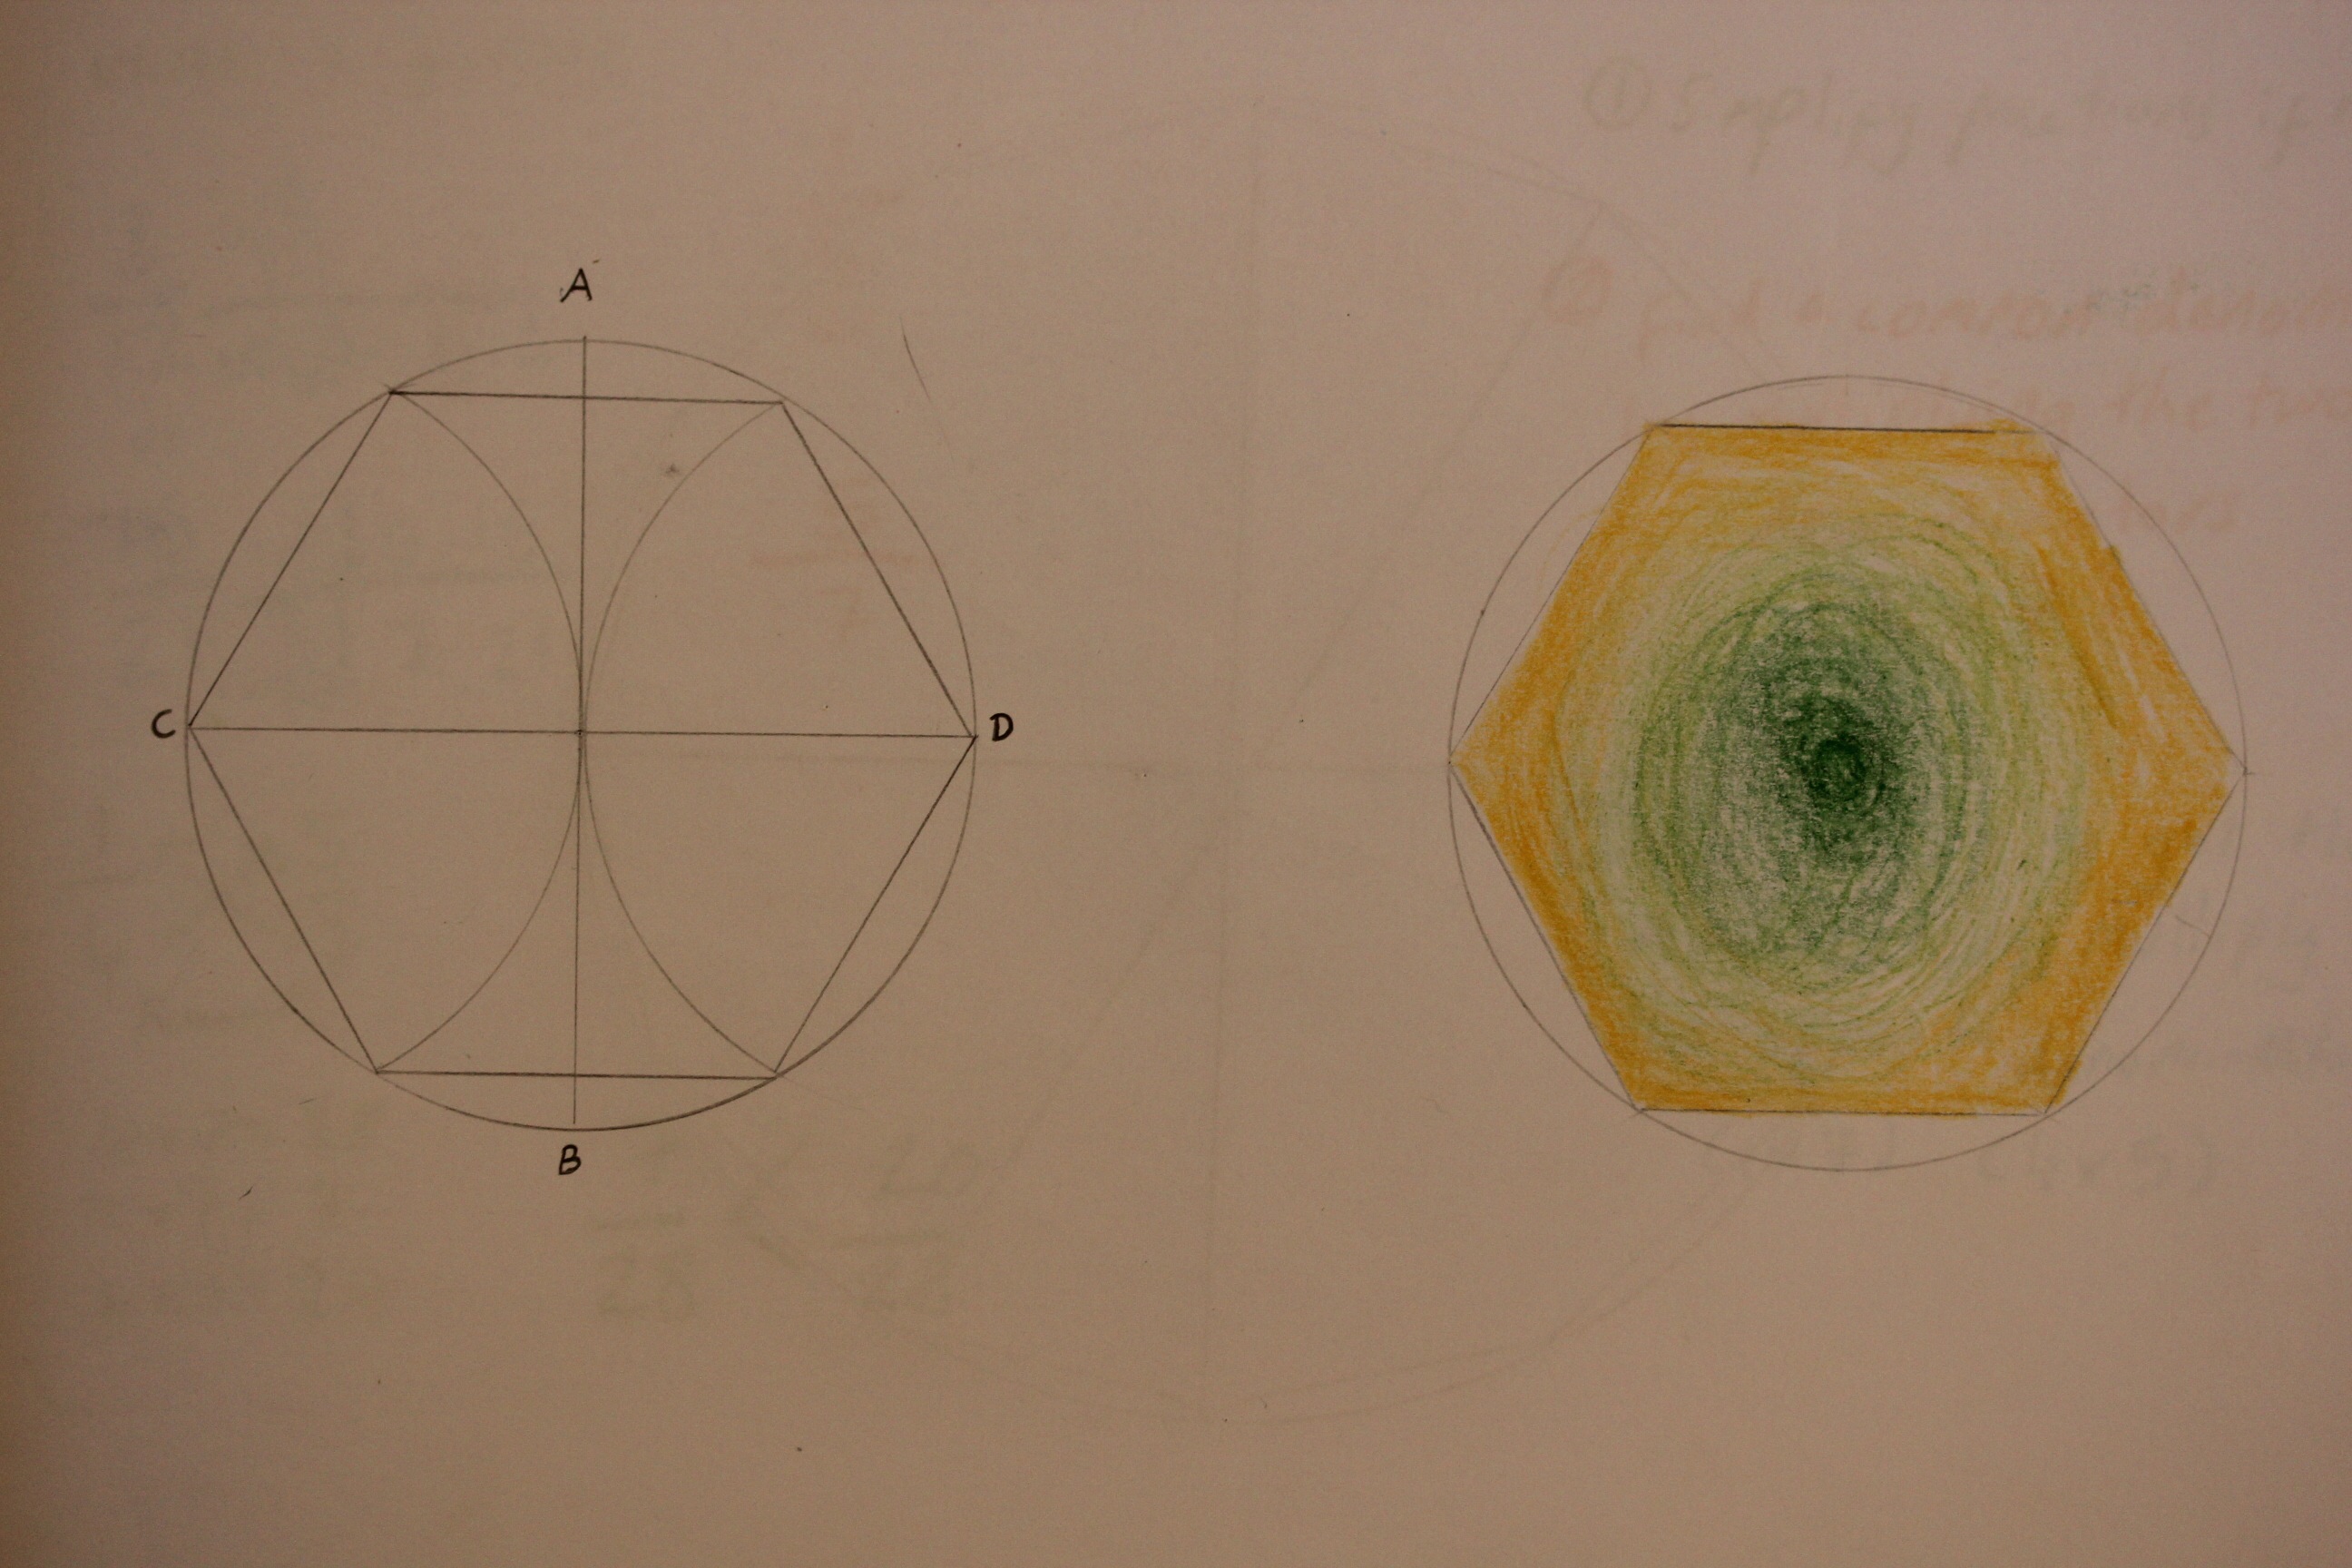
 The hexagon creations are beautiful, followed by a dodecagon.
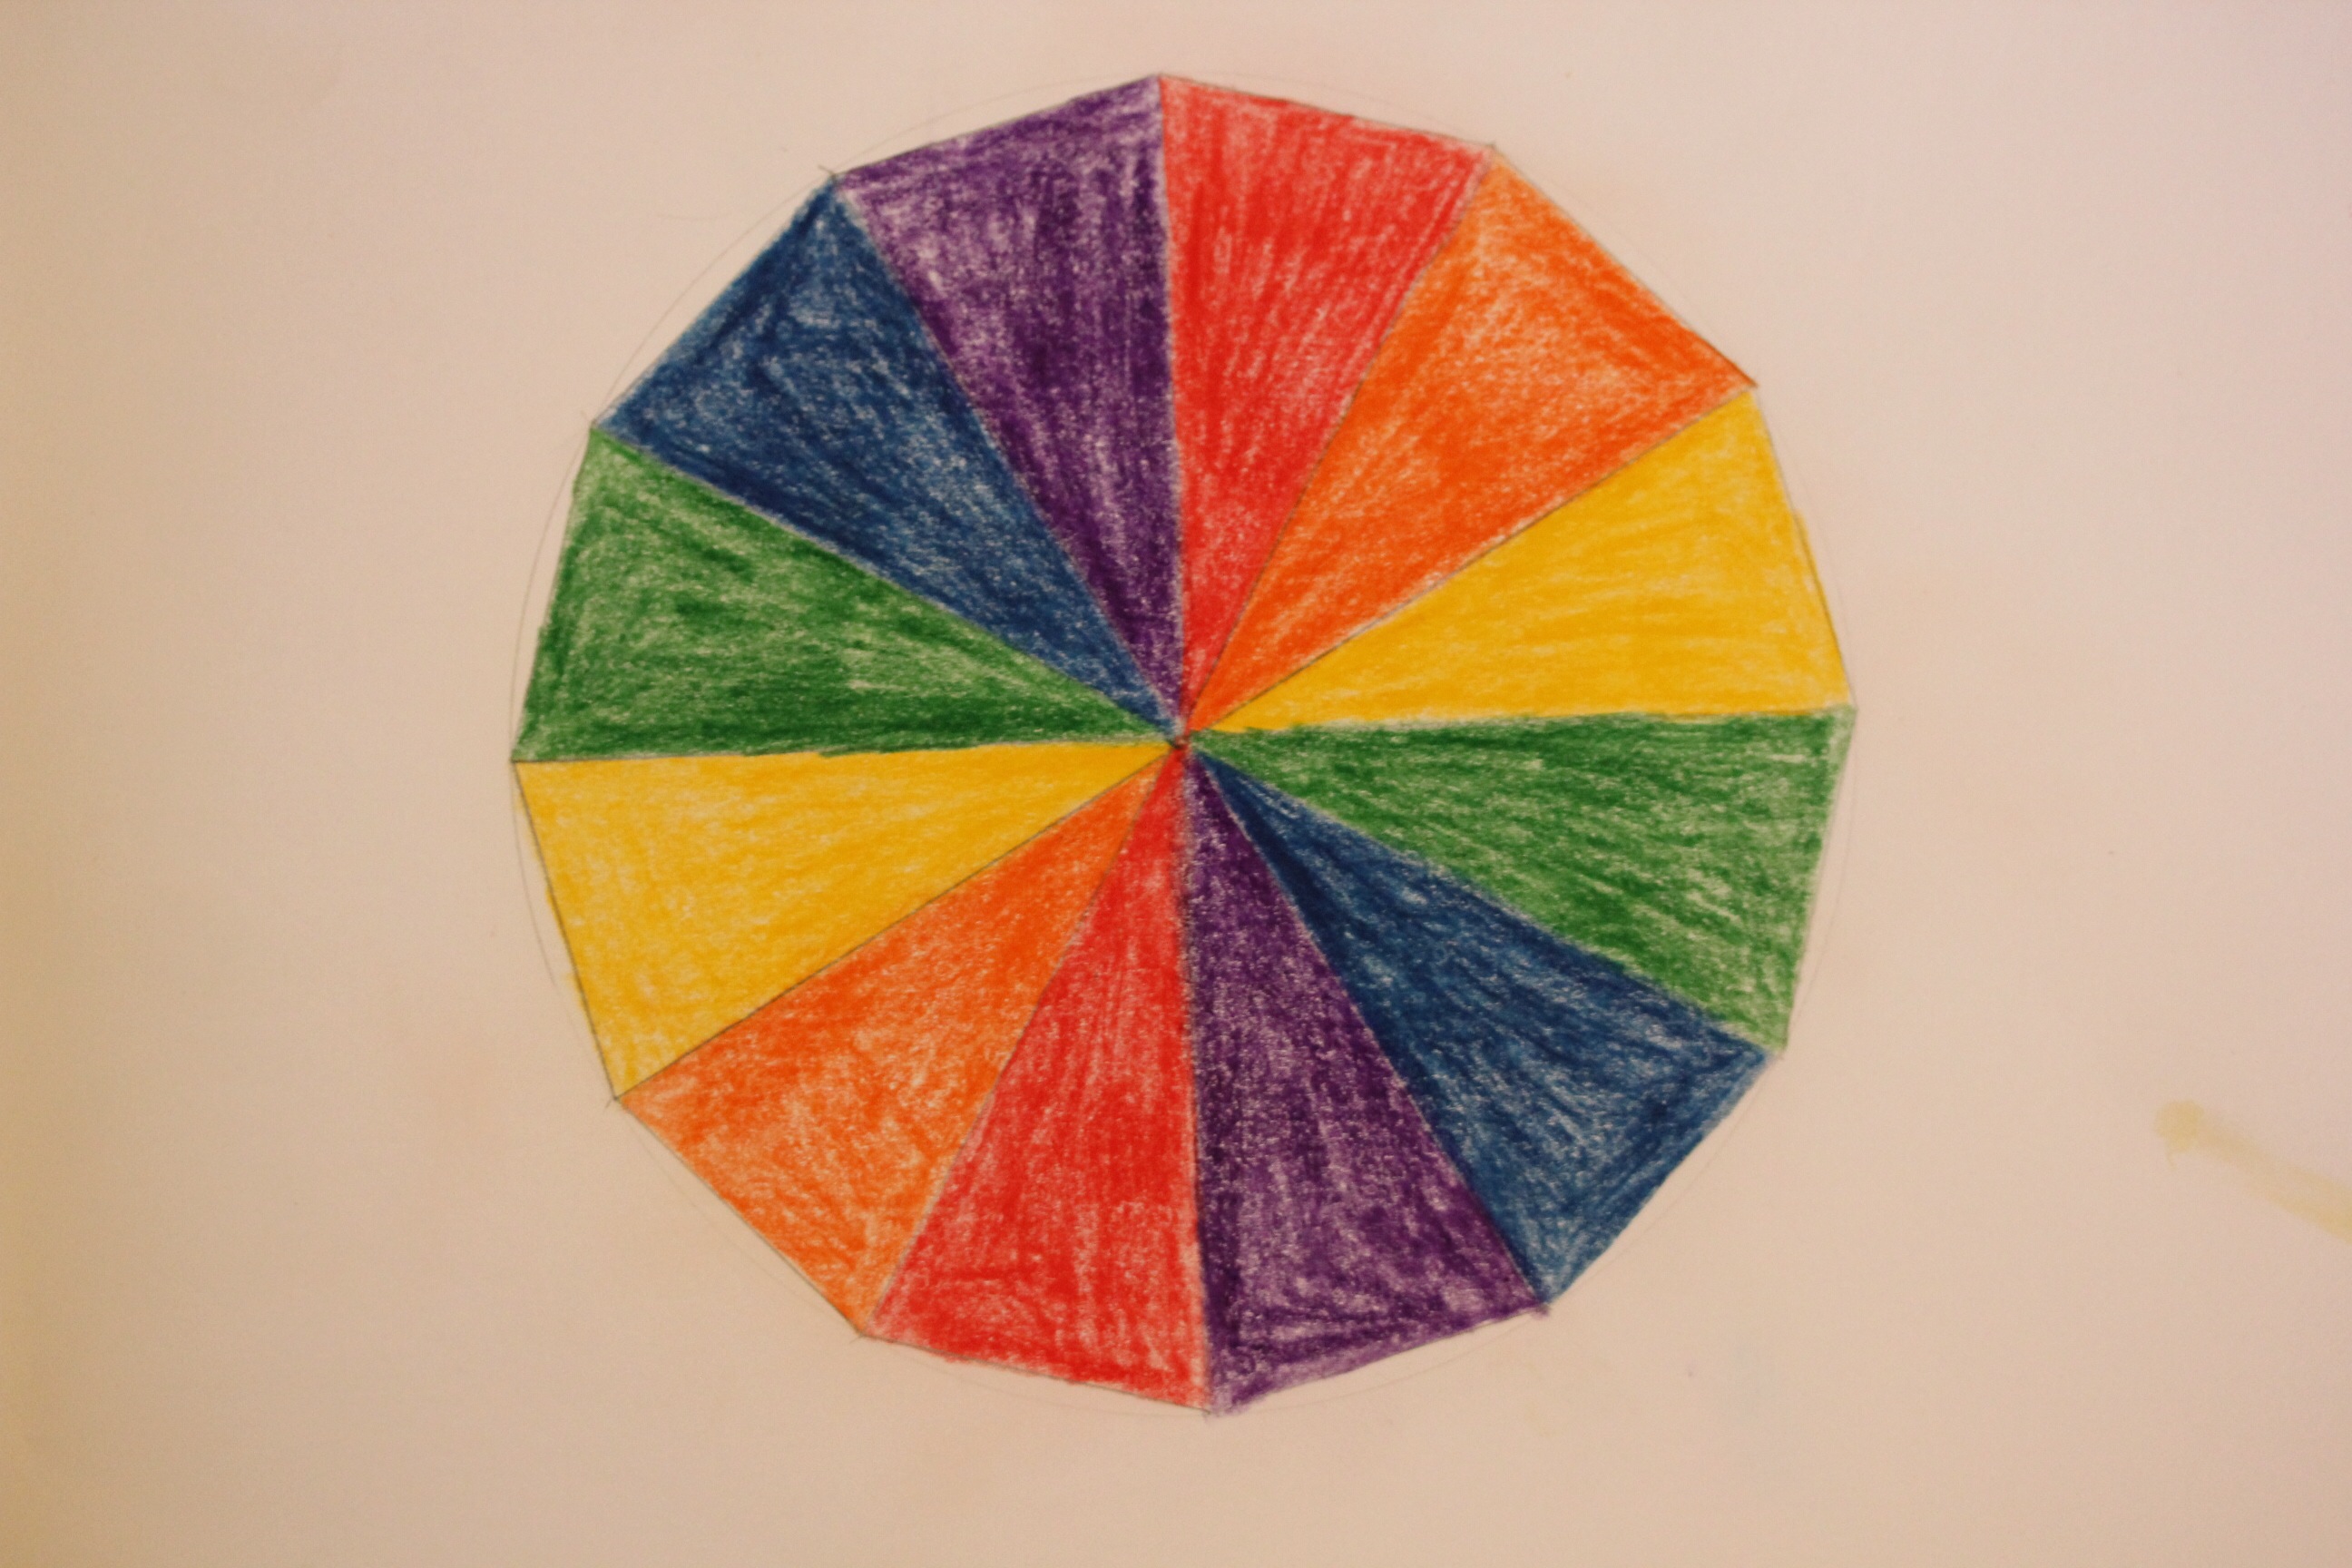 The fun side of mathematics for us!
The Treadle Machine


I am unsure how time passed so swiftly
But here we are
Thinking a lot of home and our return in a couple of weeks
What is happening in my garden?
Many stories not shared, I can’t claim I am a proficient travel writer!
Four people in a small space, so much outside to see and explore, where is the plug anyway?
Packing sorting packing
Being held lovingly by a friends home
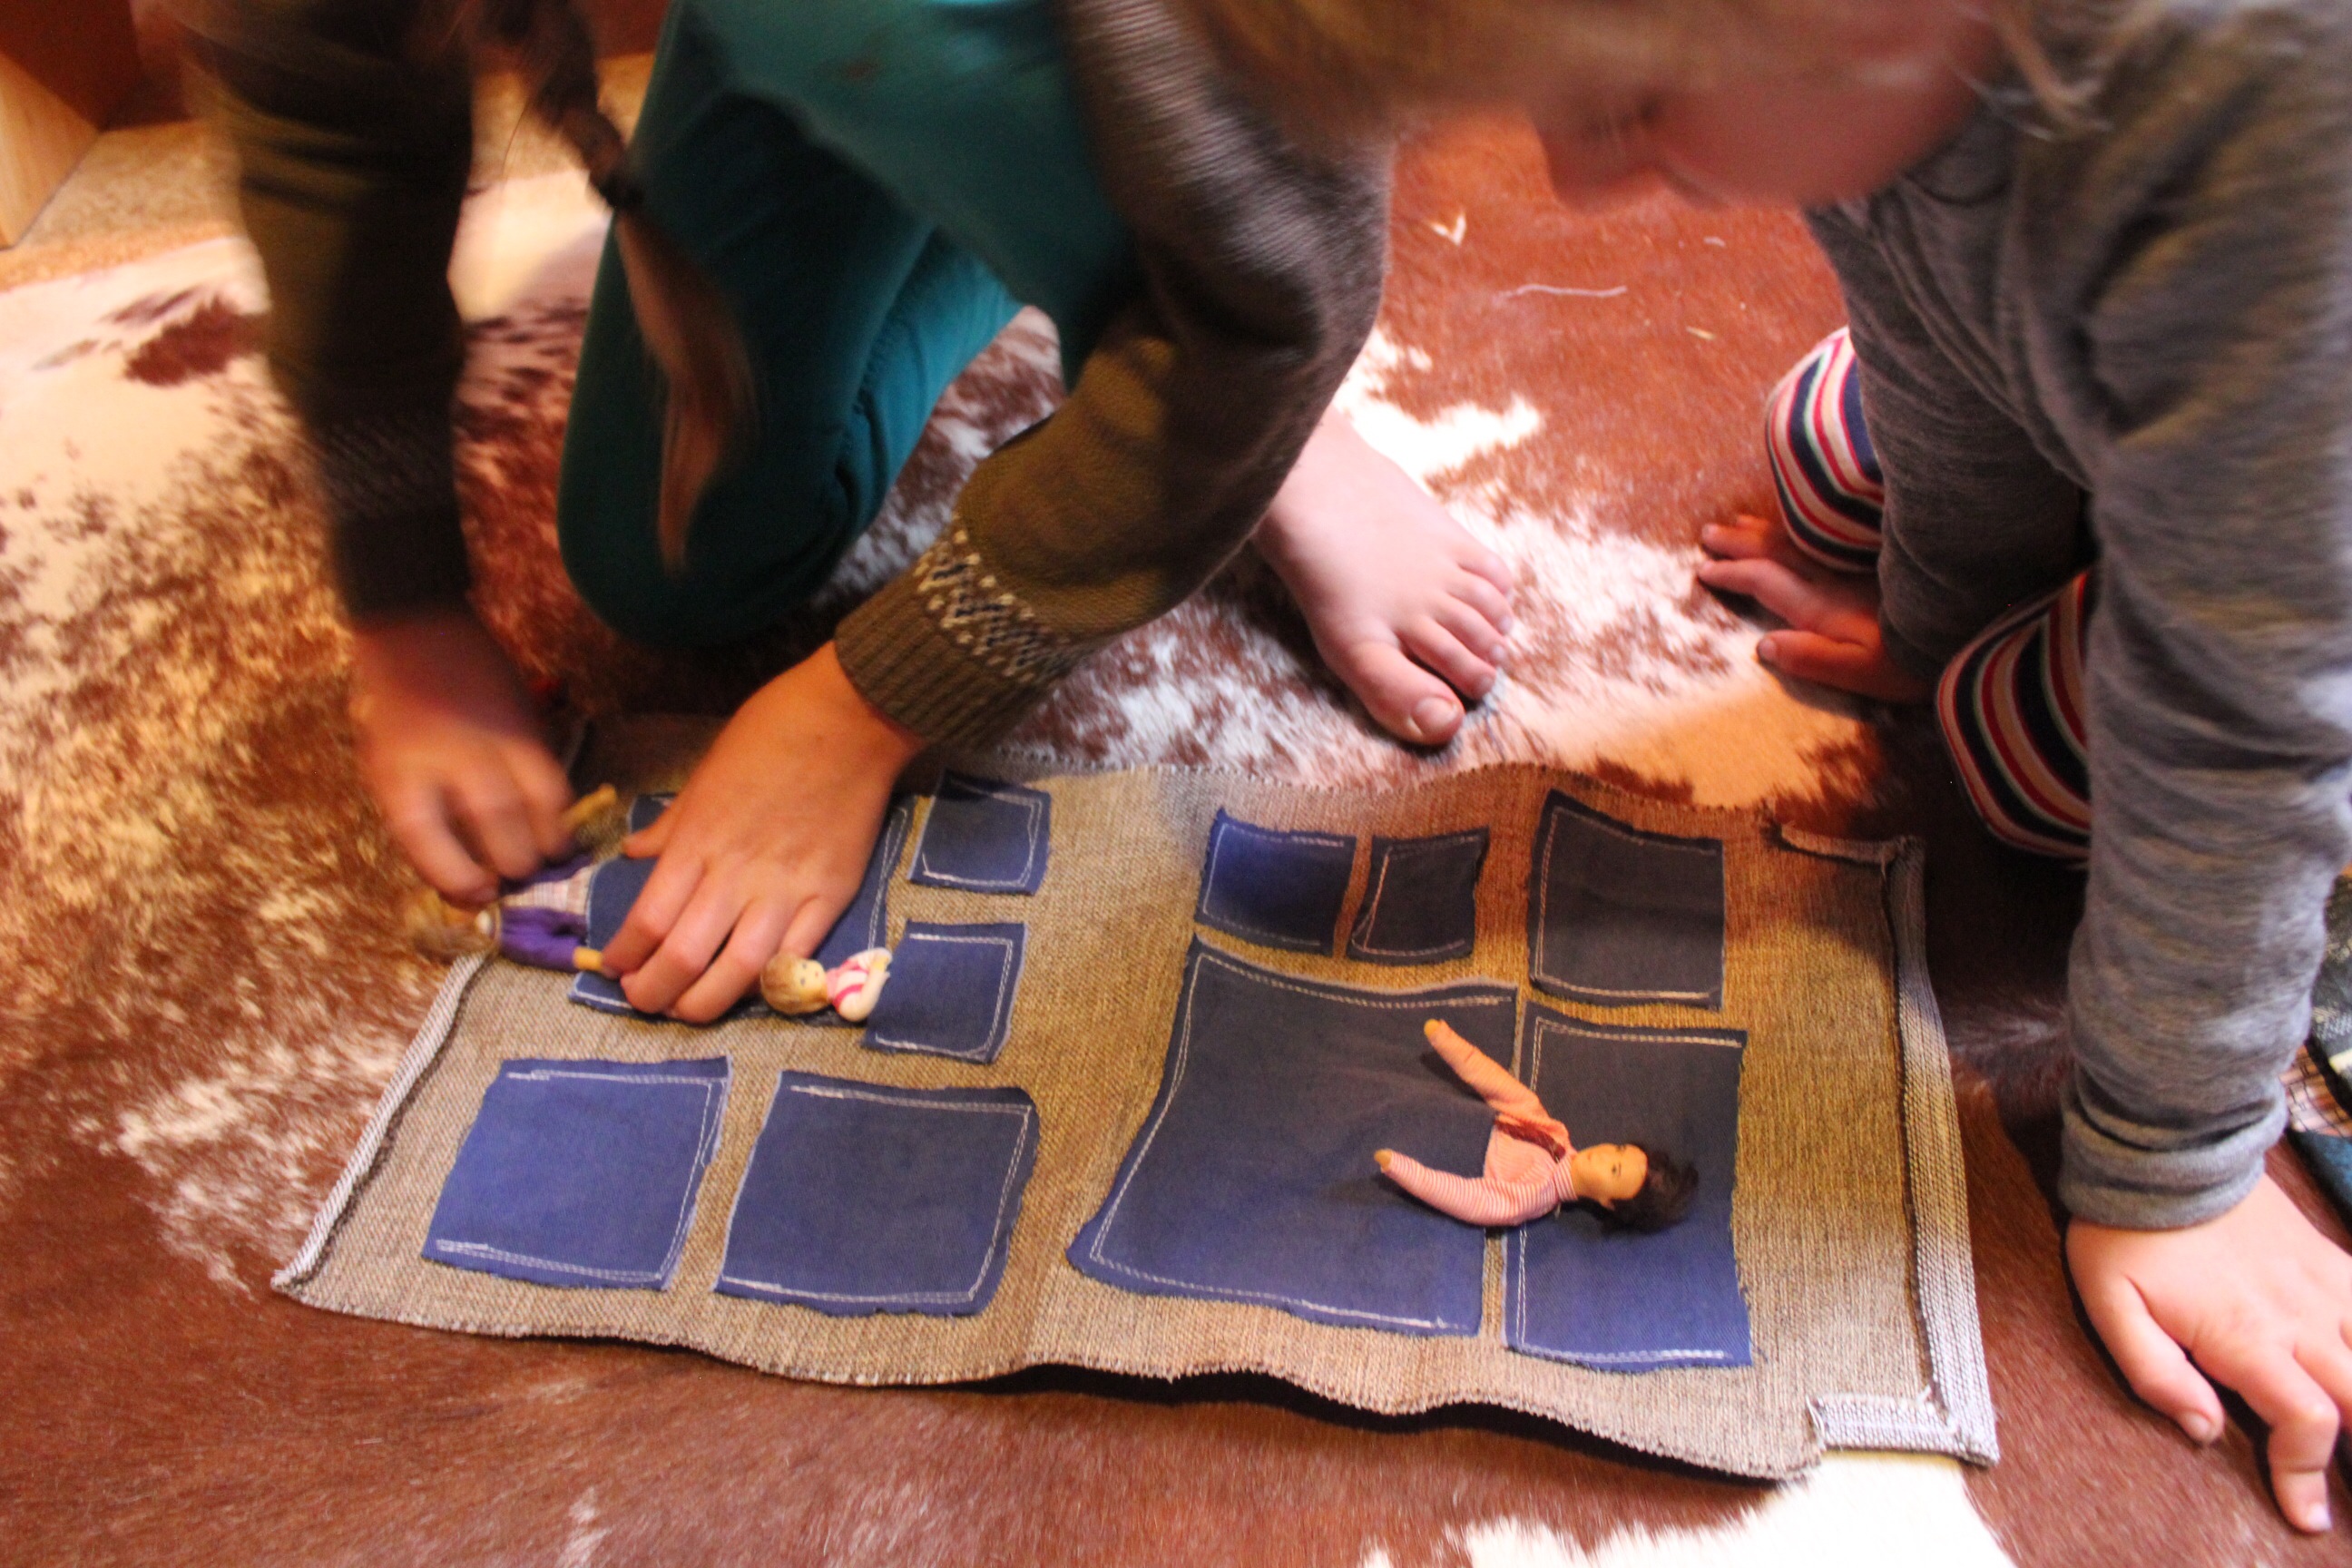
Watching Lily make a travel bag for her birthday dolls and small things
The treadle machine is a new experience and has a gentle sound and rhythm
I am impressed with her independent skill revealing itself with sewing this project
She began as a wee girl sitting on my knee ‘steering’ fabric or ‘driving’ the peddle for me
Look at her now!
3,4,5 triangle
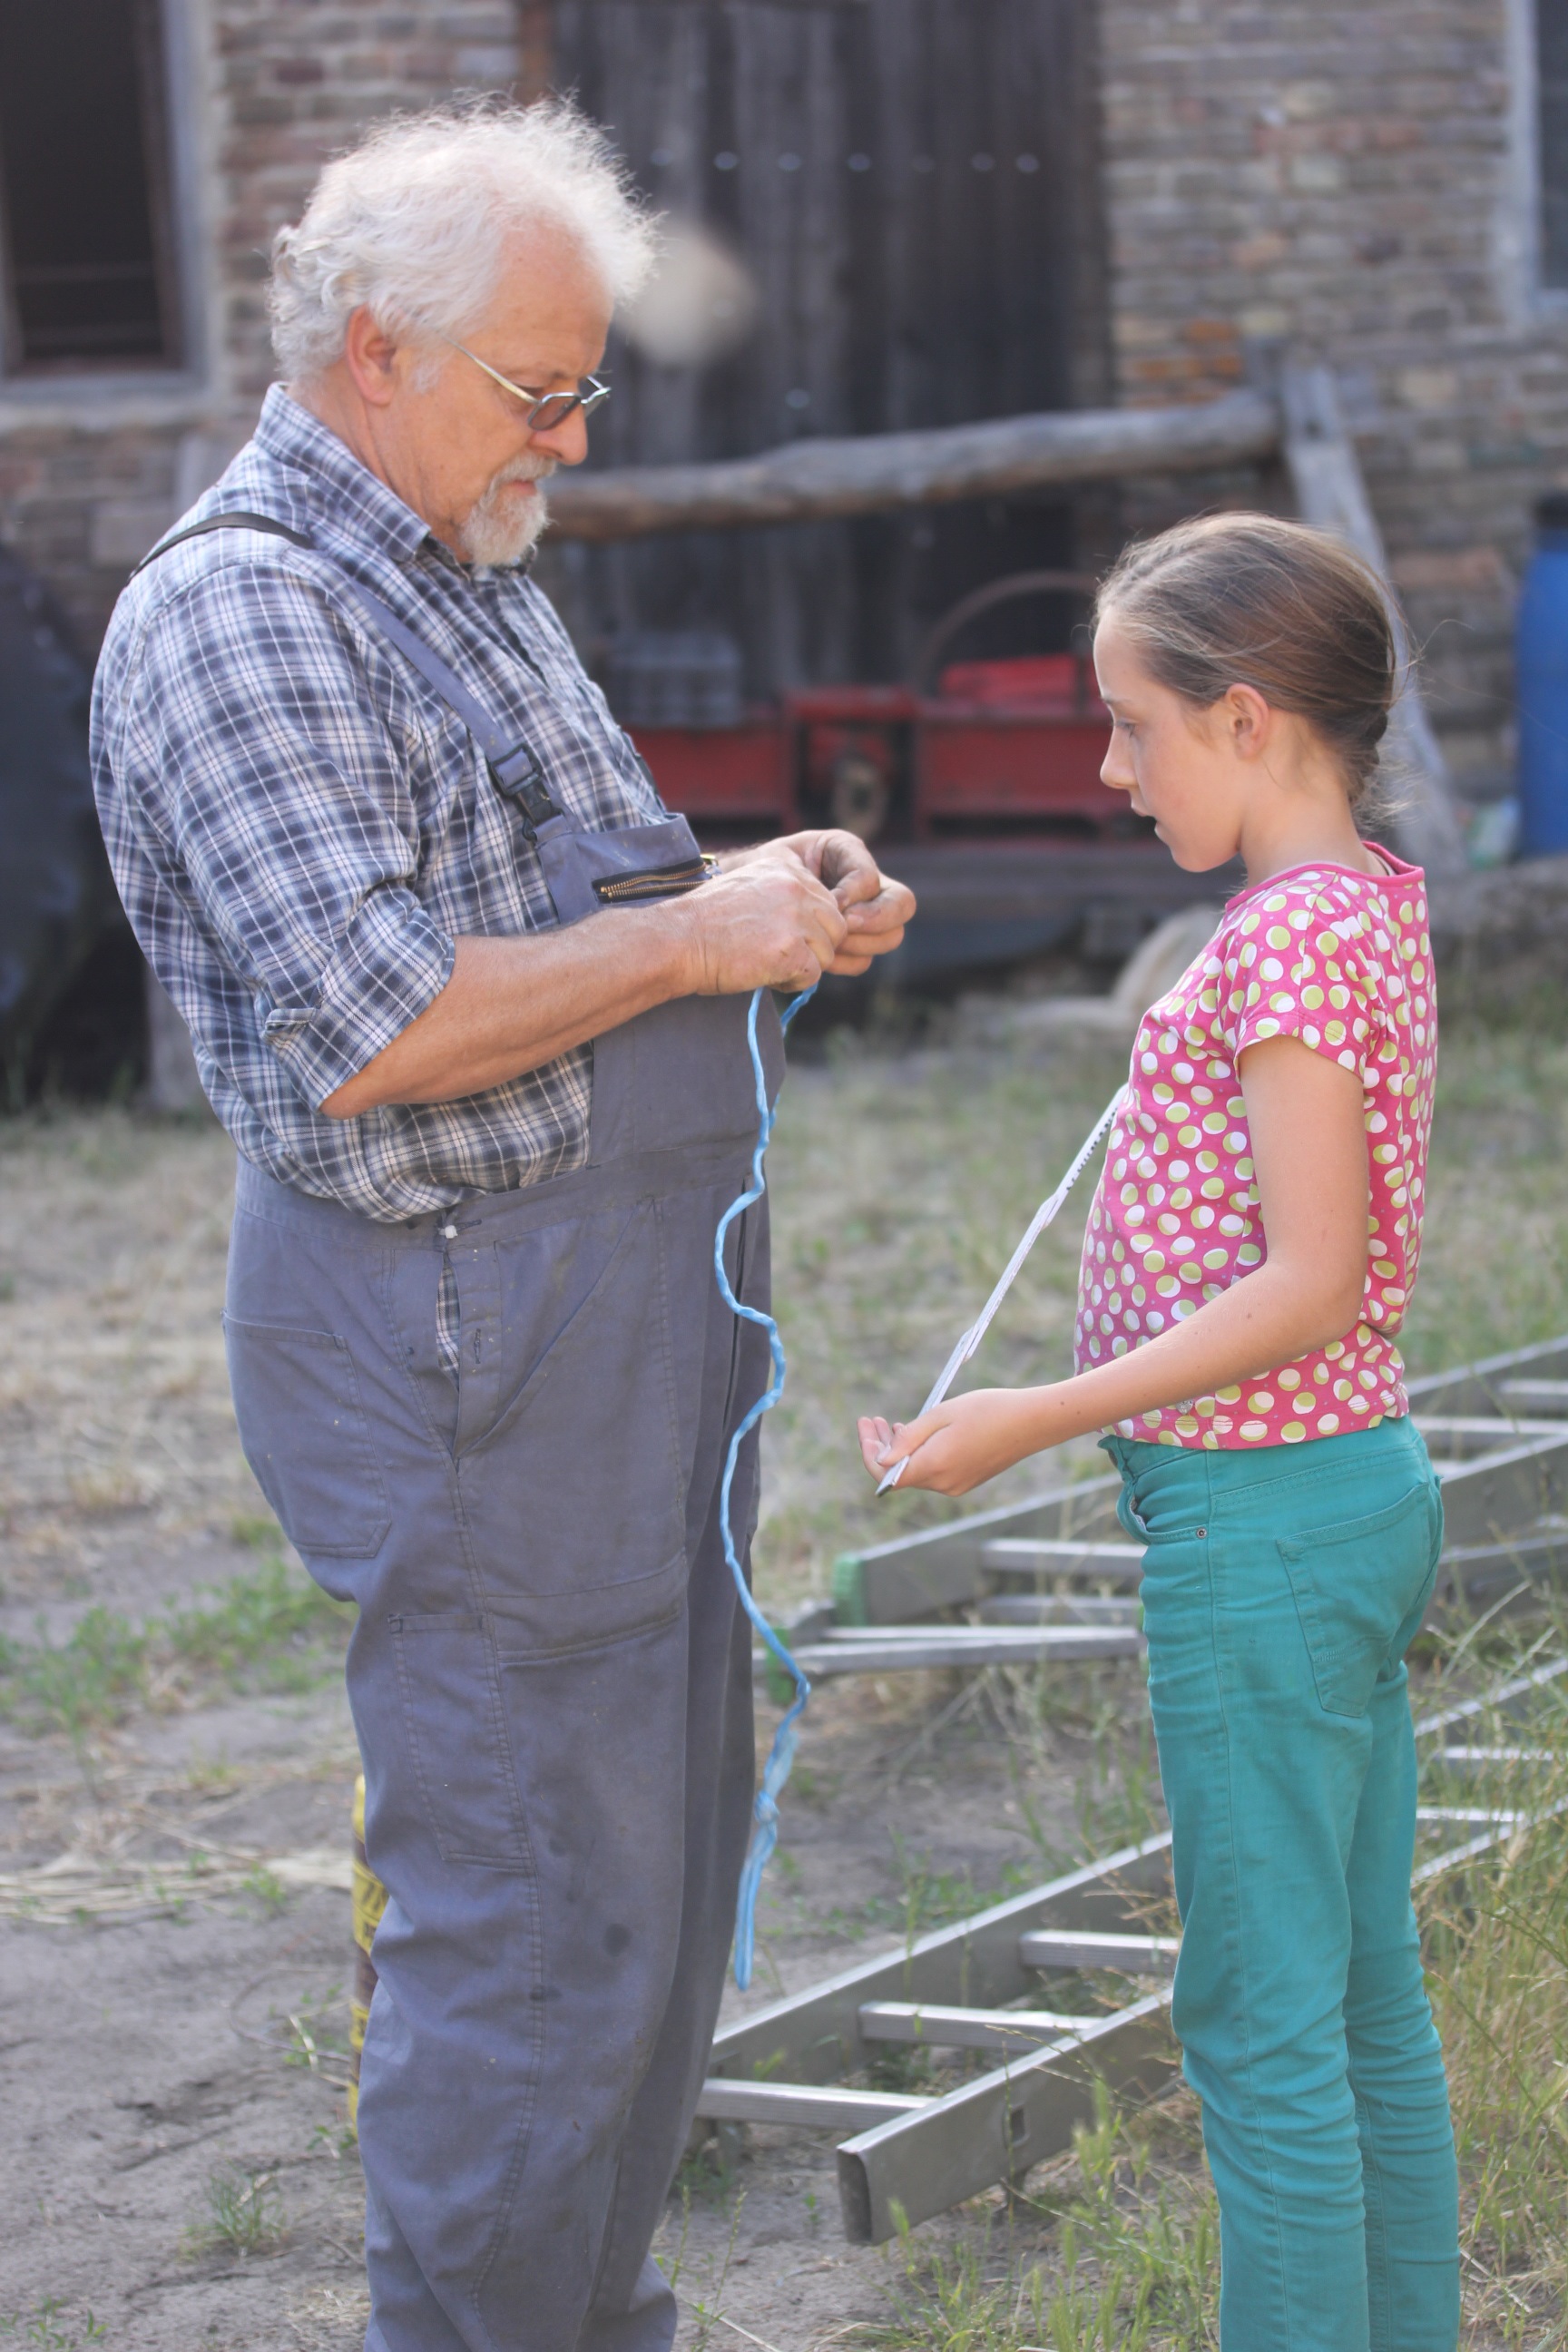
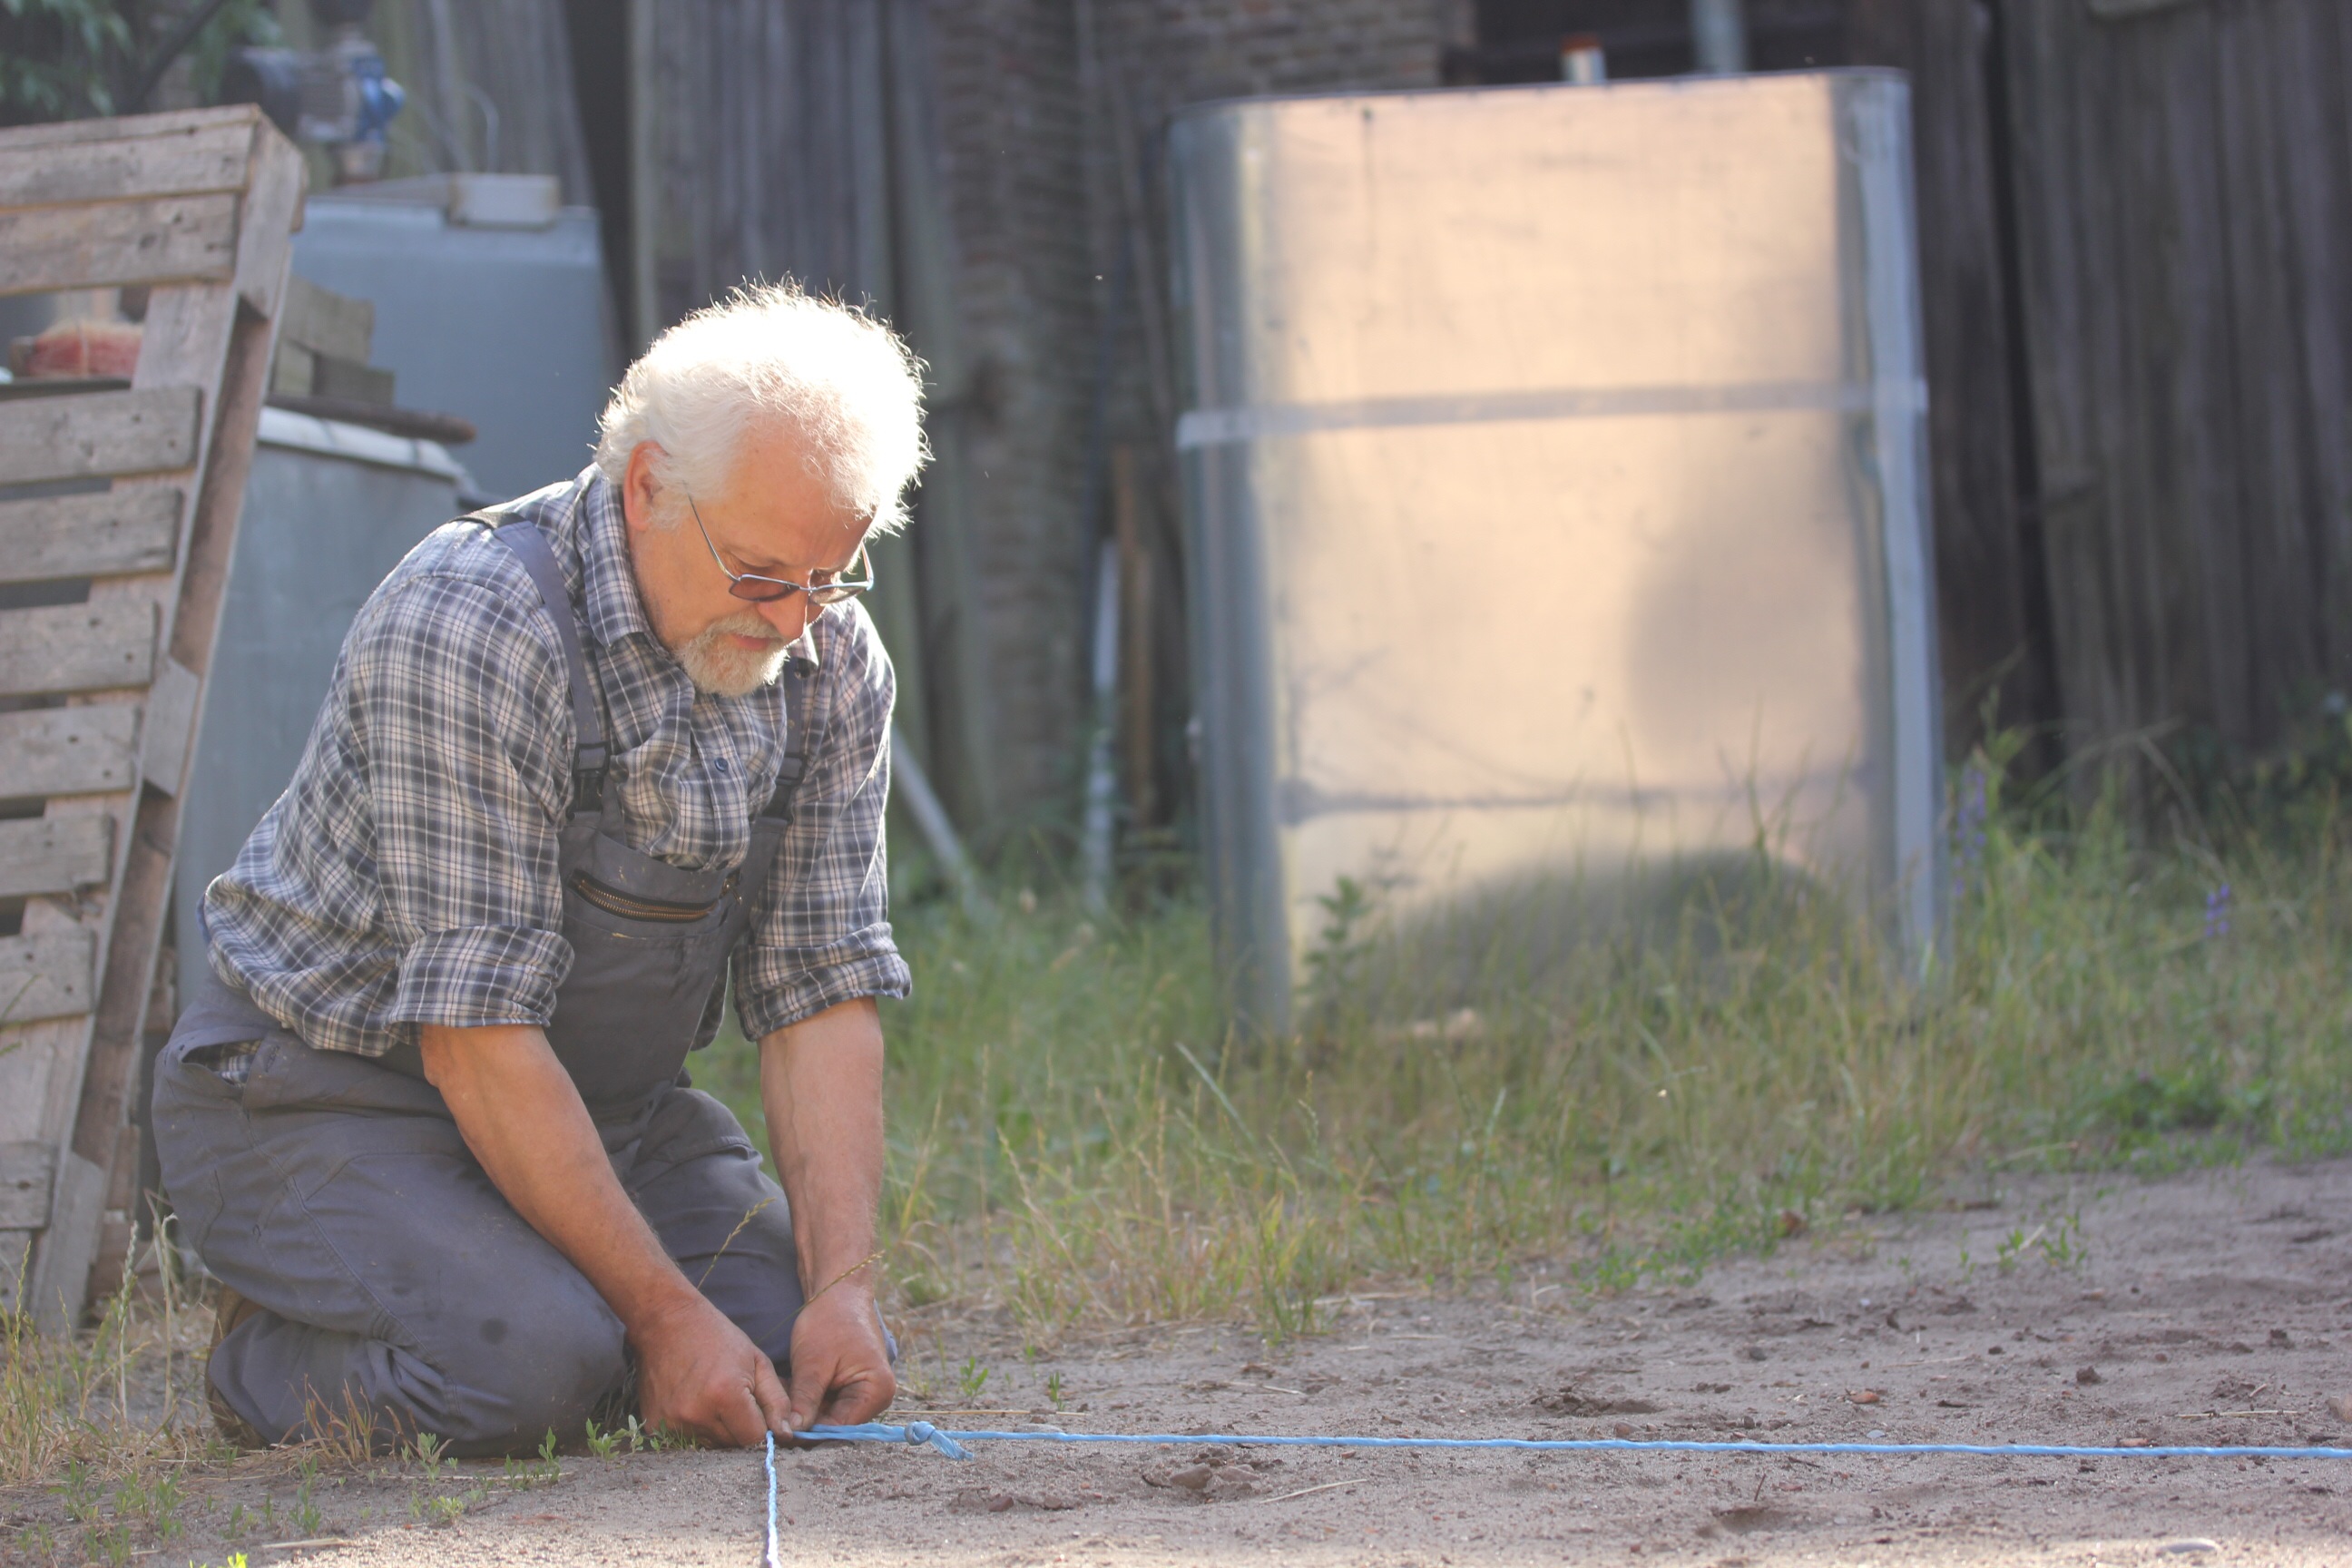
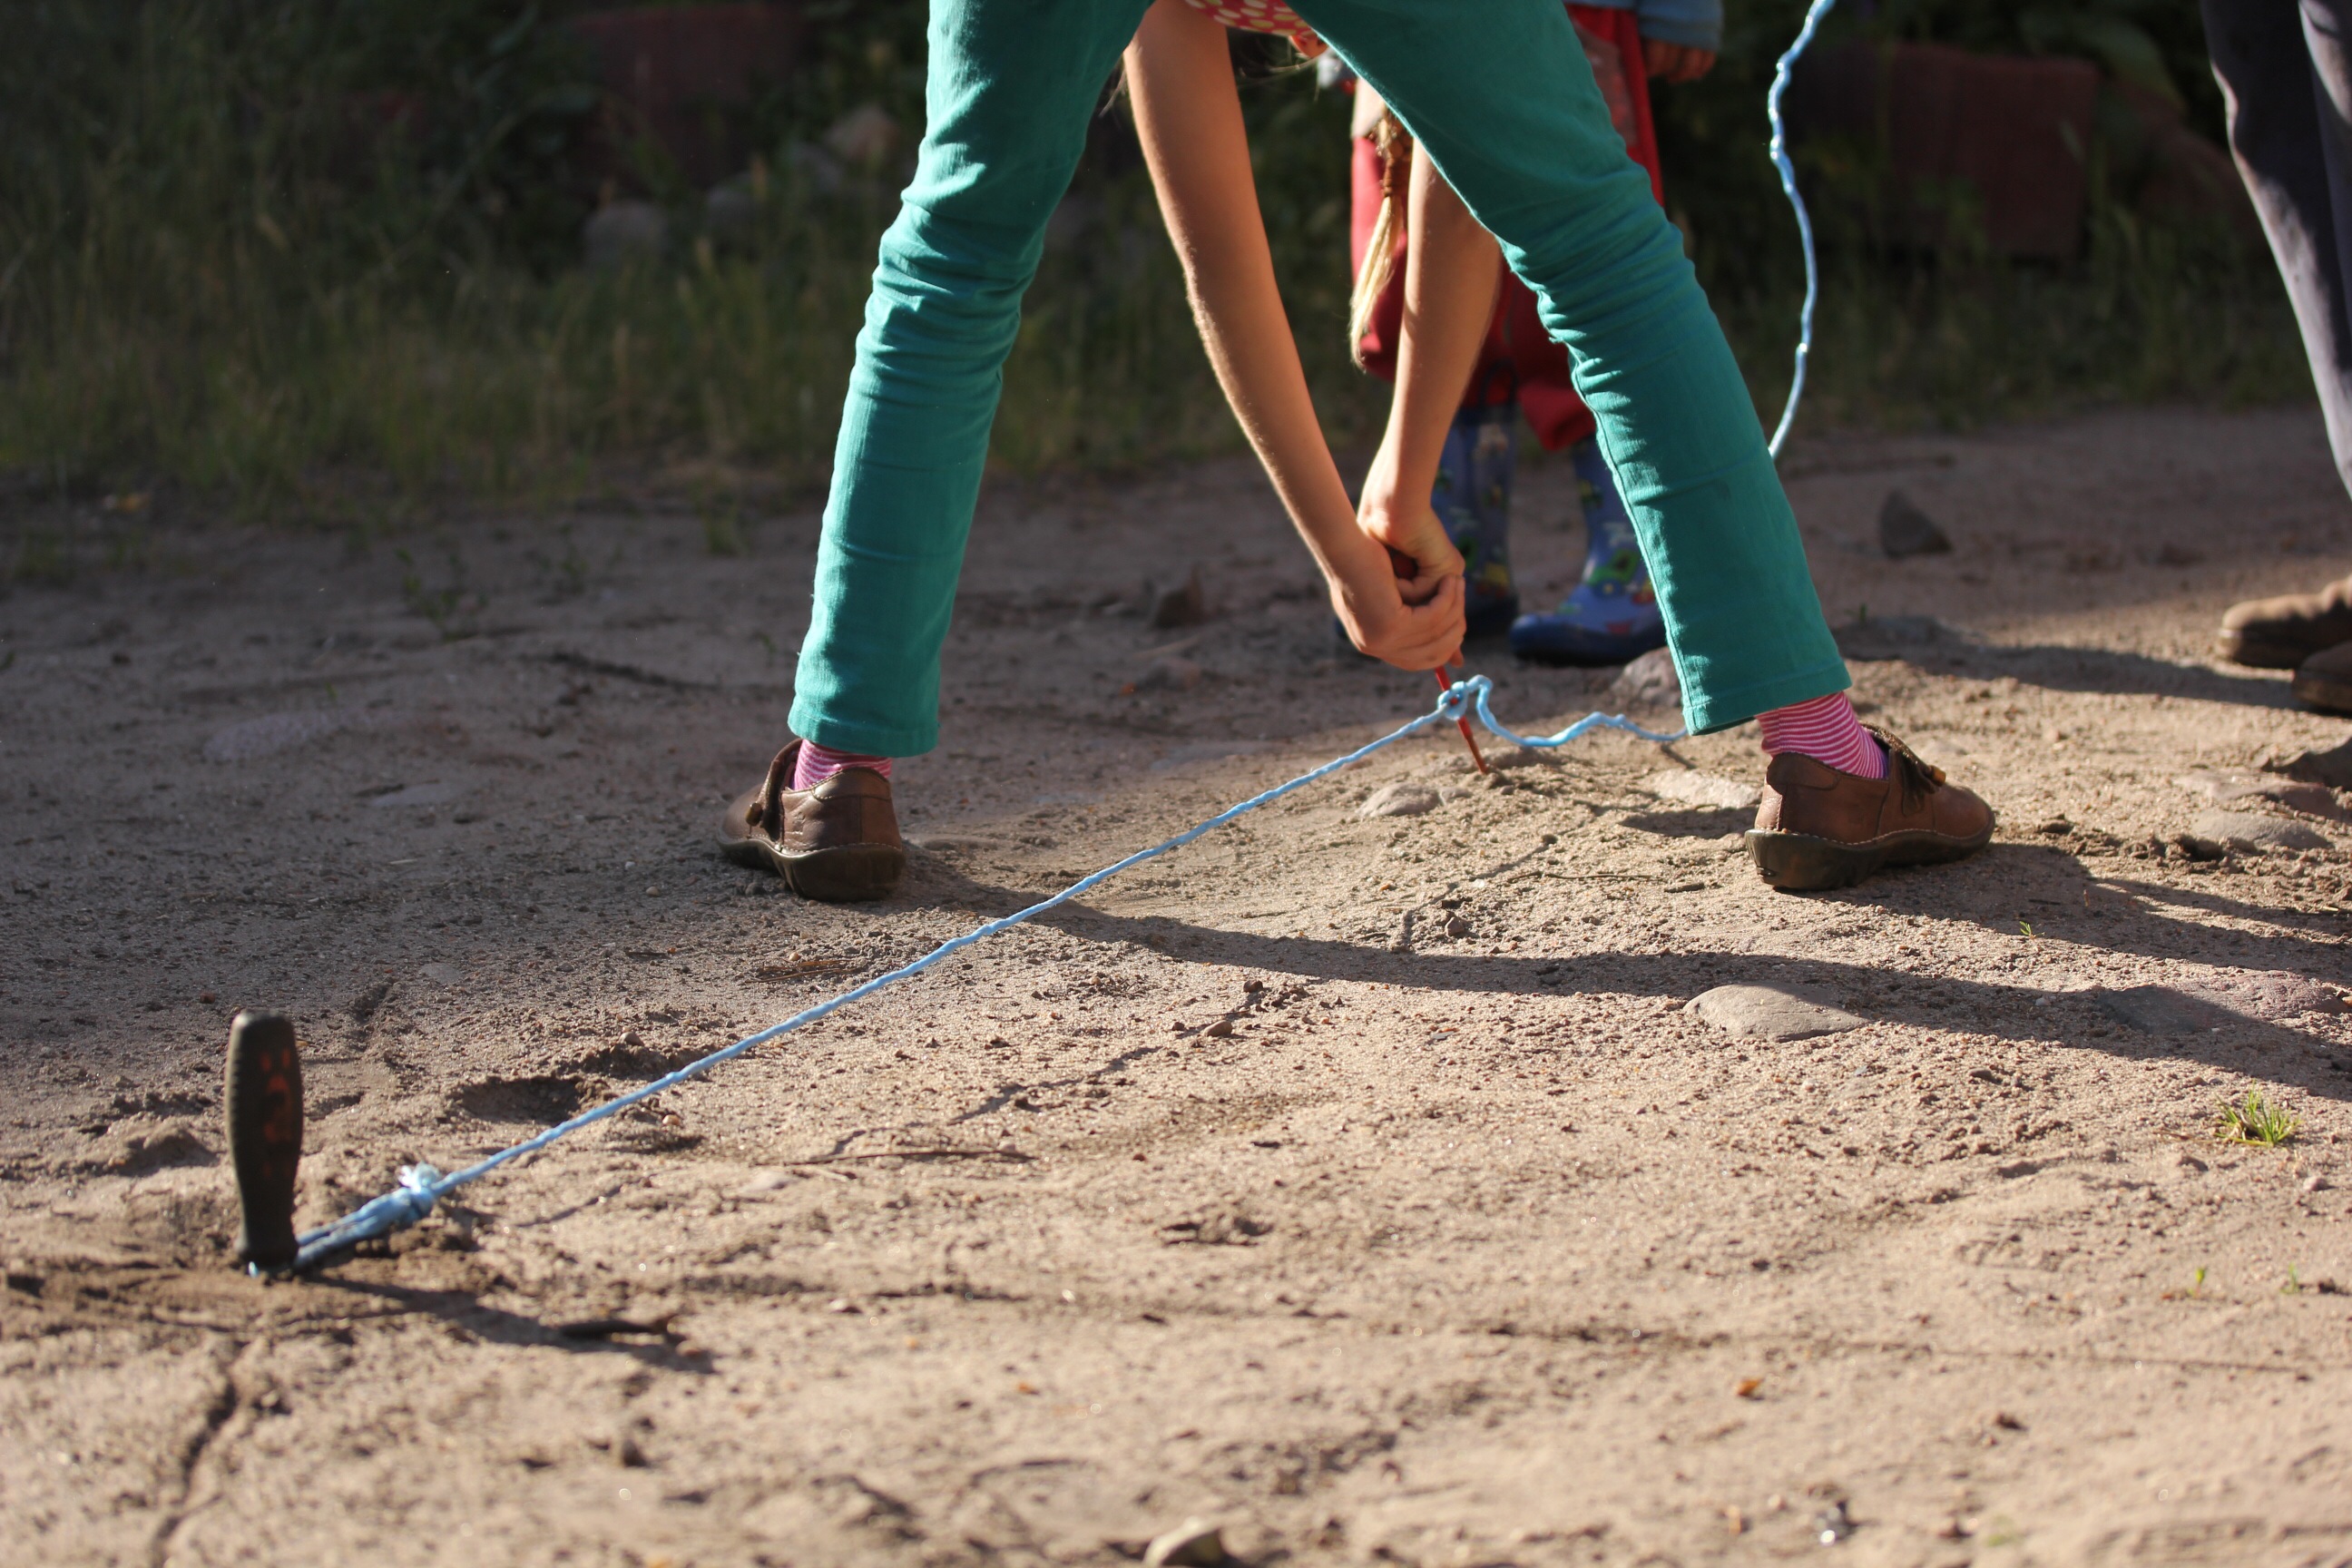
While researching Ancient Egypt in June for Lily’s studies, I came across the 3,4,5 triangle. Apparently the Ancient Egyptians used a rope of 12 (we used metres) knotted sections. With angles made at 3m and 7m a right angle or Egyptian triangle is made. Fascinating little insight into geometry without a compass or ruler.
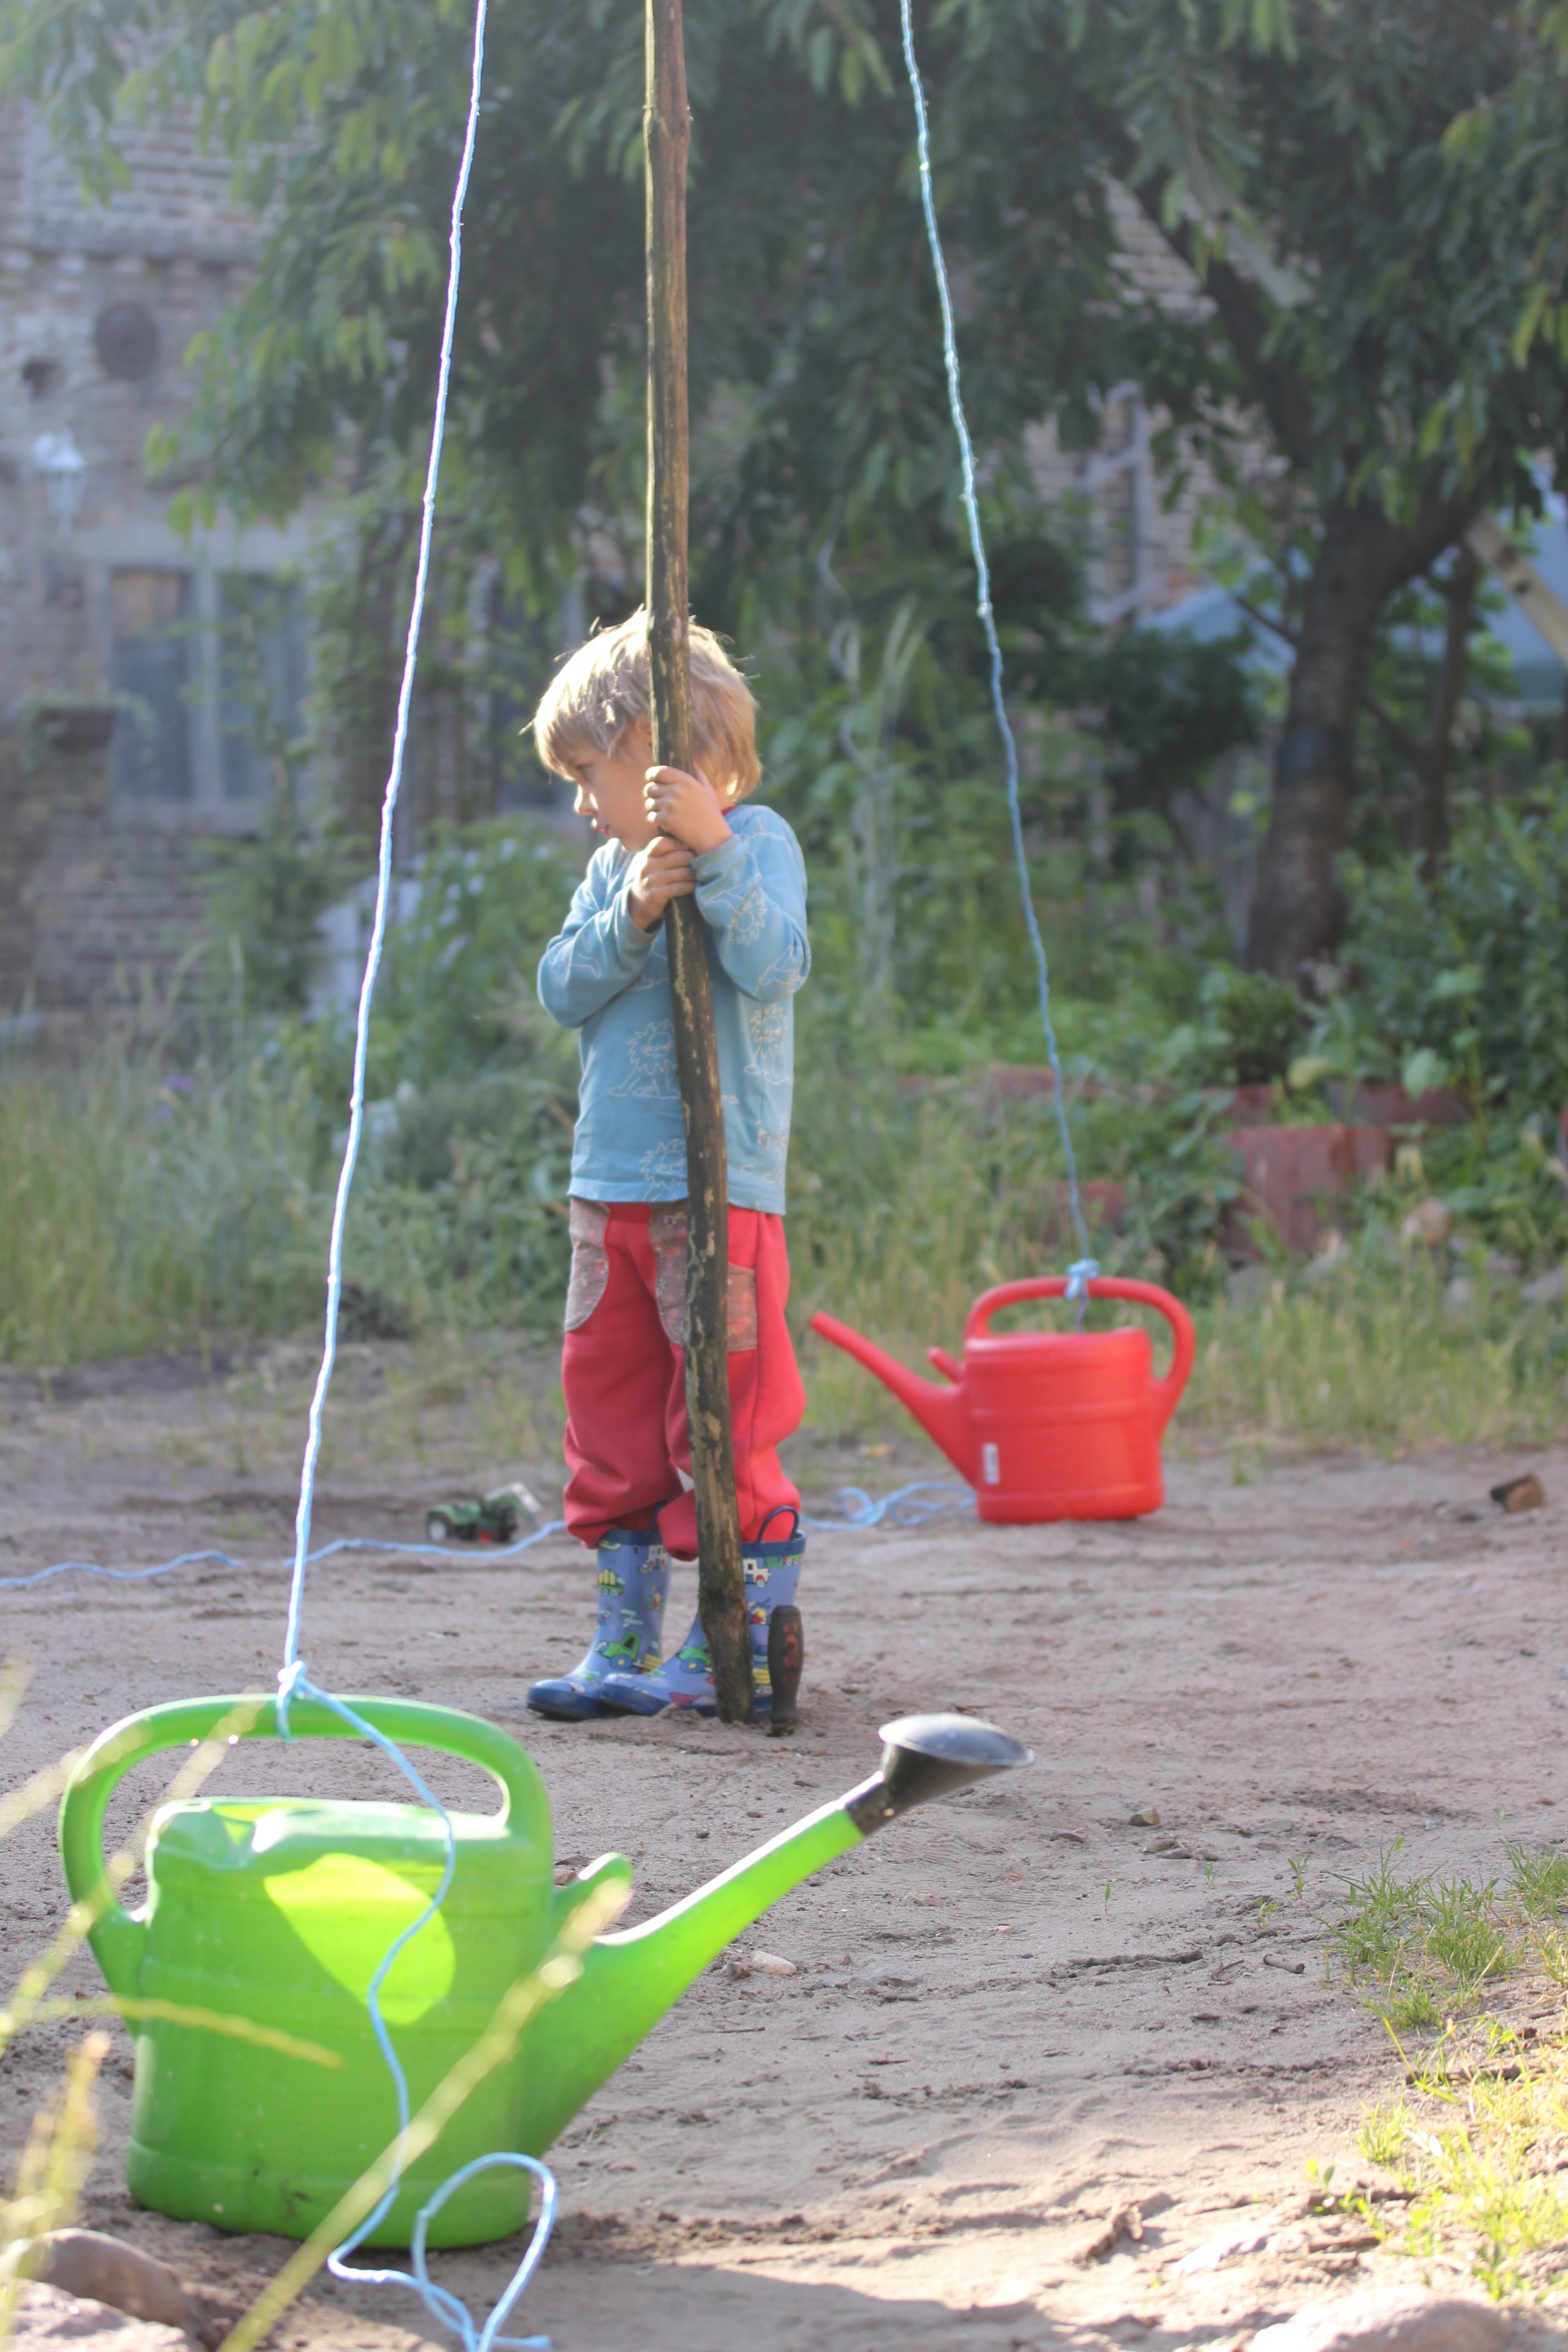
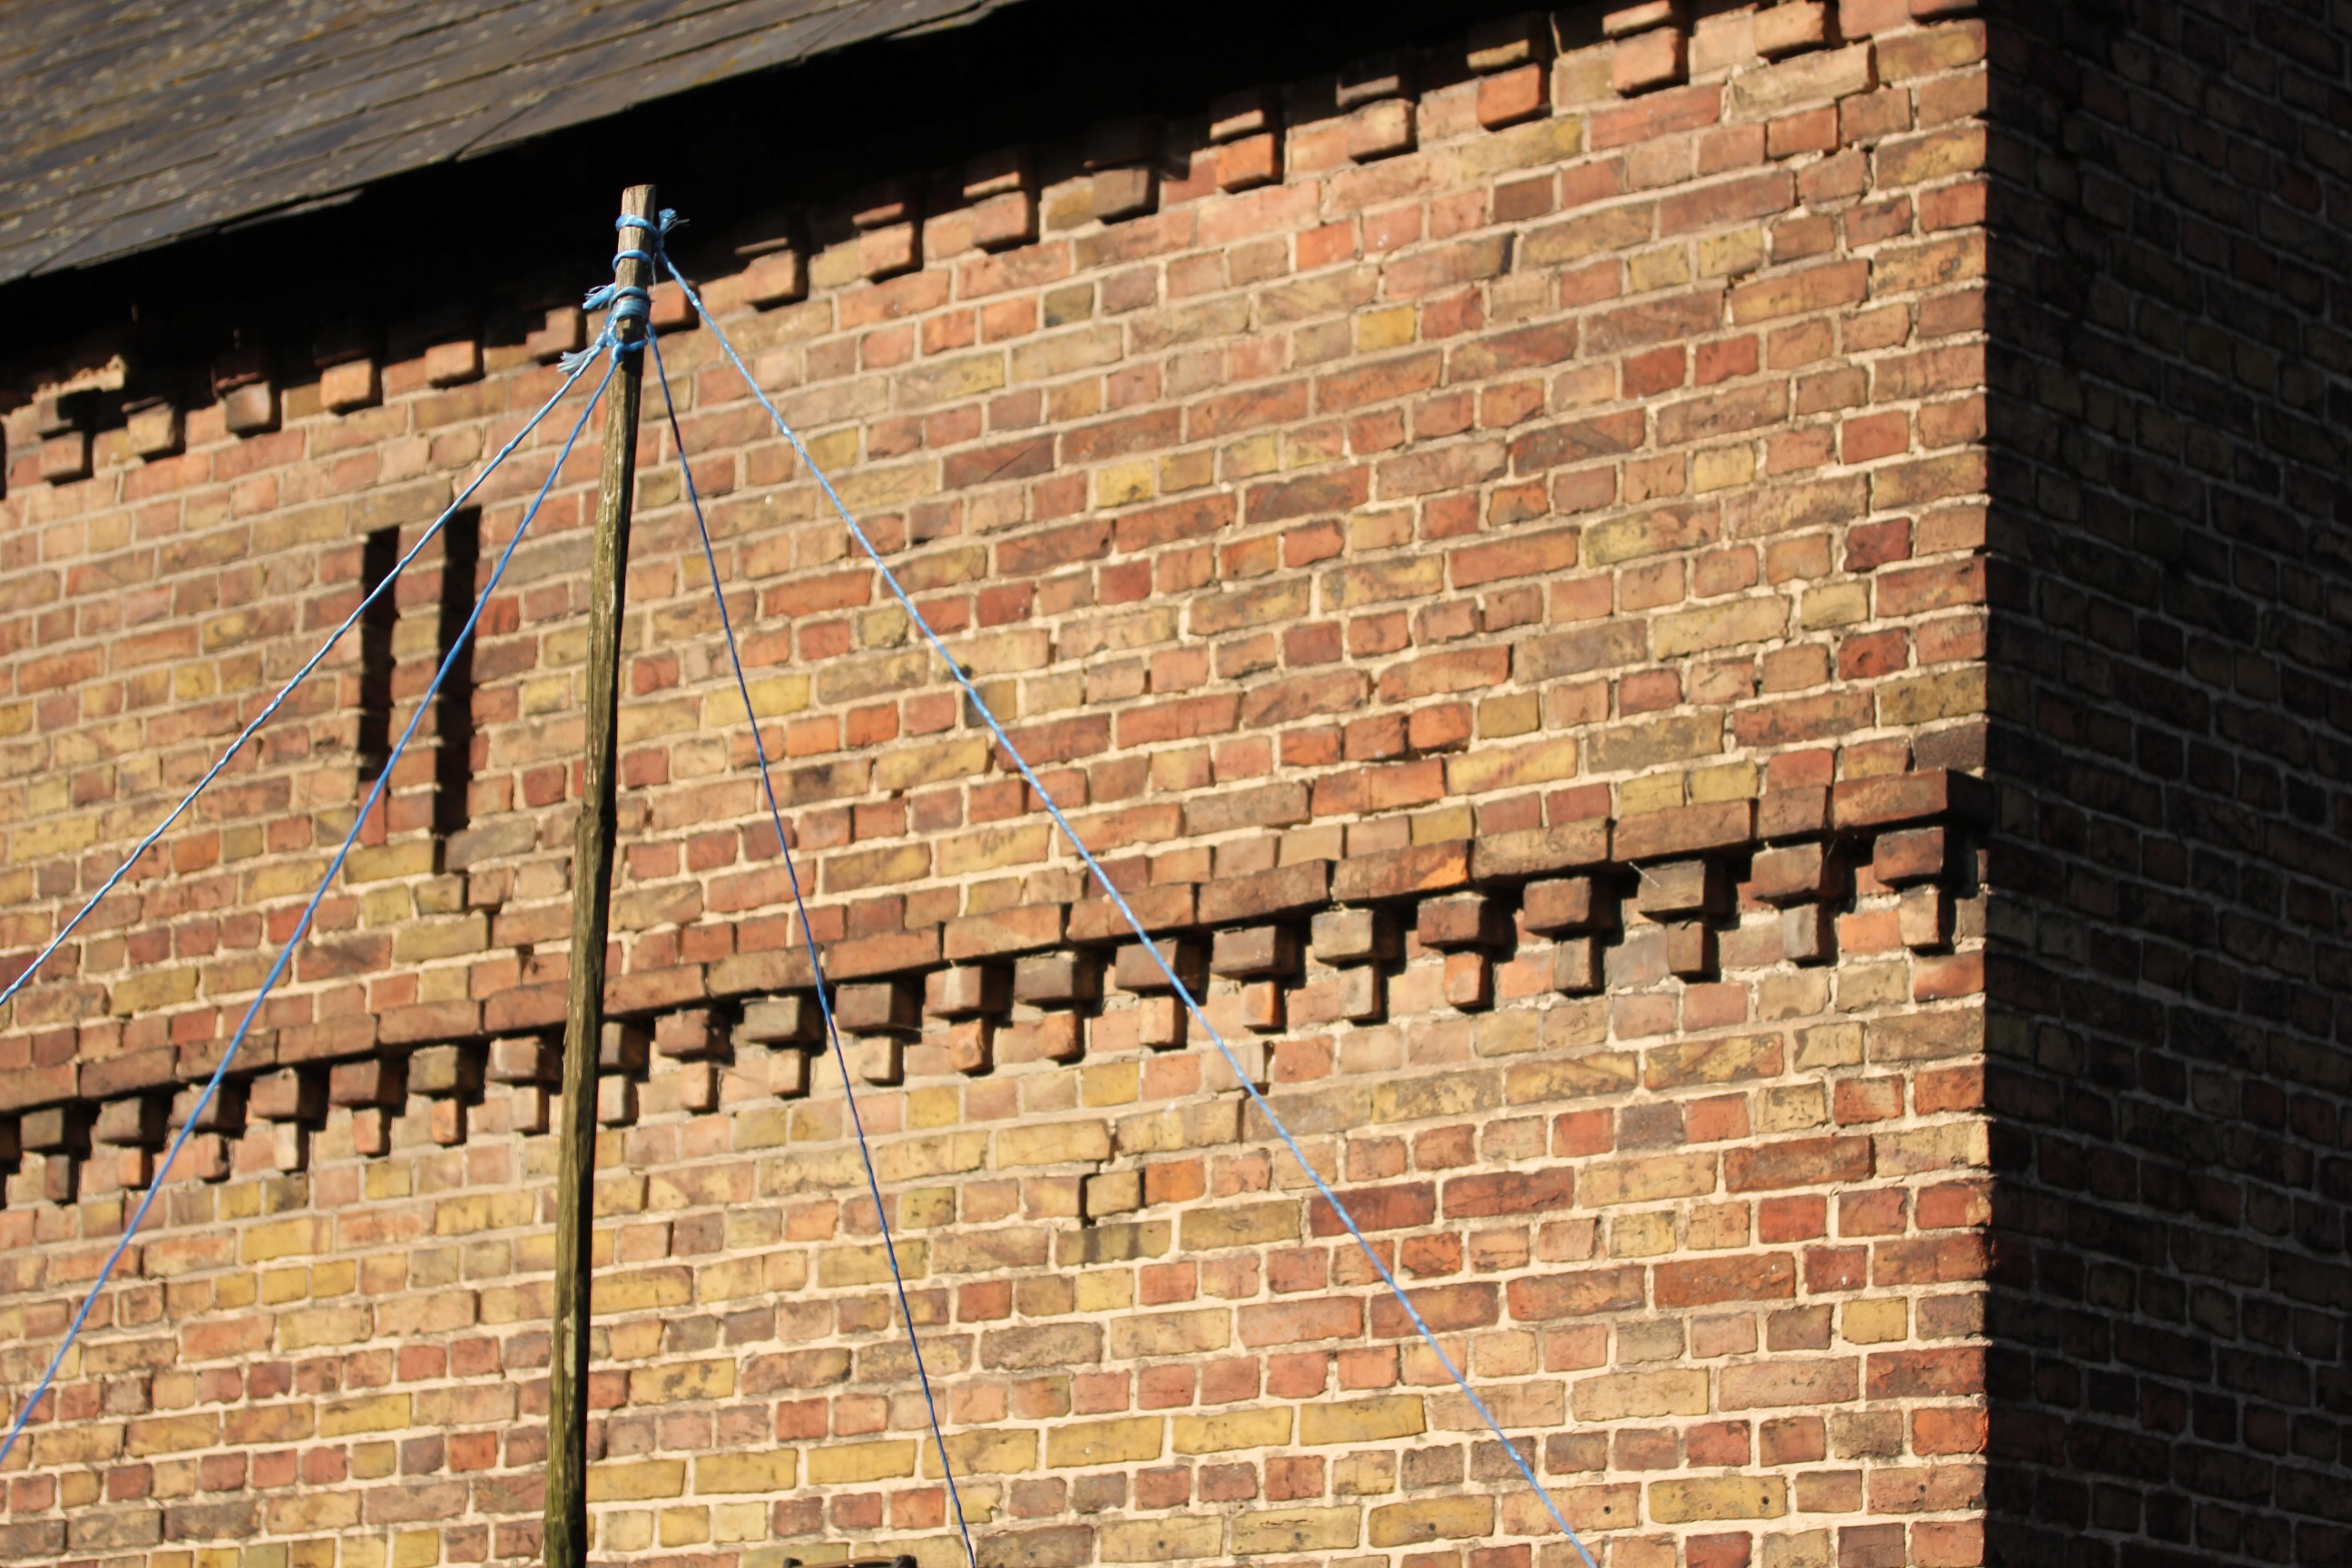
With my father we went out in the hof (courtyard between the house and barns) with string and sticks and measures and markers and water cans, we created an Egyptian triangle in the dirt. After we marked the triangle we flipped it and made another triangle, for a rectangle, then marked the centre and made circles with 3, 4 and 5 m diameters. Finally we finished with a central post and made a pyramid! A really fun, visual exploration.


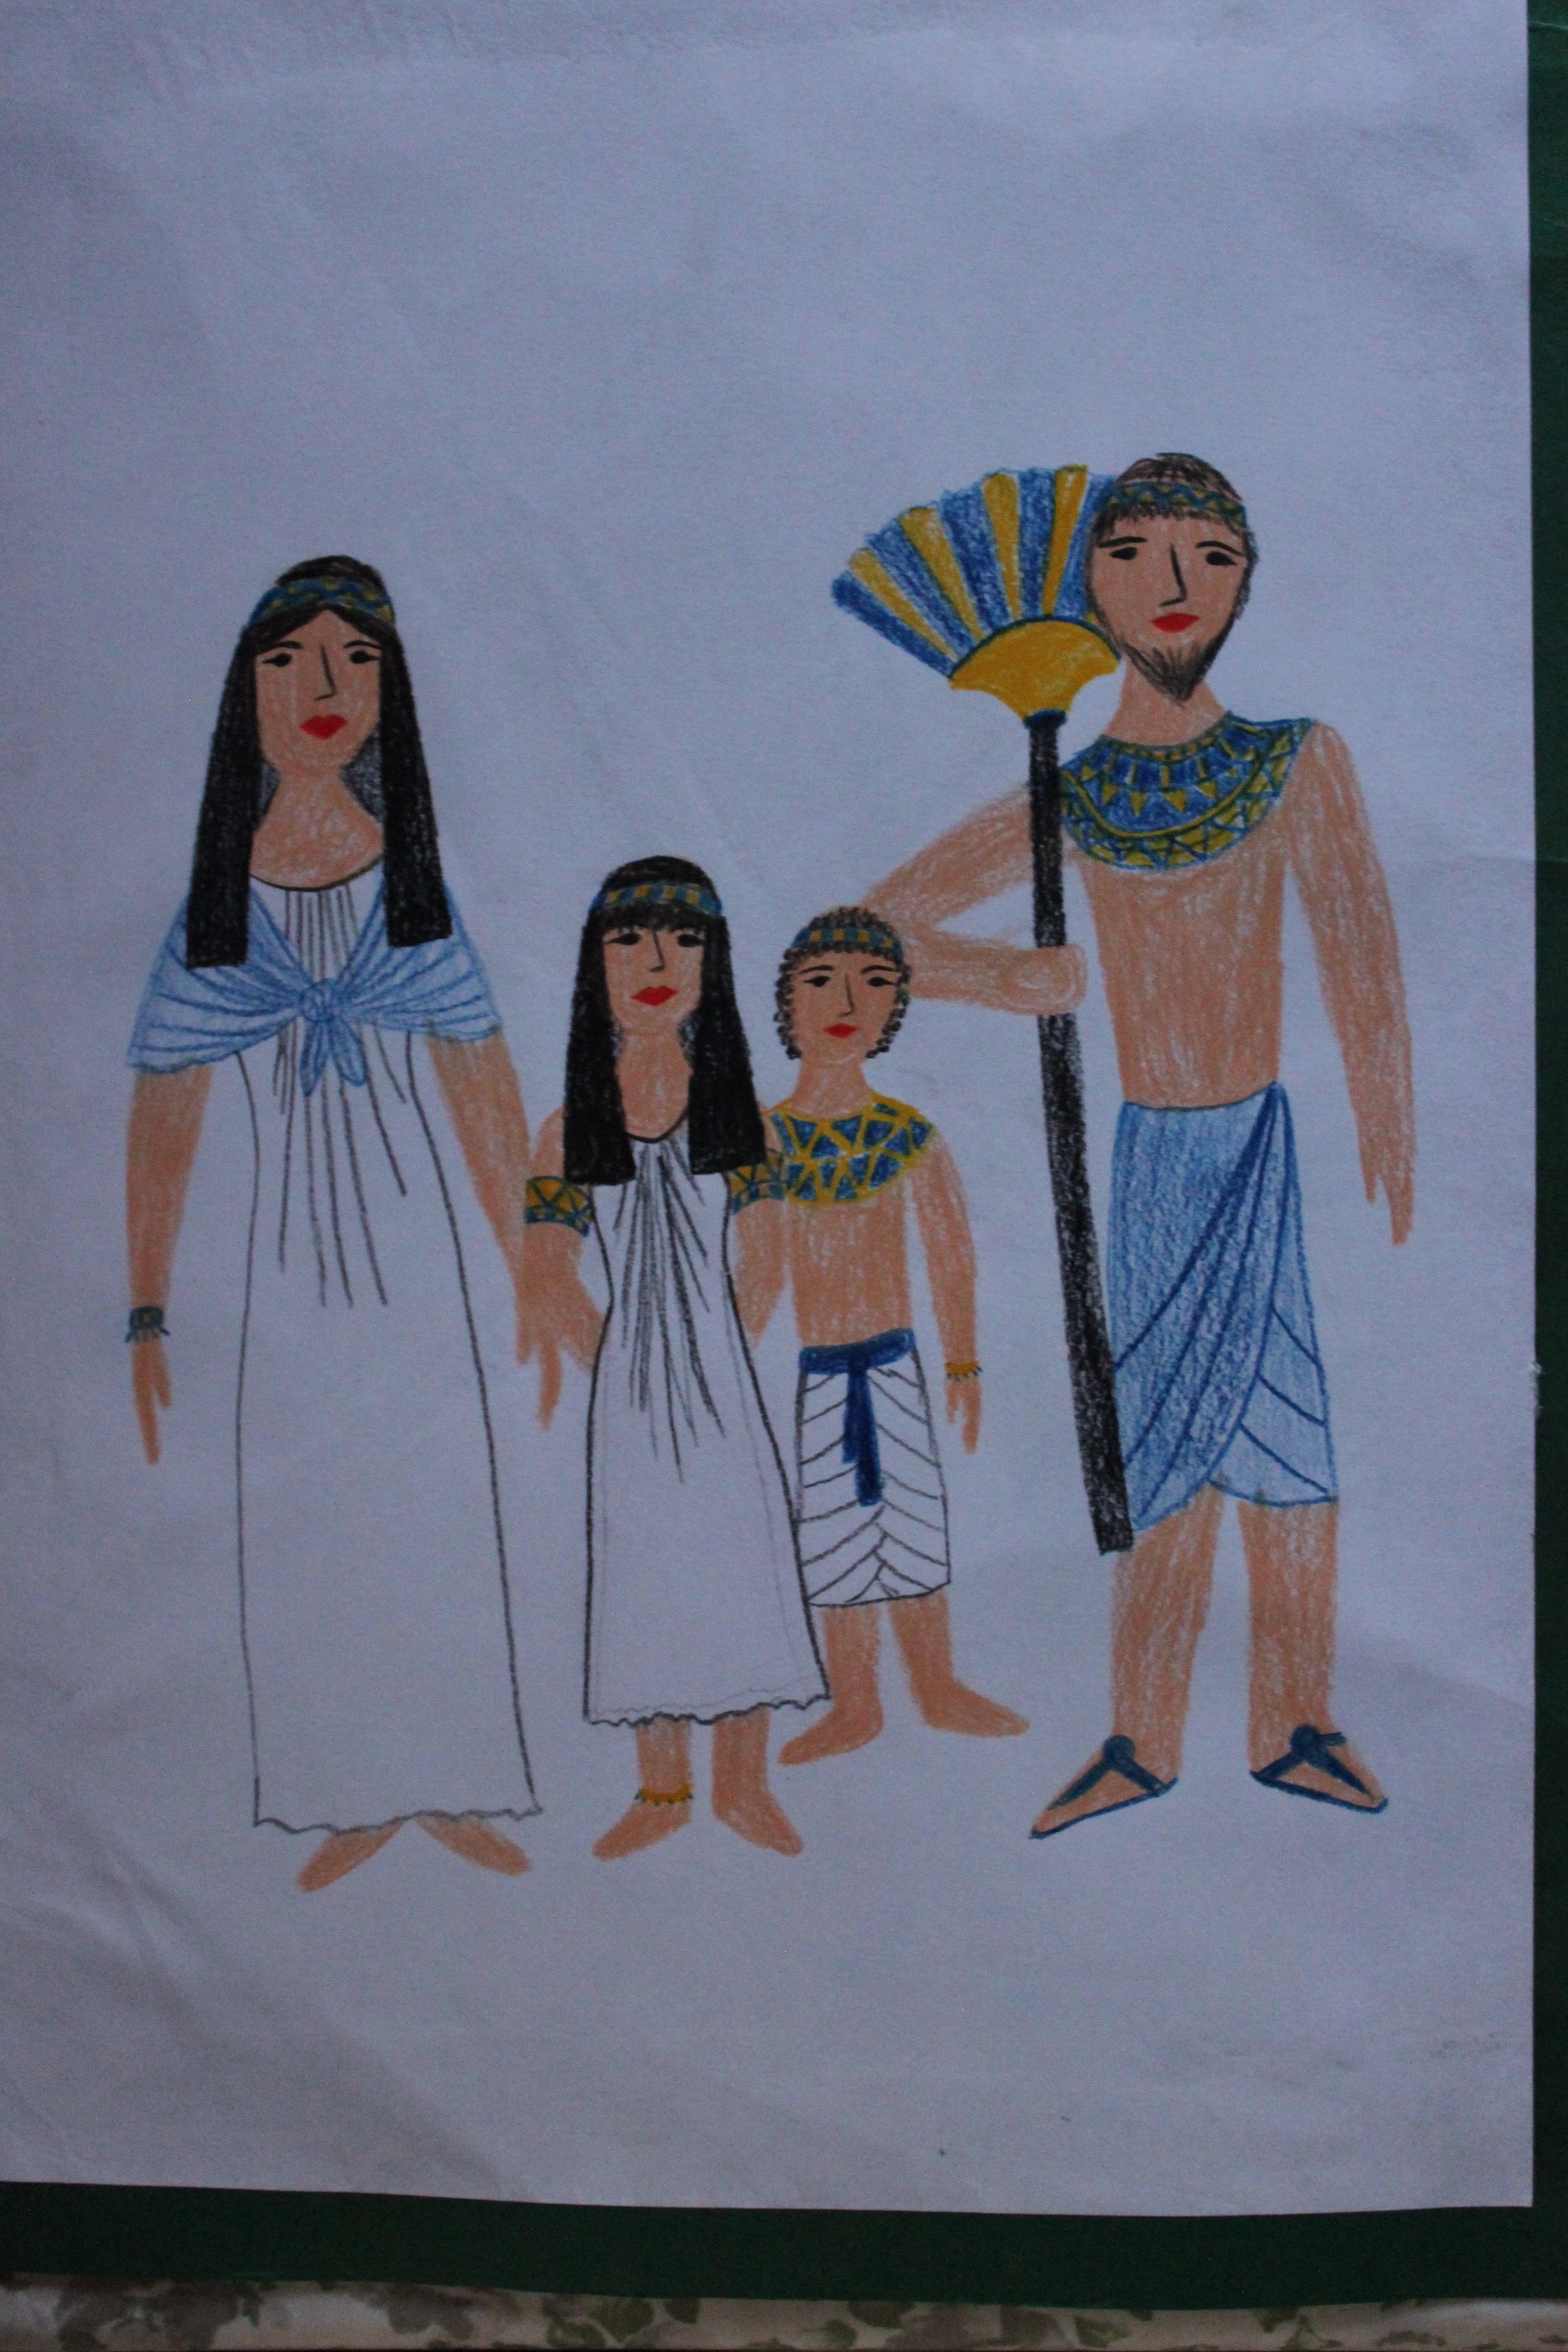
 While we travel I homeschool Lily. I follow the Waldorf curriculum as closely as I can (with guidance from her teacher in Australia) while not being a trained teacher myself. It usually works really well and it’s a fantastic opportunity to tutor Lily in areas she has challenges. Getting her motivated is not always easy though and the differentiation from parent to teacher is interesting (read challenging, inspiring,frustrating) for me. I learn so much alongside her and enjoy the intellectual stimulation and discovery in research also. It is difficult to maintain consistency when we are moving a lot so this 6 week interlude with my parents in Germany was a good foundation for studies. We visited the Egyptian museum in Berlin which inspired us with incredibly detailed and beautiful carvings and paintings. It is the home of the famous bust of Nerfetiti which cannot be photographed, so we took our sketchbooks and drew her. The guard commented Lily was the youngest artist he had witnessed sketching her.
 Her drawing books are full of images of Egypt.
Drawing freely.

Cedar has discovered drawing in such a new way! It’s very exciting to see him coming more freely into expressing his own visions and ideas as it’s been many months of encouraging this little one who was frustrated as his hands couldn’t do what his thoughts could see. He only wanted to direct us to draw for him. Now I see this fantastic leap in self confidence blooming!
He has invented some fantastic trailer/home/hay makers and the theme is tractors and machinery, trains, maps, gnome homes in trees, apple orchards and landscapes. He’s not often drawing his own wheels or people yet which I find intriguing.
Each comes to these things at their own pace but I’m glad as I see it brings him much happiness and us much entertainment!


This picture was a surprise to me this morning. The piglet on the left is having a birthday and wears a ribbon around its neck.
Both children draw a lot while we travel, we have a good stock of visual diaries with quality paper and we have an extensive collection of Lyra pencils. I find the thicker pencils easier for little hands to hold and the smooth bright colours very satisfying. The enjoyment of the materials inspires more use.
I gained a lot of confidence drawing alongside Lily as she grew and now with Cedar. The children don’t need a perfect replica of something, they just need a suggestion and their imagination fills the rest. I learnt to draw like a child again and it’s brought me a lot of happiness and a fun connection with my children.
Even after years in art school I needed to de program and lose the critic. So many of us are thinking “well, I can’t draw” do you want your child to think this also about themselves? I was determined not to say “I can’t draw” in front of my child but to say, well I will have a try, and be able to laugh if it turns out oddly and have another go or ask my child for ideas. Begin with them as they start to scribble at age 2, mimic your child, for they are free. Look to nature for simple gestures, a grassy field, a tree. Then put a swing in the tree or an apple. And so grow slowly. It takes a lot of slow to grow, I heard this recently.
My people began as stick figures and gradually became 3 dimensional as I drew more and more with Lily. The children also like simple art they can mimic. To just sit with them and begin putting color down can begin a new pleasure (and healing) for you both.
What are your children drawing?
What are you drawing?
this moment…

this moment
a friday ritual
one photograph from my week
x
This moment…
This moment
a friday ritual
a single photograph from my week

x
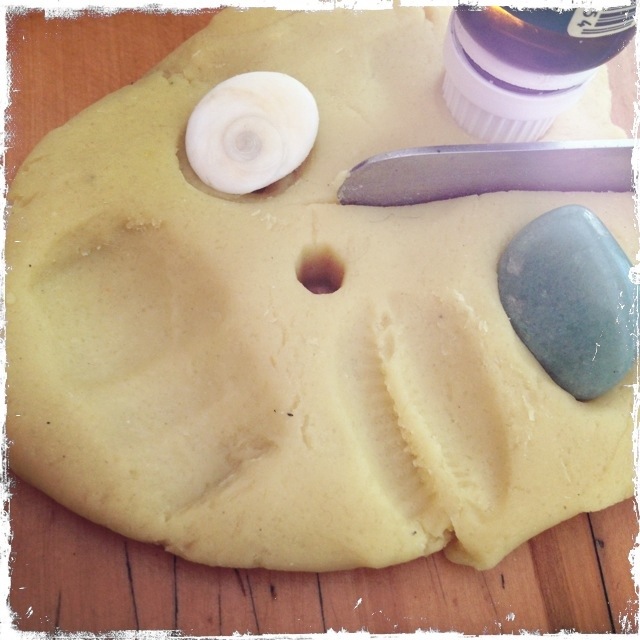
Right now

Right now. Play dough fun with cedar. Playing an imprint memory game. Taking turns to make prints or guess what made the print.
I make play dough by the recipe on the cream of tartar jar but just found this no cook recipe for the future. I usually add some essential oils. This time it’s lavender.
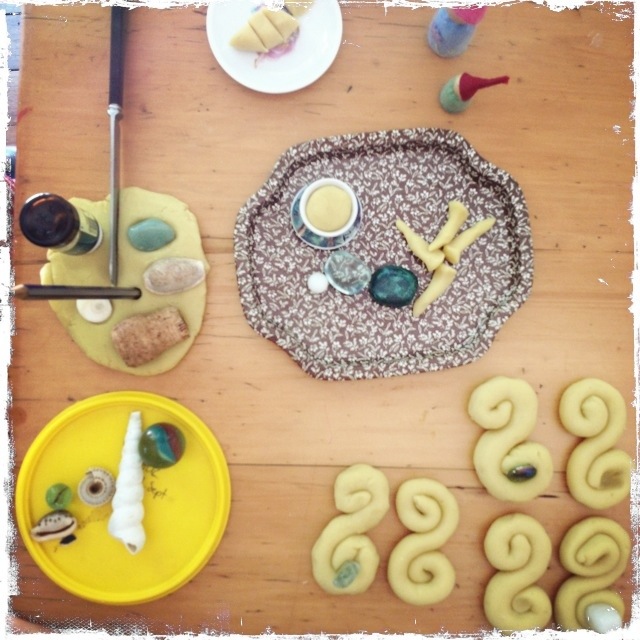
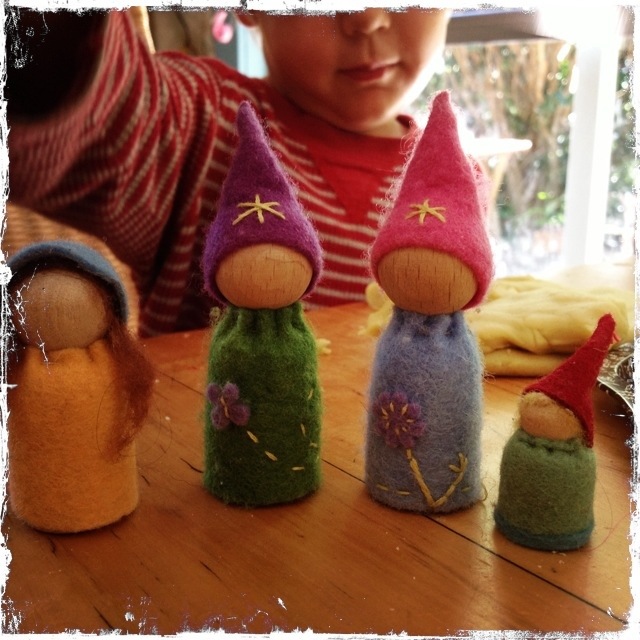
Also making Swedish saffron buns for st lucia dec 13th and birthday cakes. The gnomes sing along for Cedar. Lily and I made them for him last year. A really fun craft. Supplies from winterwood crafts. Wool felt and wooden finger puppets.
Four candles, four crystals. Practicing for July!

A favoured birthday song
Now on this day we celebrate your day of birth and we wish you a good and happy life on earth.
Our other birthday song we love is
Four years ago today today
Cedar came down from the heavens to stay
He came to bring gladness and joy to the earth
Kind people and angels attended his birth
So let us all join in the singing
Four birthday bells they are ringing
Happy birthday dear cedar
Happy birthday dear cedar
Interchange age and names. I’m not sure of the original authors sorry.
Xx
this moment…
this moment
a friday ritual
one photograph
a special simple moment from my week

Wet Felt a play mat/cushion piece/anything rectangle
This one is dedicated to my dear friend M
who has patiently waited a year for me to complete this request on how to felt a playmat!
you may already have just You Tubed a wet felt tutorial or taken a lesson elsewhere
but dear one, as this unfolded i thought of you and so
enjoy
xx
Lily felted this piece as a backing for a giant granny square cushion for her chair at school.
Tutorial to Wet Felt a Play mat
materials
a pile of roving (fluffy wool)
warm water in a bowl or bottle
detergent/soap
curtain netting
if it’s large a bamboo roll blind to roll the piece in
work in a water safe zone and have a towel on hand to mop up excess water
begin by making three even layers of roving, alternating the direction of each layer.
to do this, grasp lightly a section of roving with your hands about 20cm apart, pull and you will release an even section of wool. too close and the wool fibres will not seperate easily
fluff up and lay these sections working one side to another in rows
once you’ve done the three layers {backing, filling, top layer} pat all over and patch any thin places
then
place your fluffed out decorations on the top layer {Lily put her name}
these decorations can shift during the process so dont begin with anything complex
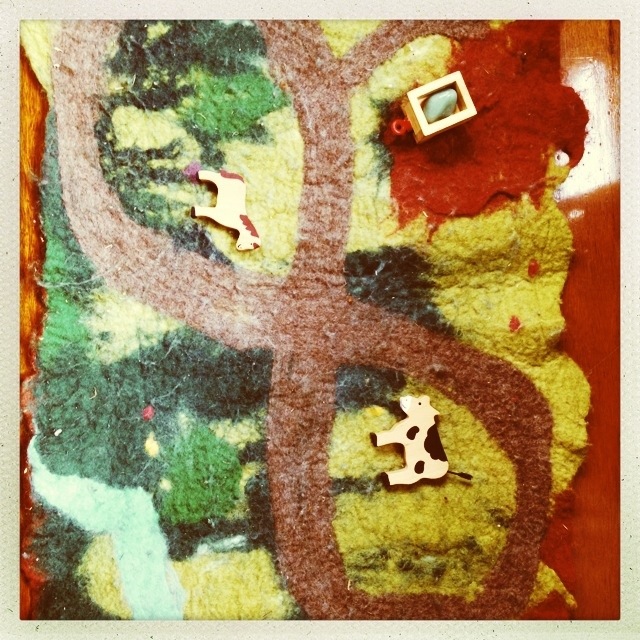
for a playmat place on appropriate colours for fields, water and maybe a road…

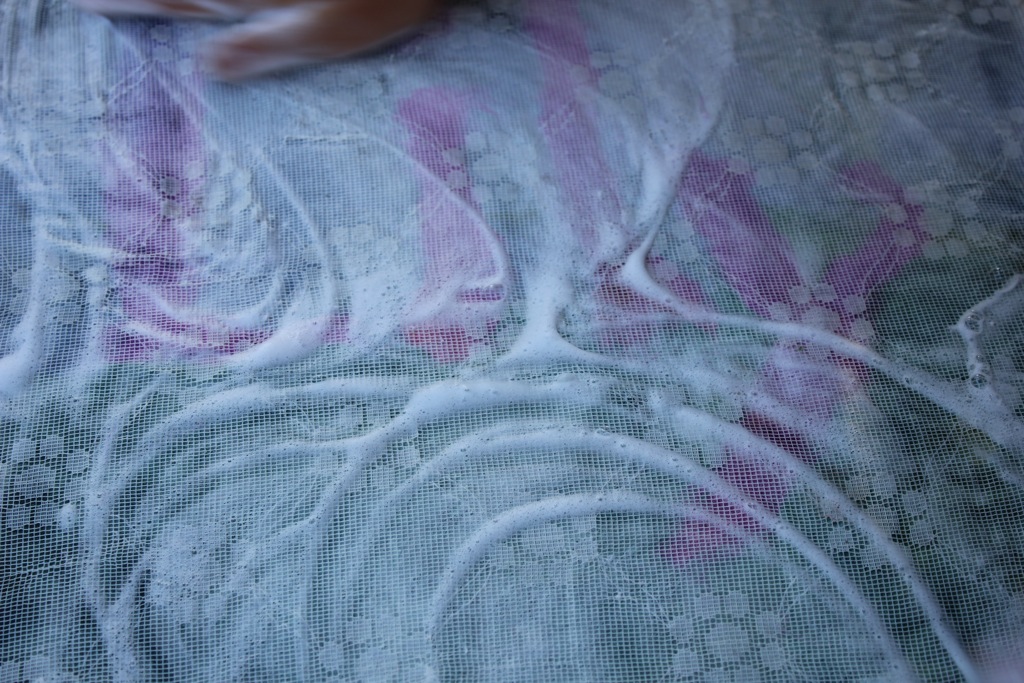
place your netting over the top and sprinkle with water until all is evenly wet and then squirt with soap
initially you are simply patting lightly to get the water through and the soap to begin penetrating
soon you can gently rub, light hands make beautiful feltwork at this stage,
the aim is to get the wool fibres to begin binding together and all the layers in cohesion, including your decorations
lift off you net carefully and check it’s all laying in place, adjust as neccessary
you can begin more vigorous rubbing, it should be wet all through and bubbly at this point
three keys to good felt
soap, heat, friction
keep rubbing until you reach pre felt stage, tested by pinching and lifting a small section. if it lifts together it’s pre felt if the fibres lift off or seperate keep on rubbing {see photo below}
at pre felt i like to flip the work and make sure the back is pre felted. at this point no unbound fibres will join in.
to create neat edges, rub your hand in a wave motion along the edge of the piece, gathering in the edges tidily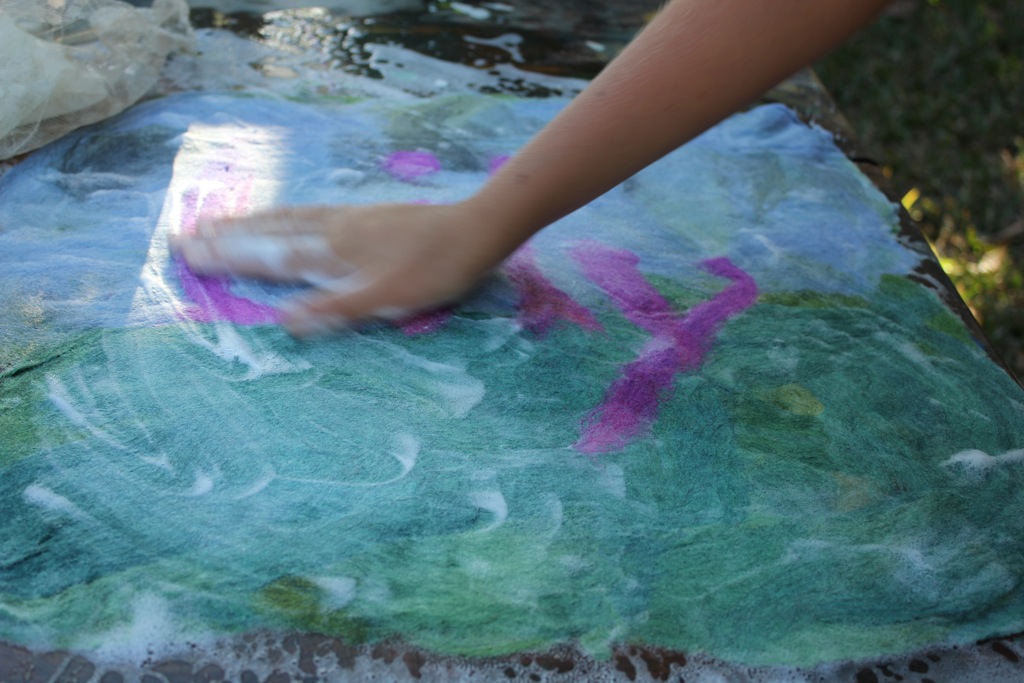

after pre felt you can handle it more vigorously as everything is in place. rub rub away and then if you want to shrink and final felt it in a fun way, squeeze out excess water, thrash the piece around and scrunch it and toss it down on the table. {therapeutic also}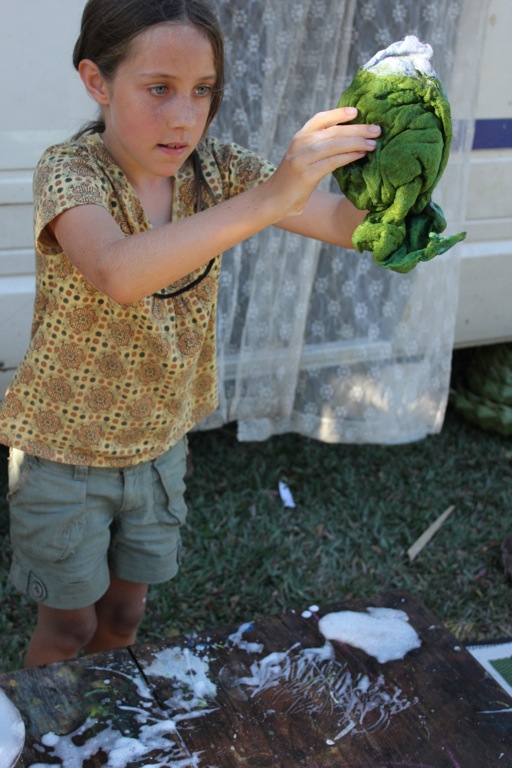

Lily did’nt care for an even edge as you can see below, but do notice there are no stringy bits hanging off the border.
when the wool has reached a good thickness, sturdiness and strength, you will notice small ridges/wrinkles forming, i usually stop at this point but some like to continue pounding it until this is really formed and the piece will become a bit thicker and smaller. as you feel
stretch it slightly to create flatness and a good shape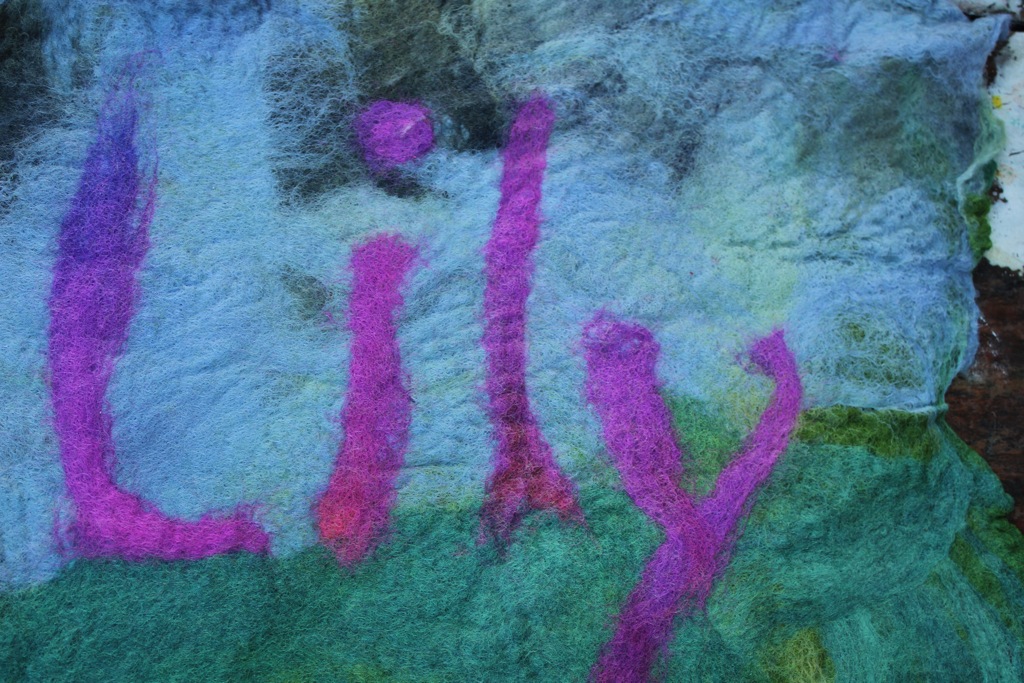 Lily’s complete piece ready to lay flat and dry.
you may see glimpses of the production of two other playmats of mine here

Cedar’s mat ready to begin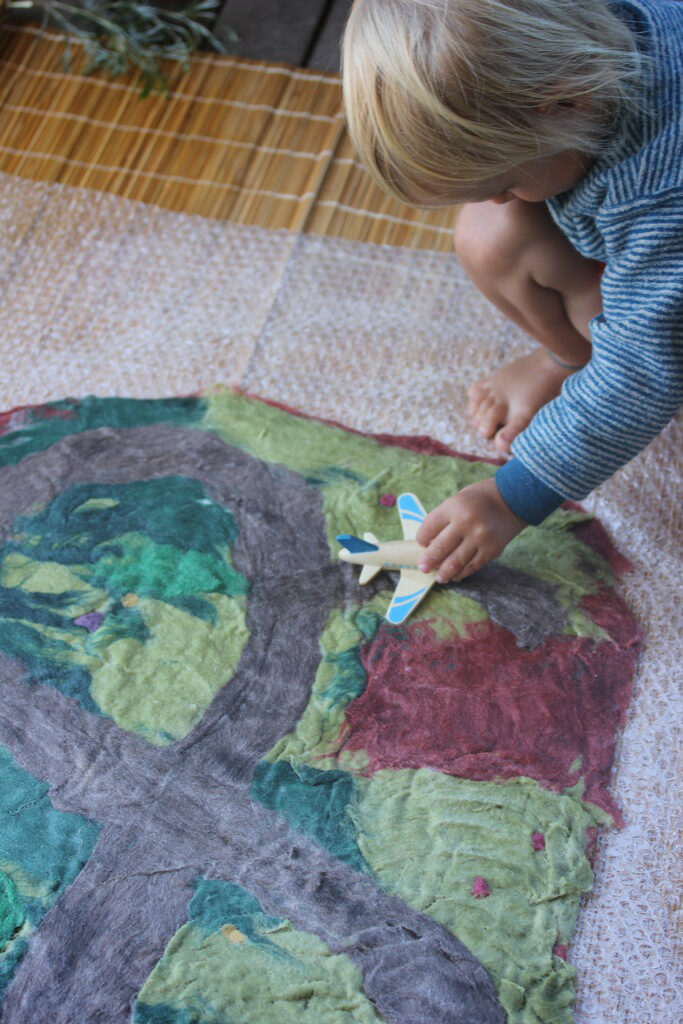
nearly complete, Cedar is impatient to play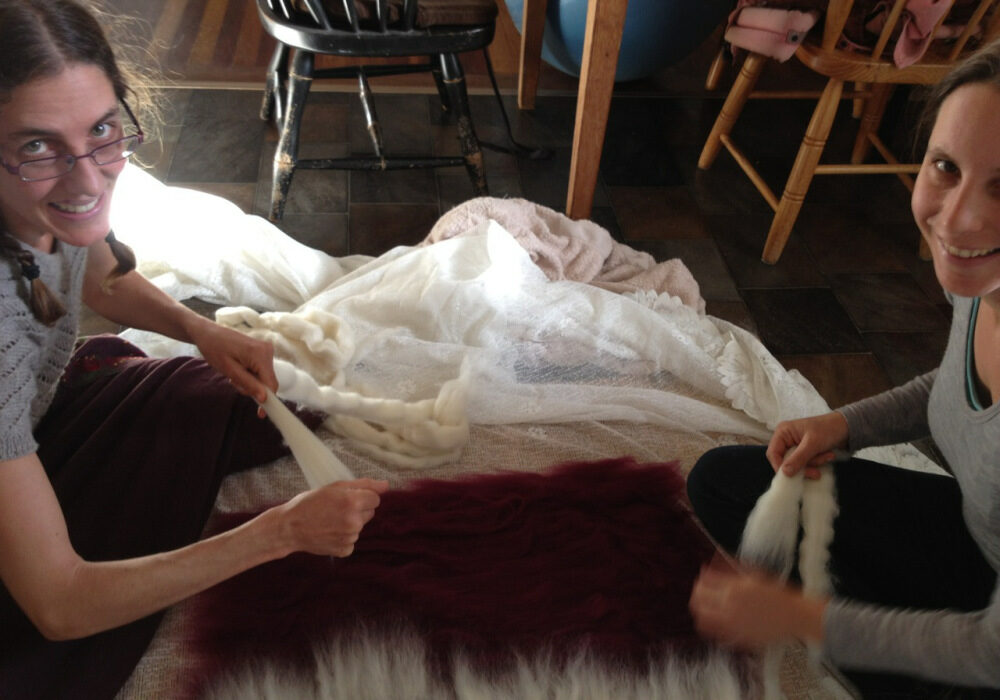 working on my niece’s playmat with my sister
