
This one is dedicated to my dear friend M
who has patiently waited a year for me to complete this request on how to felt a playmat!
you may already have just You Tubed a wet felt tutorial or taken a lesson elsewhere
but dear one, as this unfolded i thought of you and so
enjoy
xx
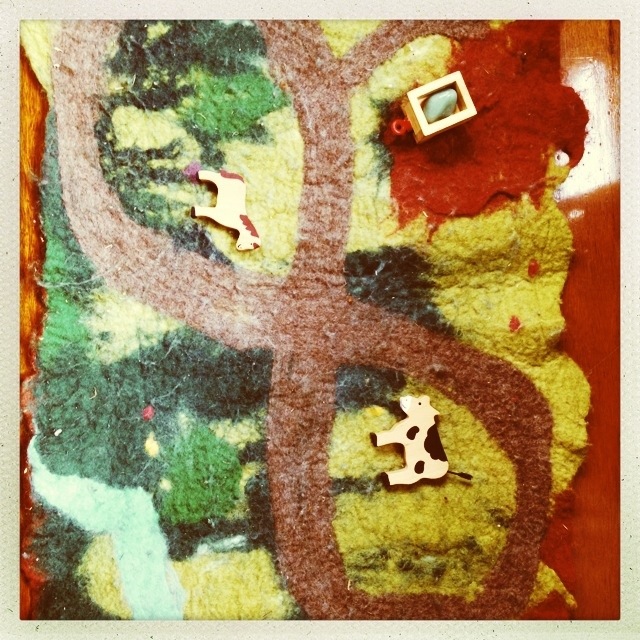
Lily felted this piece as a backing for a giant granny square cushion for her chair at school.
Tutorial to Wet Felt a Play mat
materials
a pile of roving (fluffy wool)
warm water in a bowl or bottle
detergent/soap
curtain netting
if it’s large a bamboo roll blind to roll the piece in
work in a water safe zone and have a towel on hand to mop up excess water
begin by making three even layers of roving, alternating the direction of each layer.
to do this, grasp lightly a section of roving with your hands about 20cm apart, pull and you will release an even section of wool. too close and the wool fibres will not seperate easily
fluff up and lay these sections working one side to another in rows
once you’ve done the three layers {backing, filling, top layer} pat all over and patch any thin places
then
place your fluffed out decorations on the top layer {Lily put her name}
these decorations can shift during the process so dont begin with anything complex
for a playmat place on appropriate colours for fields, water and maybe a road…

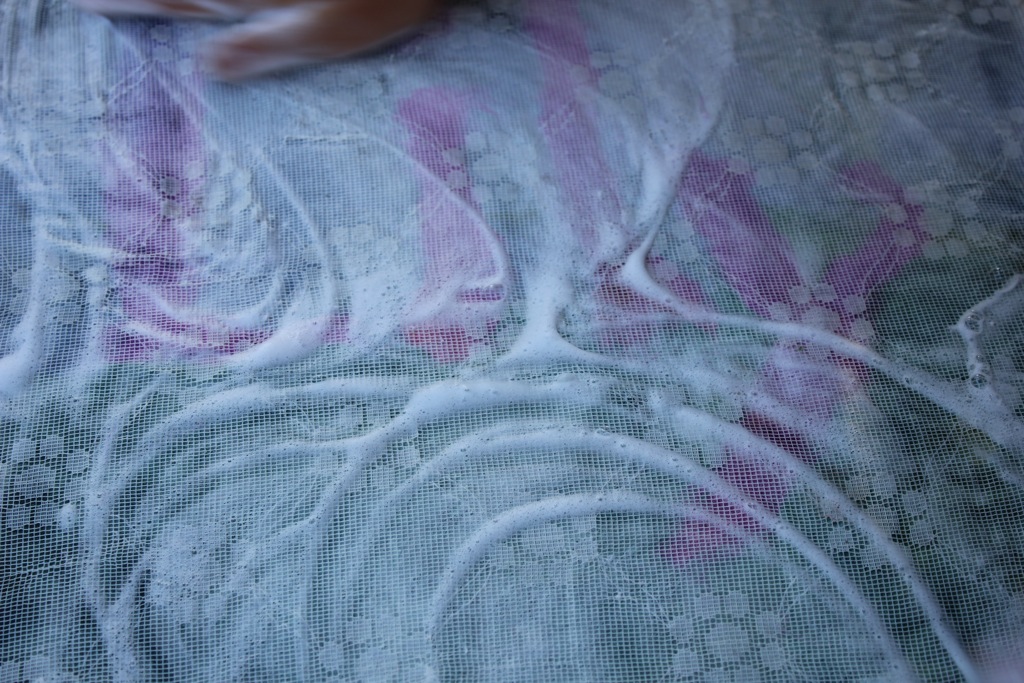
place your netting over the top and sprinkle with water until all is evenly wet and then squirt with soap
initially you are simply patting lightly to get the water through and the soap to begin penetrating
soon you can gently rub, light hands make beautiful feltwork at this stage,
the aim is to get the wool fibres to begin binding together and all the layers in cohesion, including your decorations
lift off you net carefully and check it’s all laying in place, adjust as neccessary
you can begin more vigorous rubbing, it should be wet all through and bubbly at this point
three keys to good felt
soap, heat, friction
keep rubbing until you reach pre felt stage, tested by pinching and lifting a small section. if it lifts together it’s pre felt if the fibres lift off or seperate keep on rubbing {see photo below}
at pre felt i like to flip the work and make sure the back is pre felted. at this point no unbound fibres will join in.
to create neat edges, rub your hand in a wave motion along the edge of the piece, gathering in the edges tidily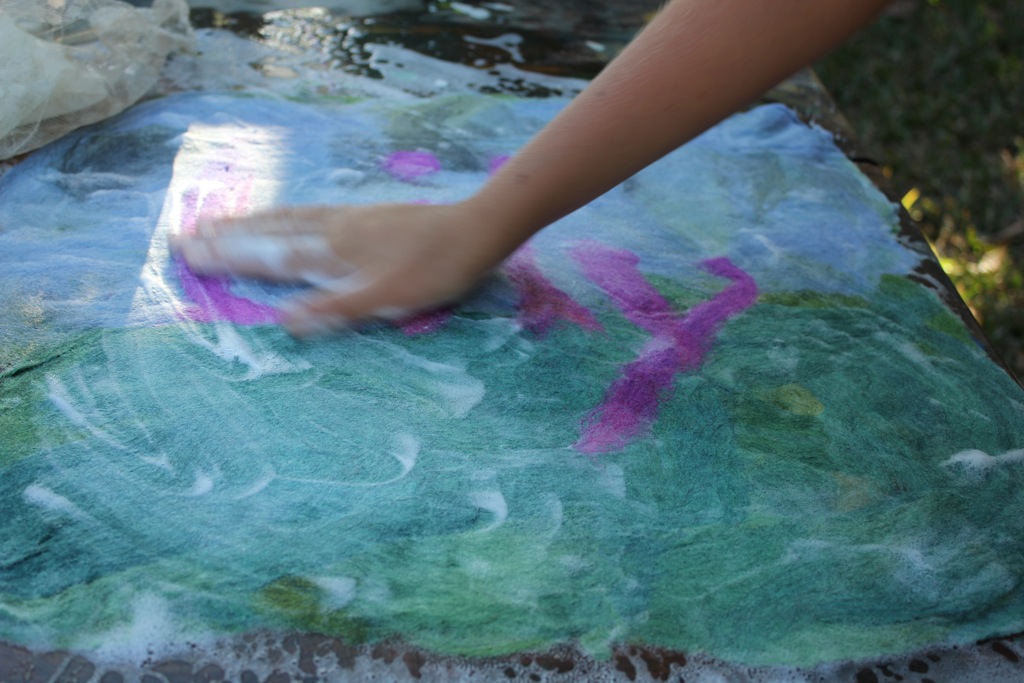

after pre felt you can handle it more vigorously as everything is in place. rub rub away and then if you want to shrink and final felt it in a fun way, squeeze out excess water, thrash the piece around and scrunch it and toss it down on the table. {therapeutic also}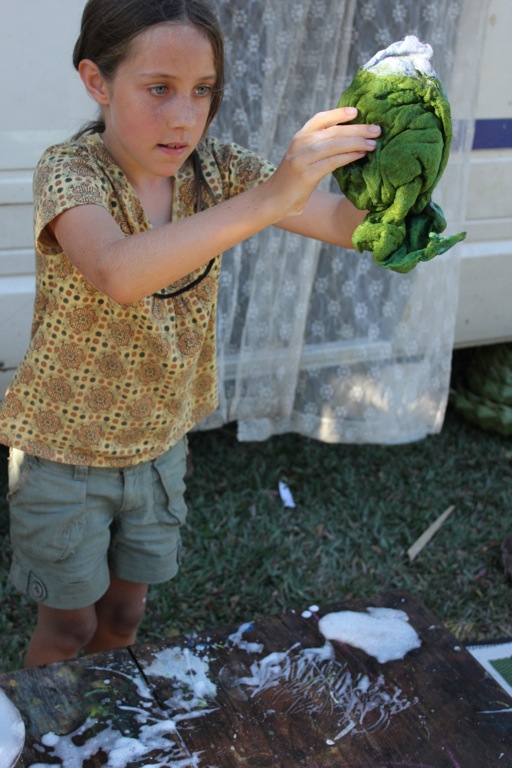

Lily did’nt care for an even edge as you can see below, but do notice there are no stringy bits hanging off the border.
when the wool has reached a good thickness, sturdiness and strength, you will notice small ridges/wrinkles forming, i usually stop at this point but some like to continue pounding it until this is really formed and the piece will become a bit thicker and smaller. as you feel
stretch it slightly to create flatness and a good shape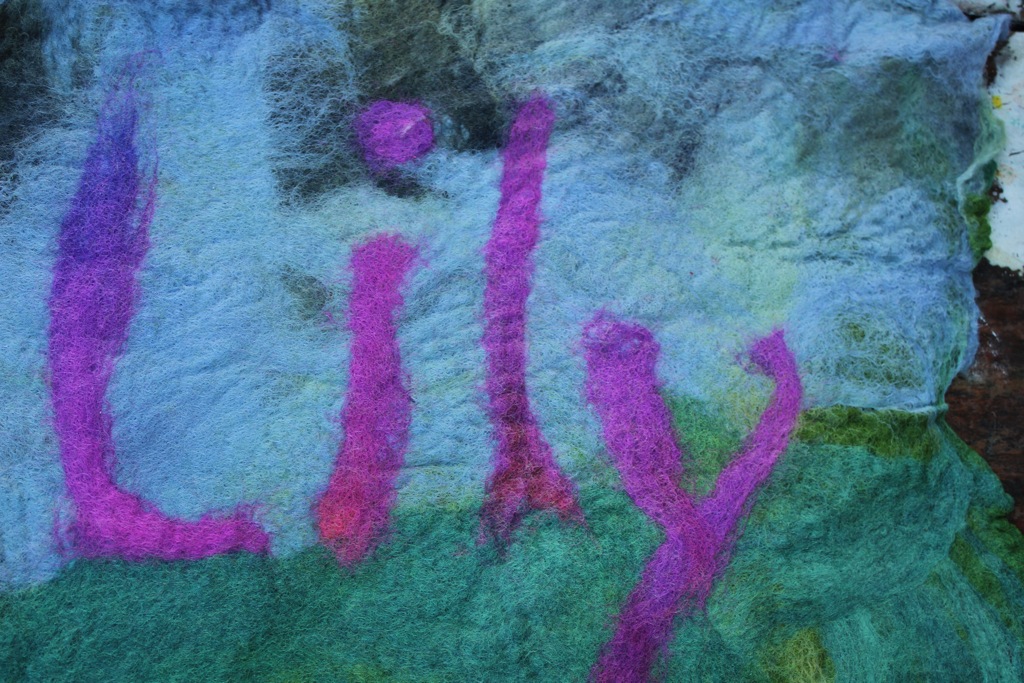 Lily’s complete piece ready to lay flat and dry.
you may see glimpses of the production of two other playmats of mine here

Cedar’s mat ready to begin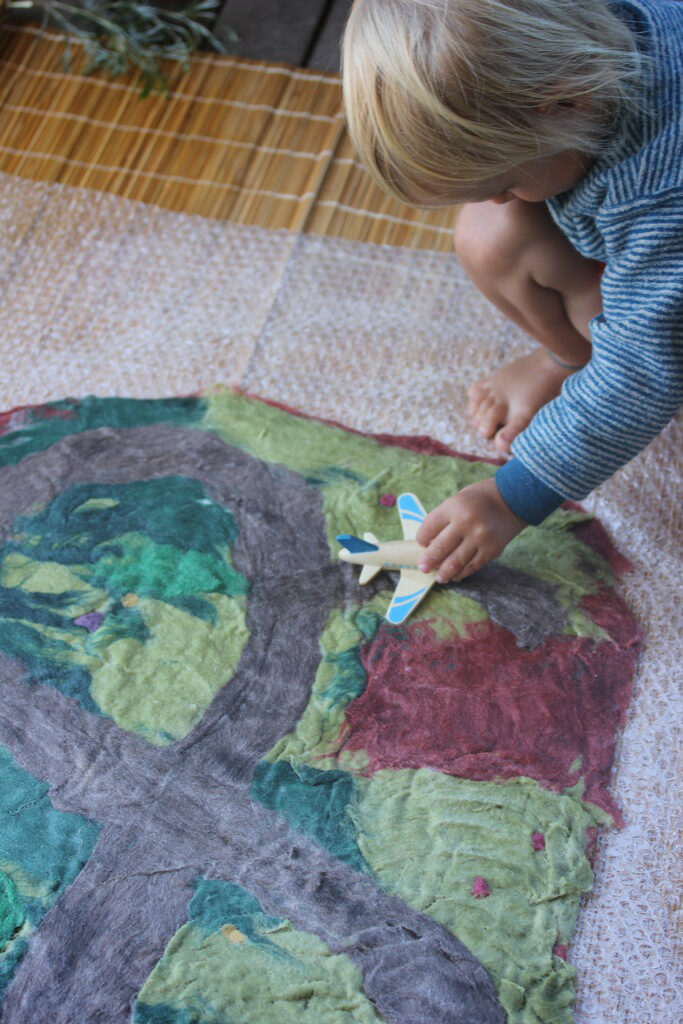
nearly complete, Cedar is impatient to play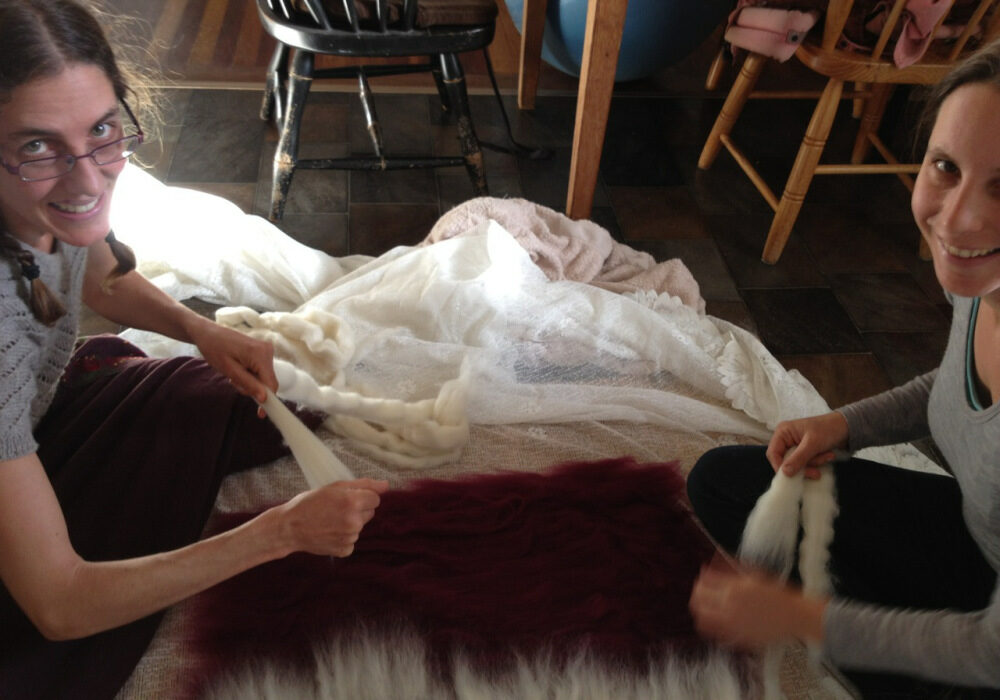 working on my niece’s playmat with my sister

thank you so much for this tutorial! this is excellent and exactly what i was looking for! just one question though, is there no need to wash off the soap or have i missed something?
Hi Natalia,
Yes! do wash off the soap.
R
fantastic play mats. Must give this a go! Thanks xxx
Way cool love all this creating 🙂